
Your First App Store Submission
One of the things that intimidated me the most about submitting apps to the App Store was navigating App Store Connect and all of the requirements you have to meet before you can even think about the infamous App Store review process. After 10 successful submissions and several failed ones, I figured I may have some insight to share.
Just as a disclaimer, none of the links to tools I provide below are affiliate links and I am not compensated in any way for sharing them. They are tools I actually use and want to share with you to help simplify your process.
Now that that's out of the way, let's start from the beginning.
App Target Metadata
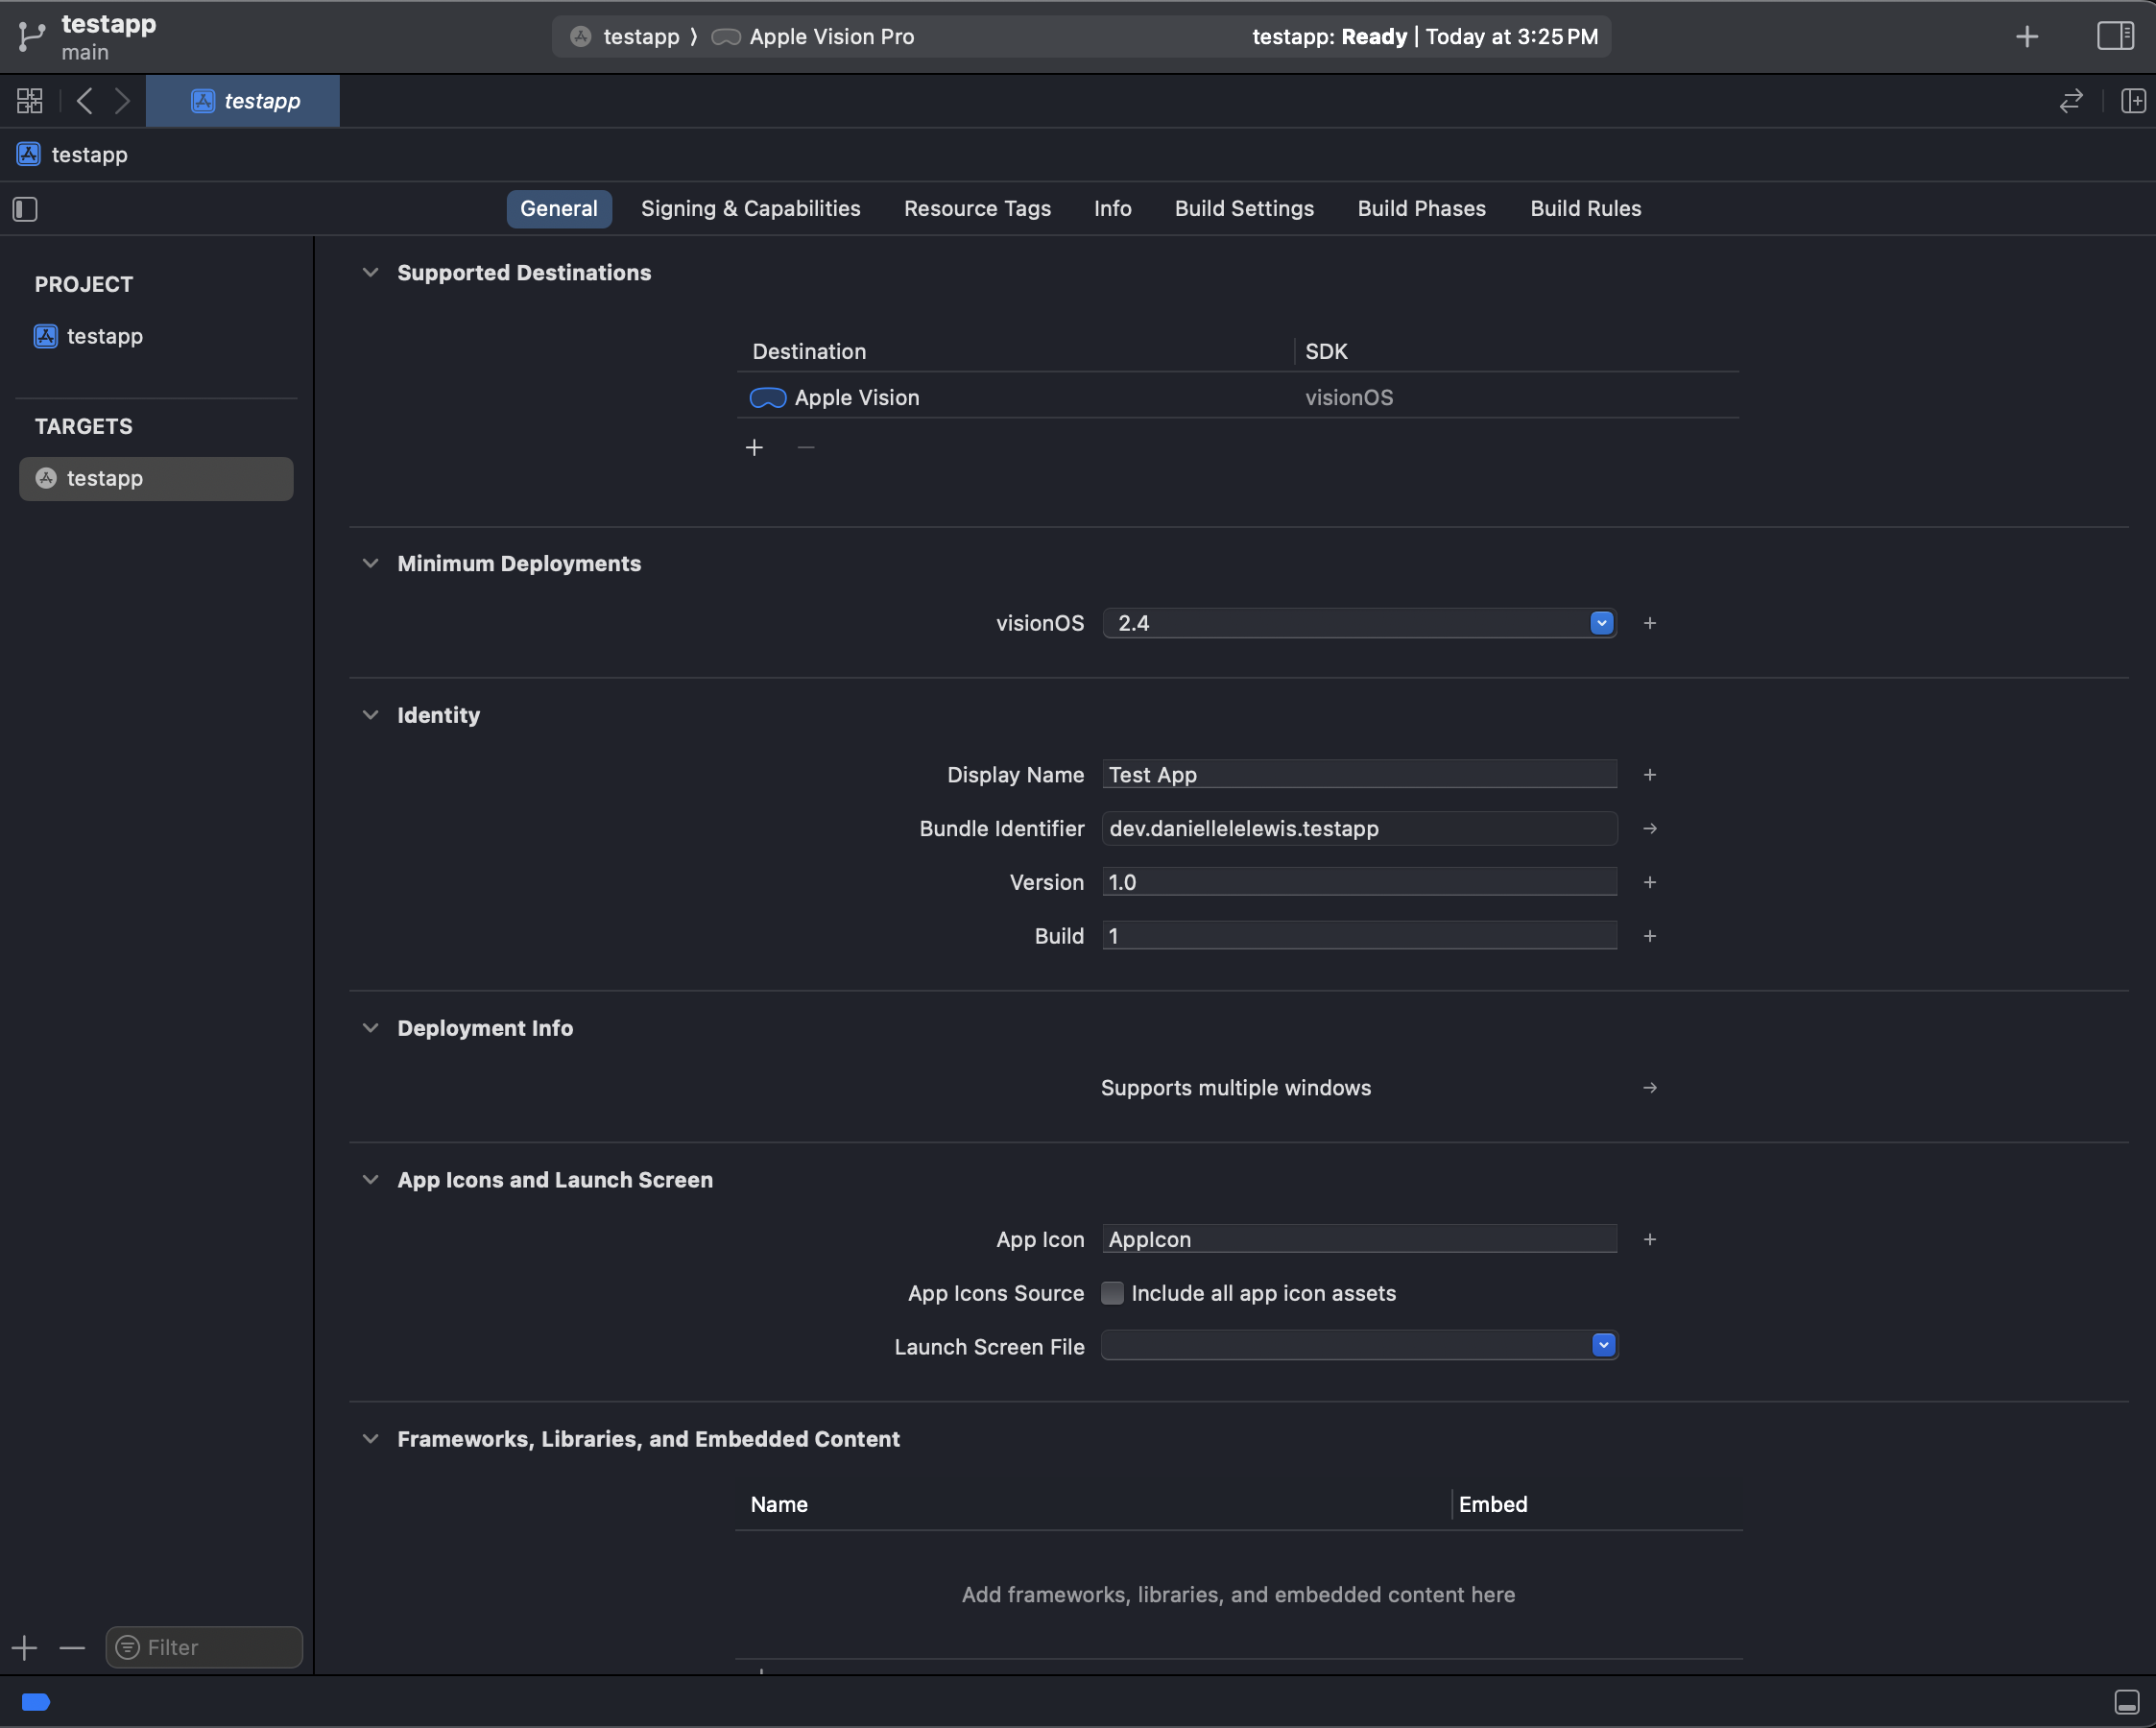
You’ve coded and tested your app, and now you’re ready to submit. Go to your app target and make sure you have a unique bundle identifier. The display name field dictates the name of your app on the user's Home Screen. If your app's name is long, you can provide a shortened name here. Keep in mind that it can't be too different from your app's name or you may have issues once it's in review. The version and build number must also be unique so if you've already submitted Version 1.0 you will have to increment the version number (1.01, 1.1, etc) and submit your next build as an update.
Icon
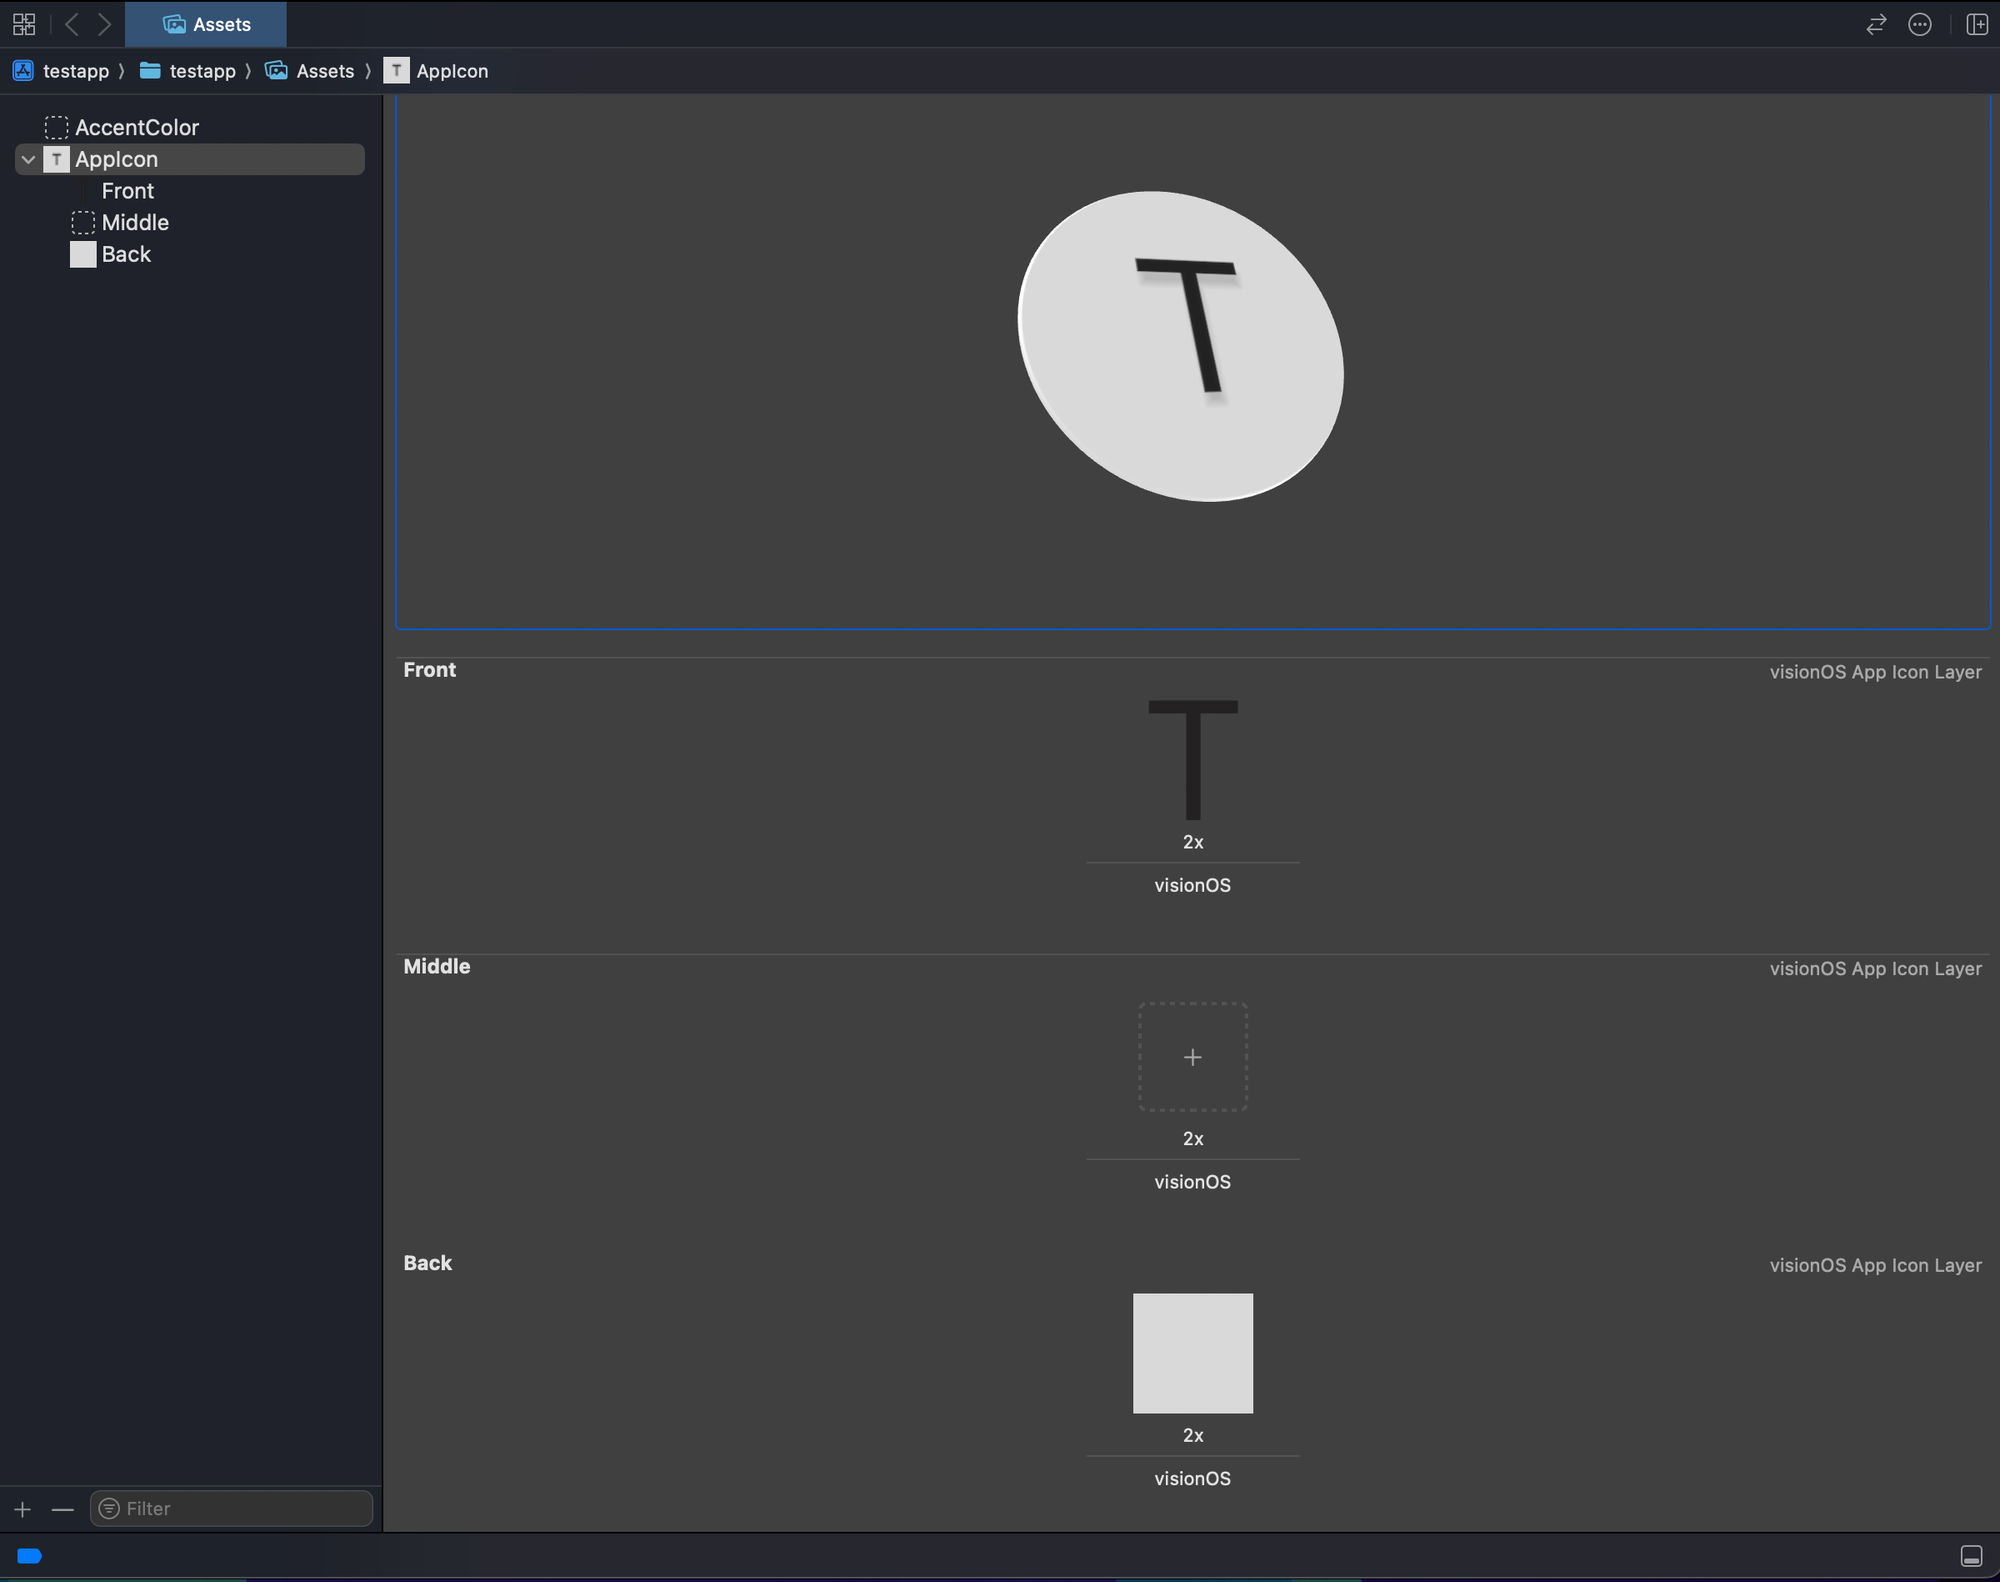
Next, make sure you have an app icon in your asset folder. If you're like me and have no design skills whatsoever, a great resource for easy iOS, macOS, watchOS, and tvOS app icon creation is Icon Kitchen.
If you need a visionOS icon, you'll need at least two layers to create the 3D effect. The way I did that when I was starting out is to open Figma (or your tool of choice), add a 1024 x 1024 rectangle or circle as the background and an icon or some text on top of it as the foreground. I'd then export the foreground and background as two separate layers and use that. Not the most elegant solution, but it worked!
Uploading to App Store Connect
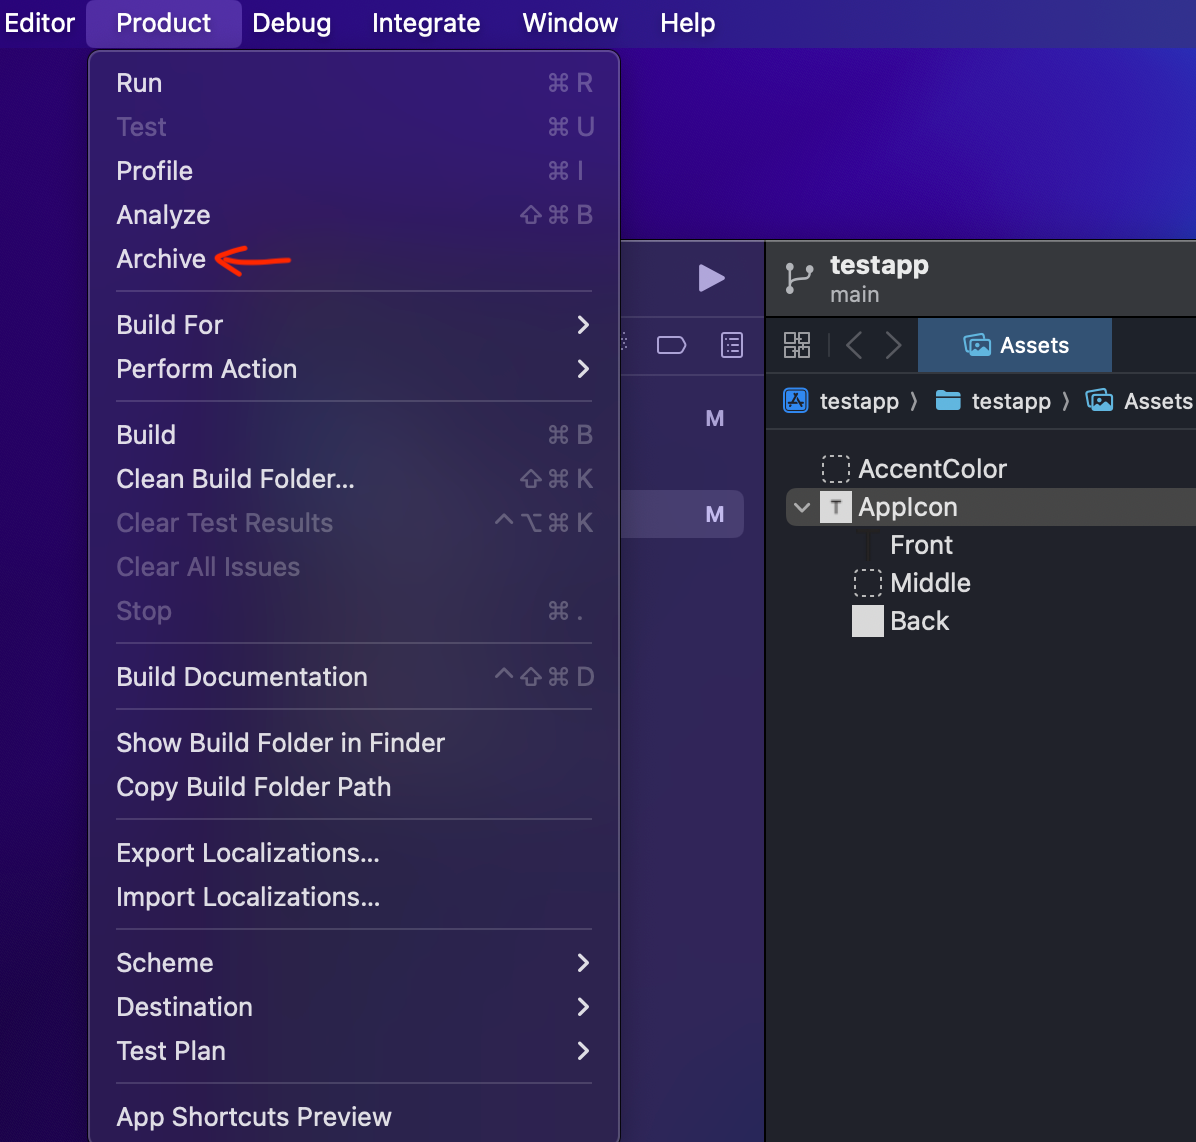
Now that we have our metadata and icon set, we need to archive the build for upload to App Store Connect. In the Xcode menu bar go to Product -> Archive.
Once the archive is successful, the organizer window will open with the build of your app there.
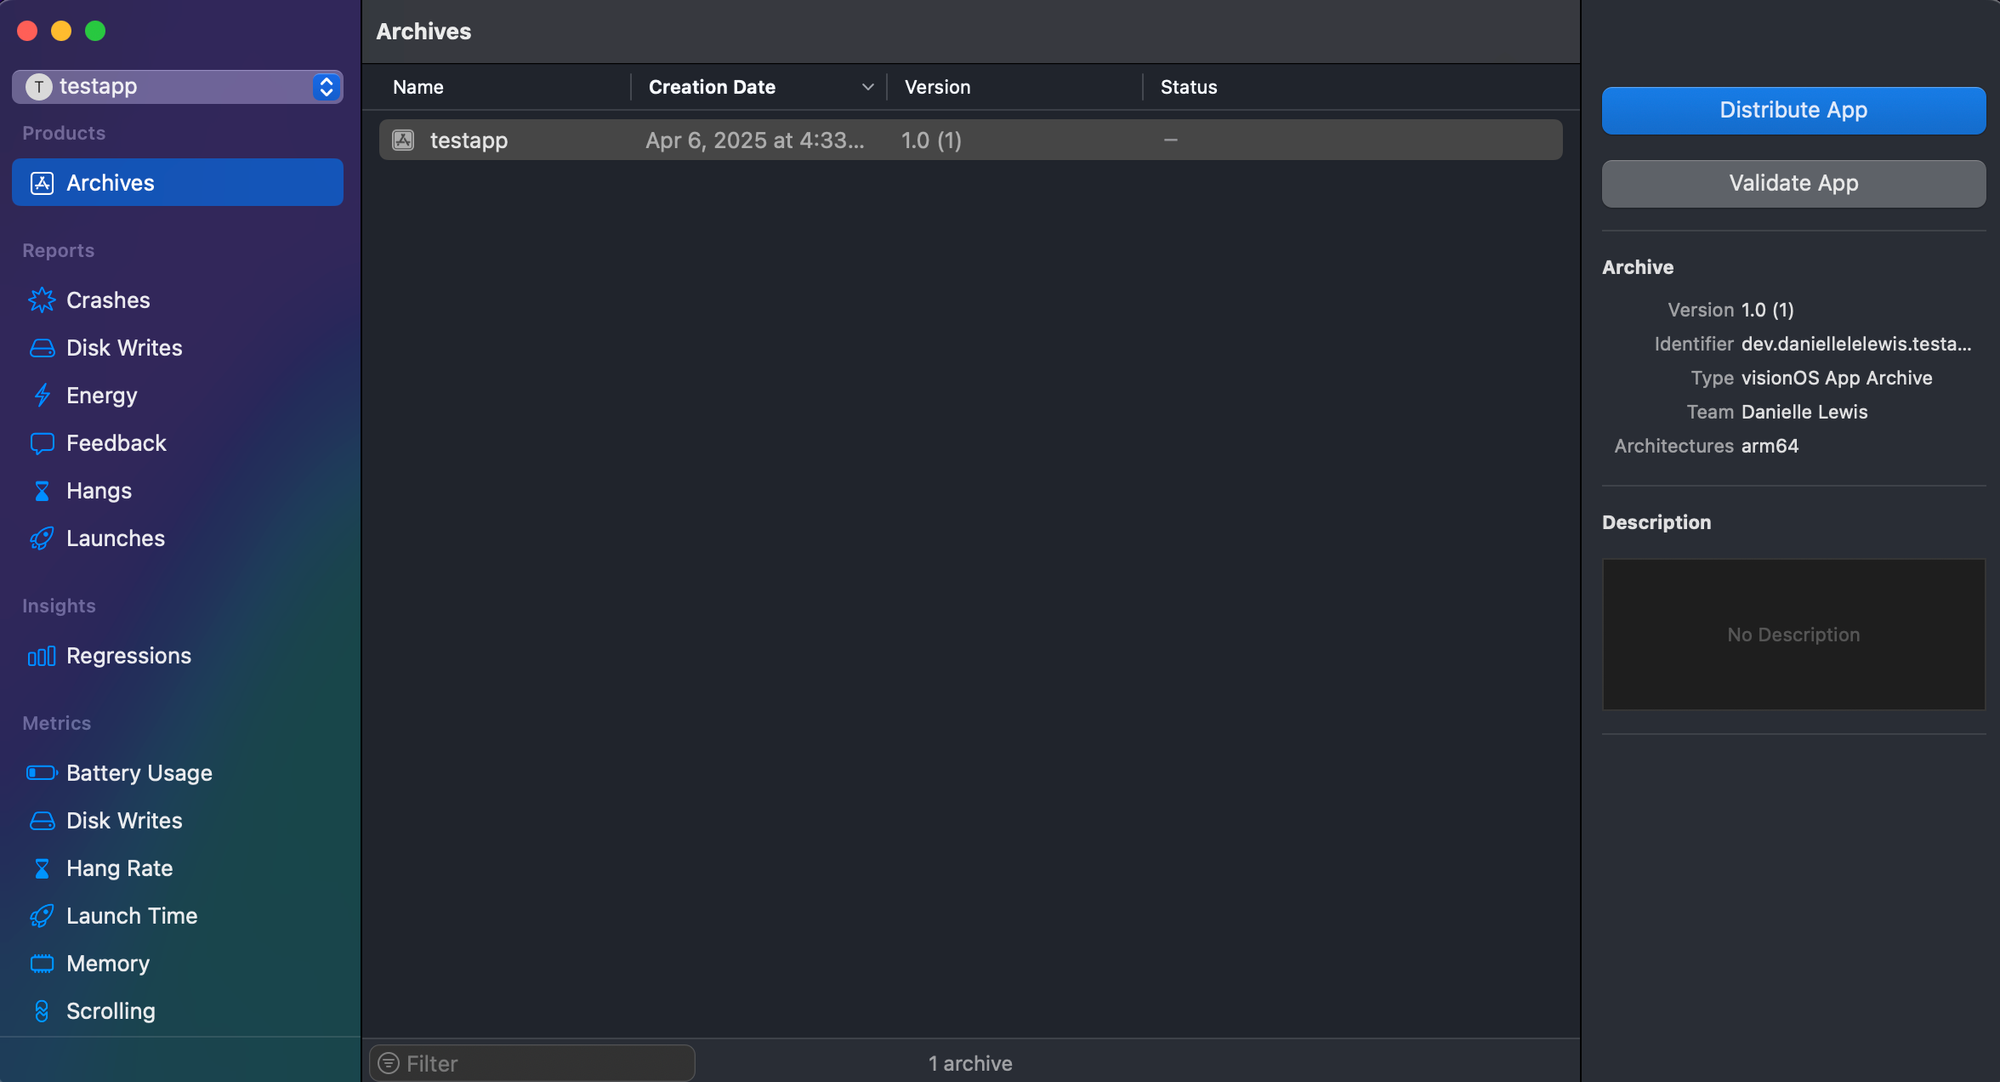
Click on Distribute App to begin the upload process.
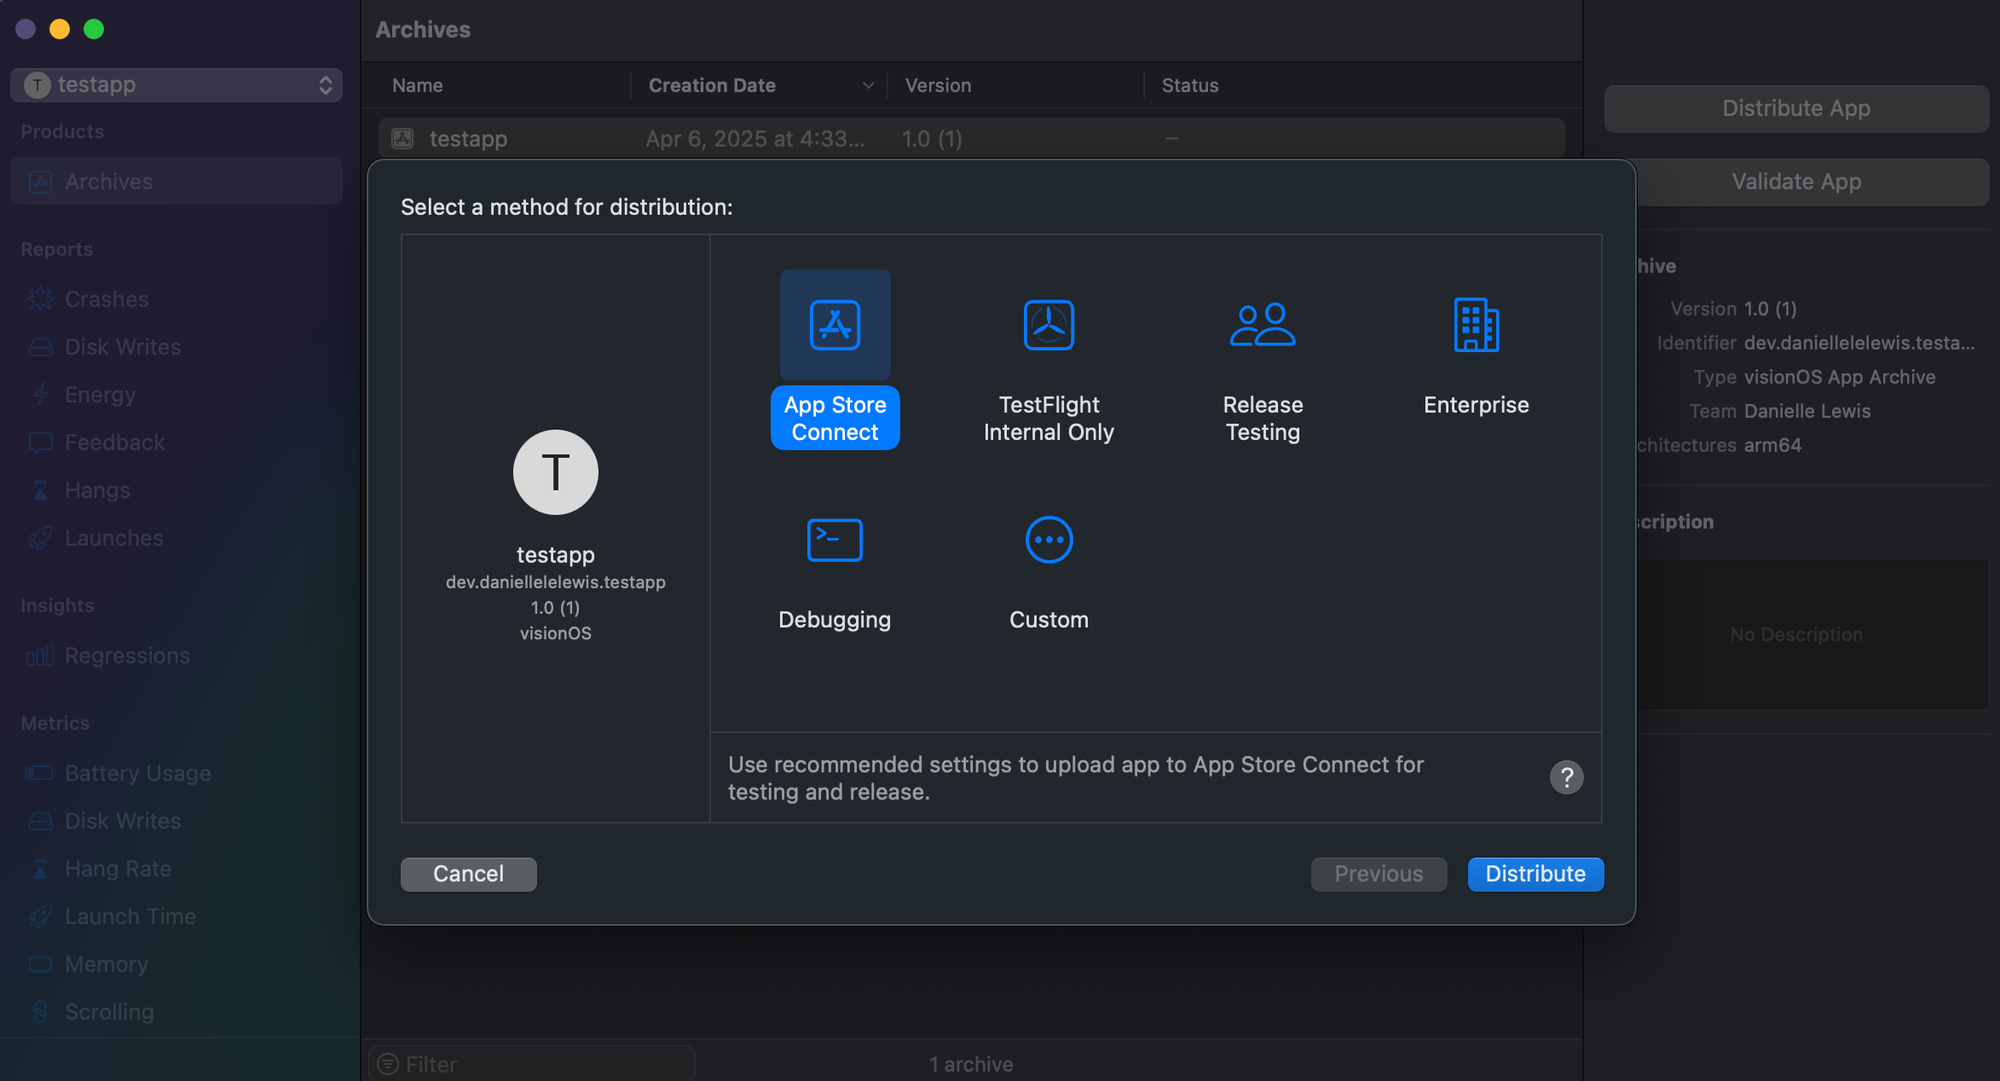
Then click App Store Connect as your distribution method.
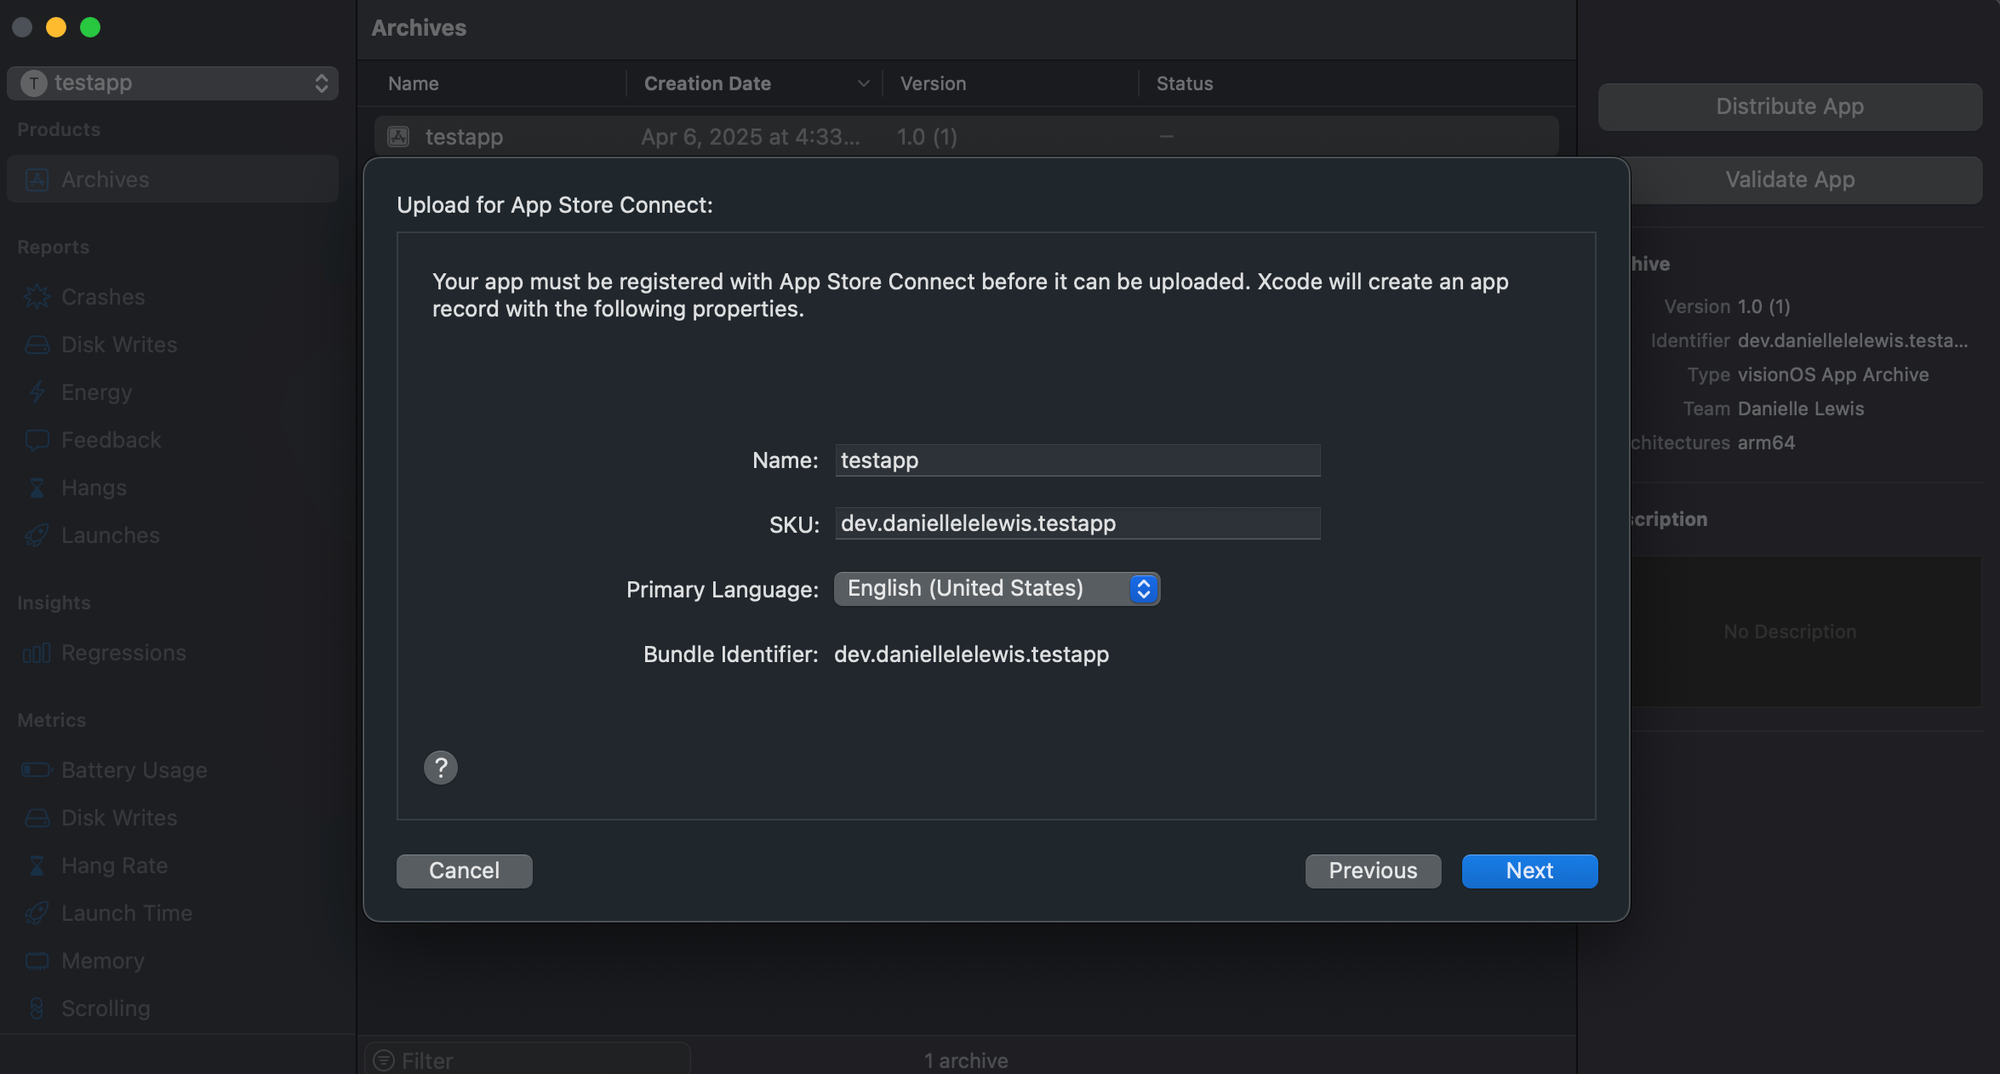
If you did not already create an app record with your bundle ID, you'll see this screen to register your app and create that record. Importantly, the name of your app must be unique. If you try and create an app record with an app name that already exists in the App Store, you will see an error and have to choose a new name.
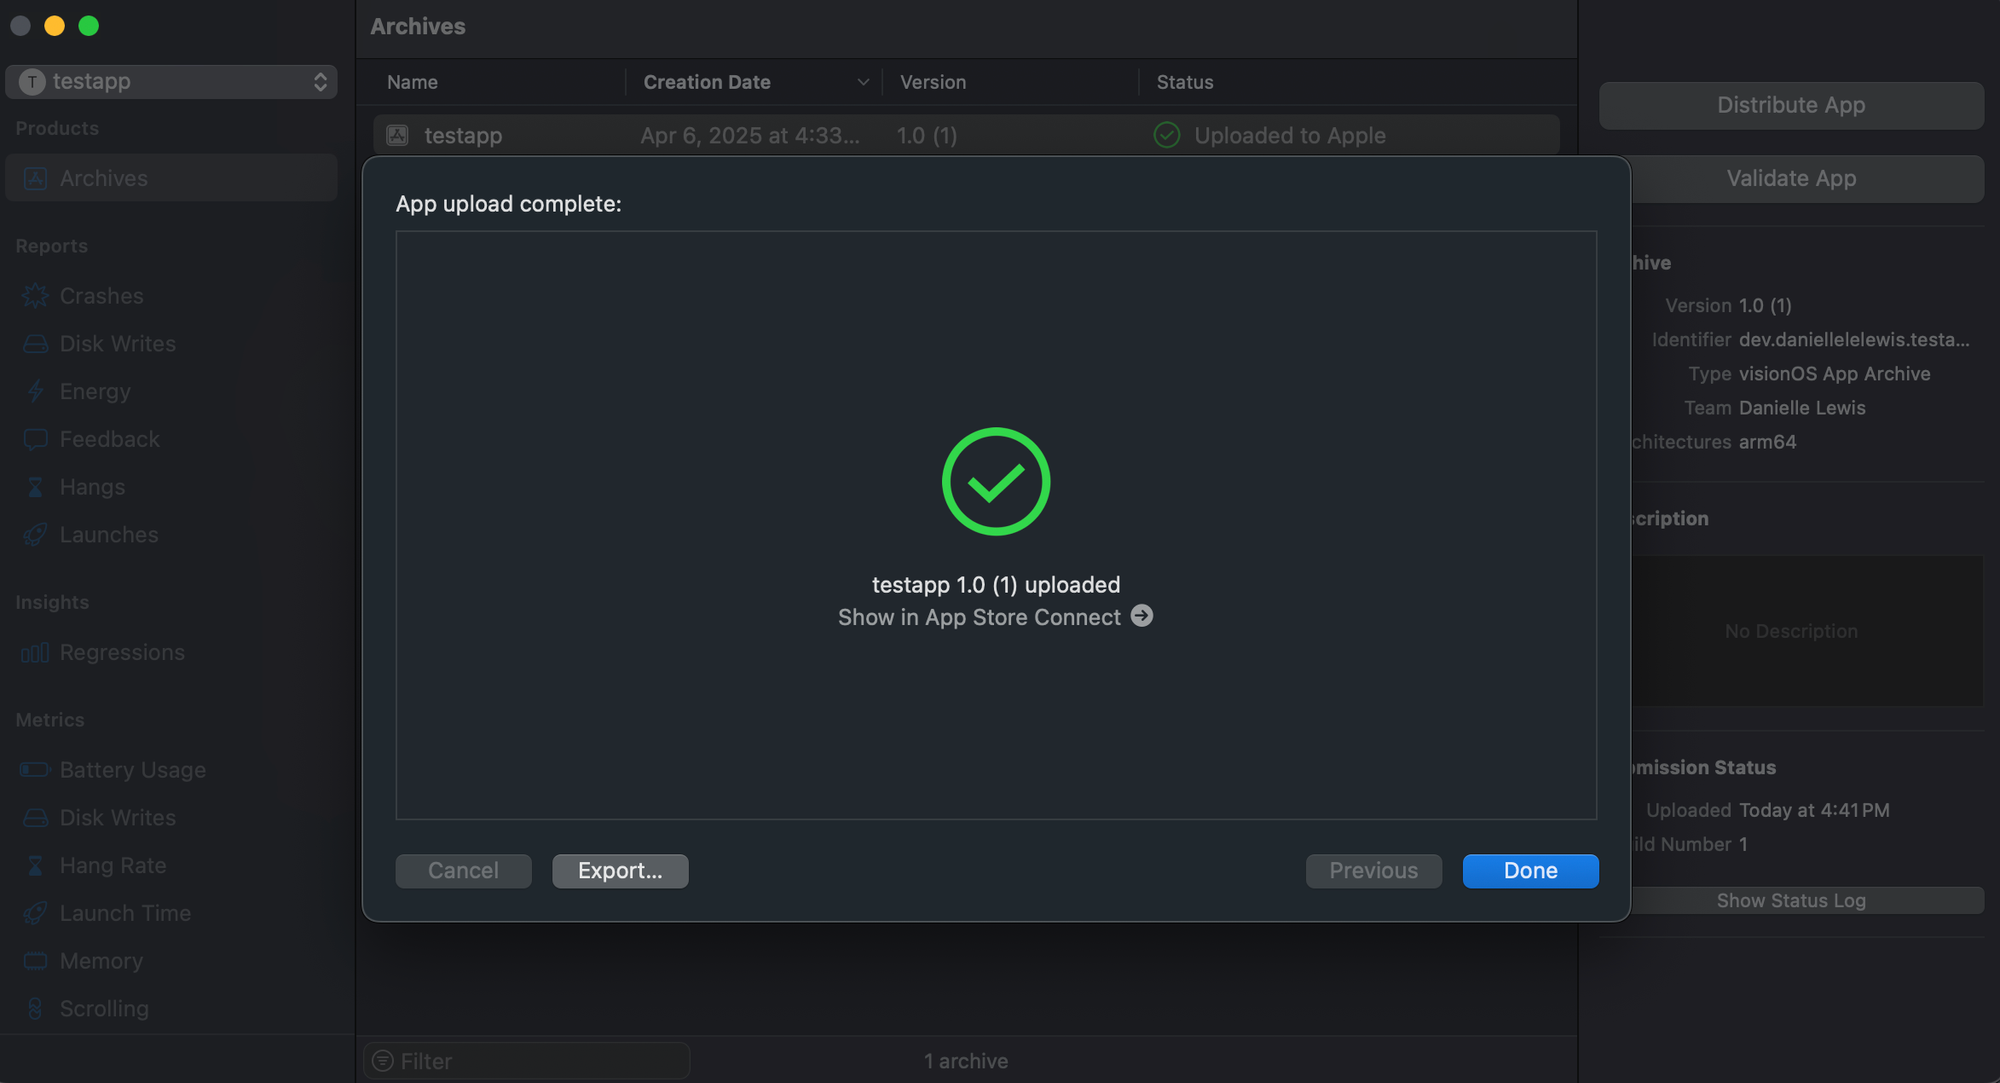
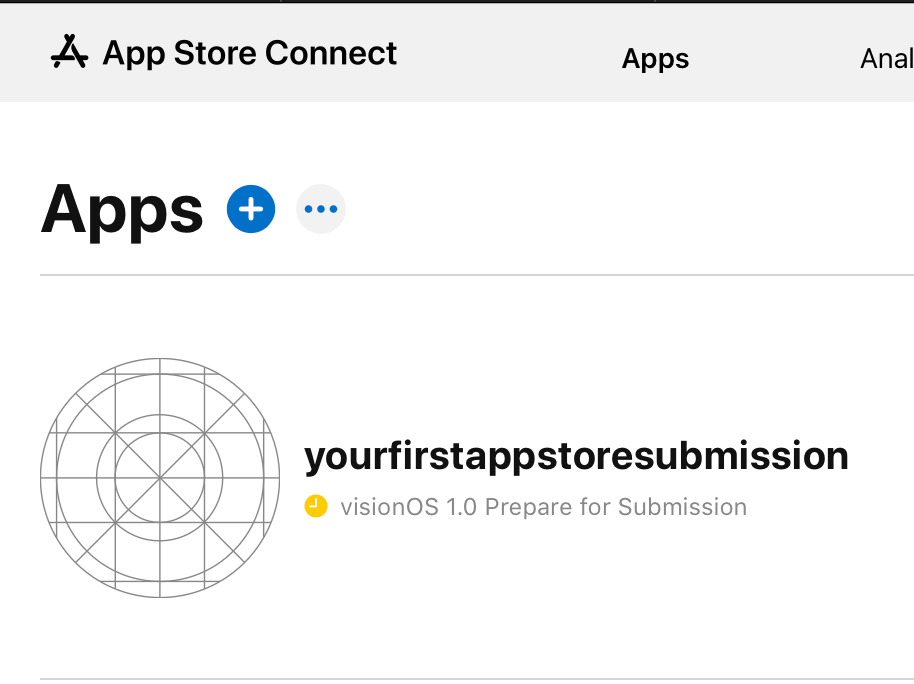
Once your app is successfully uploaded, you may need to wait anywhere between a few seconds to a few minutes for it to appear in App Store Connect. Log in and under the Apps menu, you should see your app. I had to rename mine since testapp was already taken.
Preparing for Submission
Now here comes the part where I originally got tripped up: the requirements for screenshots, privacy policy, and a support page.
Screenshots
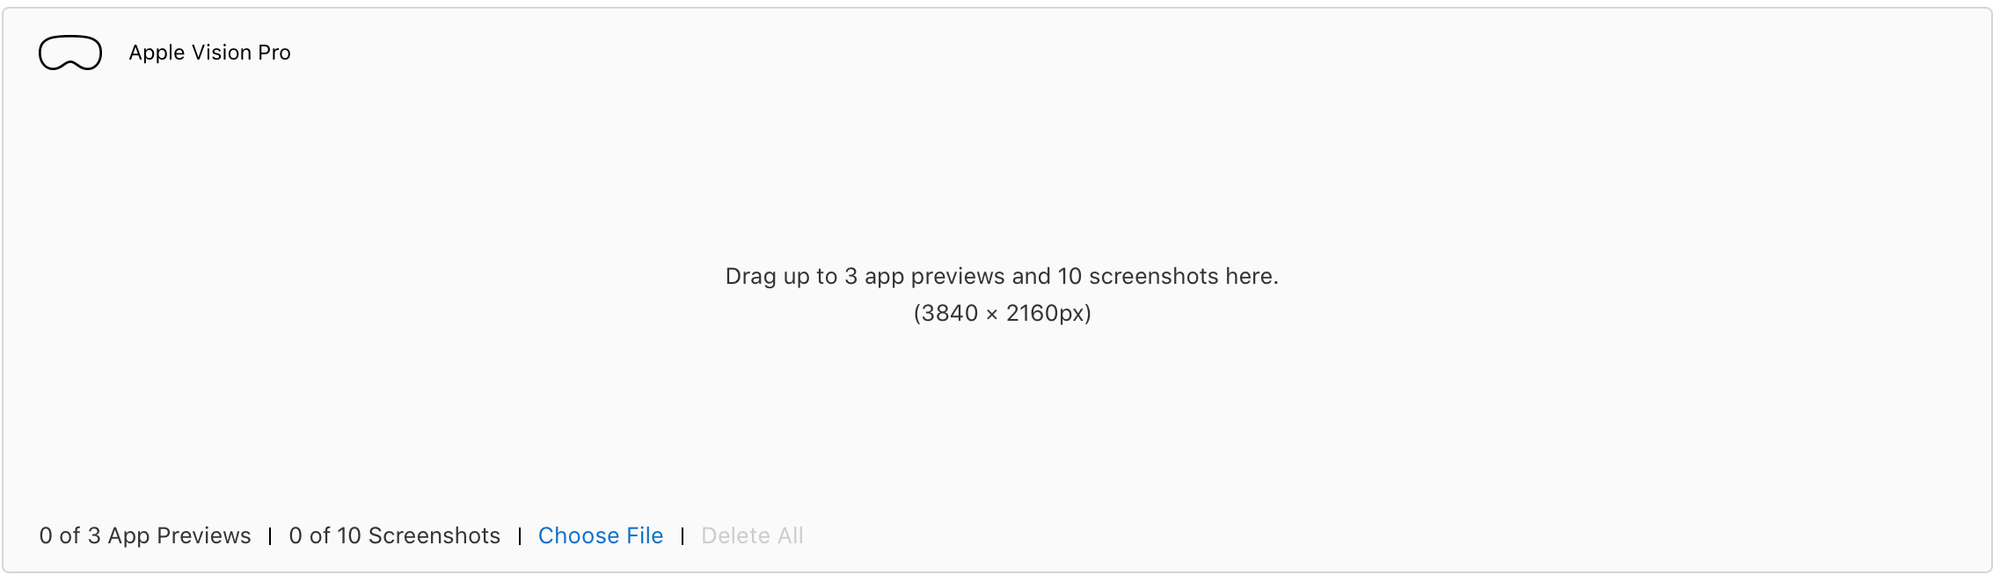
For app screenshots, I like to use an app called Picasso. The screenshot requirements are different depending on which platform you are shipping to. Since my example app is intended for visionOS, the screenshots have to be 3840 x 2160px. You need at least one and they can be taken from the simulator or a physical device. There are plenty of websites and other apps that will also allow you to create app screenshots, add device frames, whatever you may need. I'd advise doing a quick web or App Store search and picking the tool that will work best for your needs. I use Picasso because I can create the screenshots and send them to App Store Connect straight from the app.
Then we can start filling out the required fields for the app's metadata.
Metadata
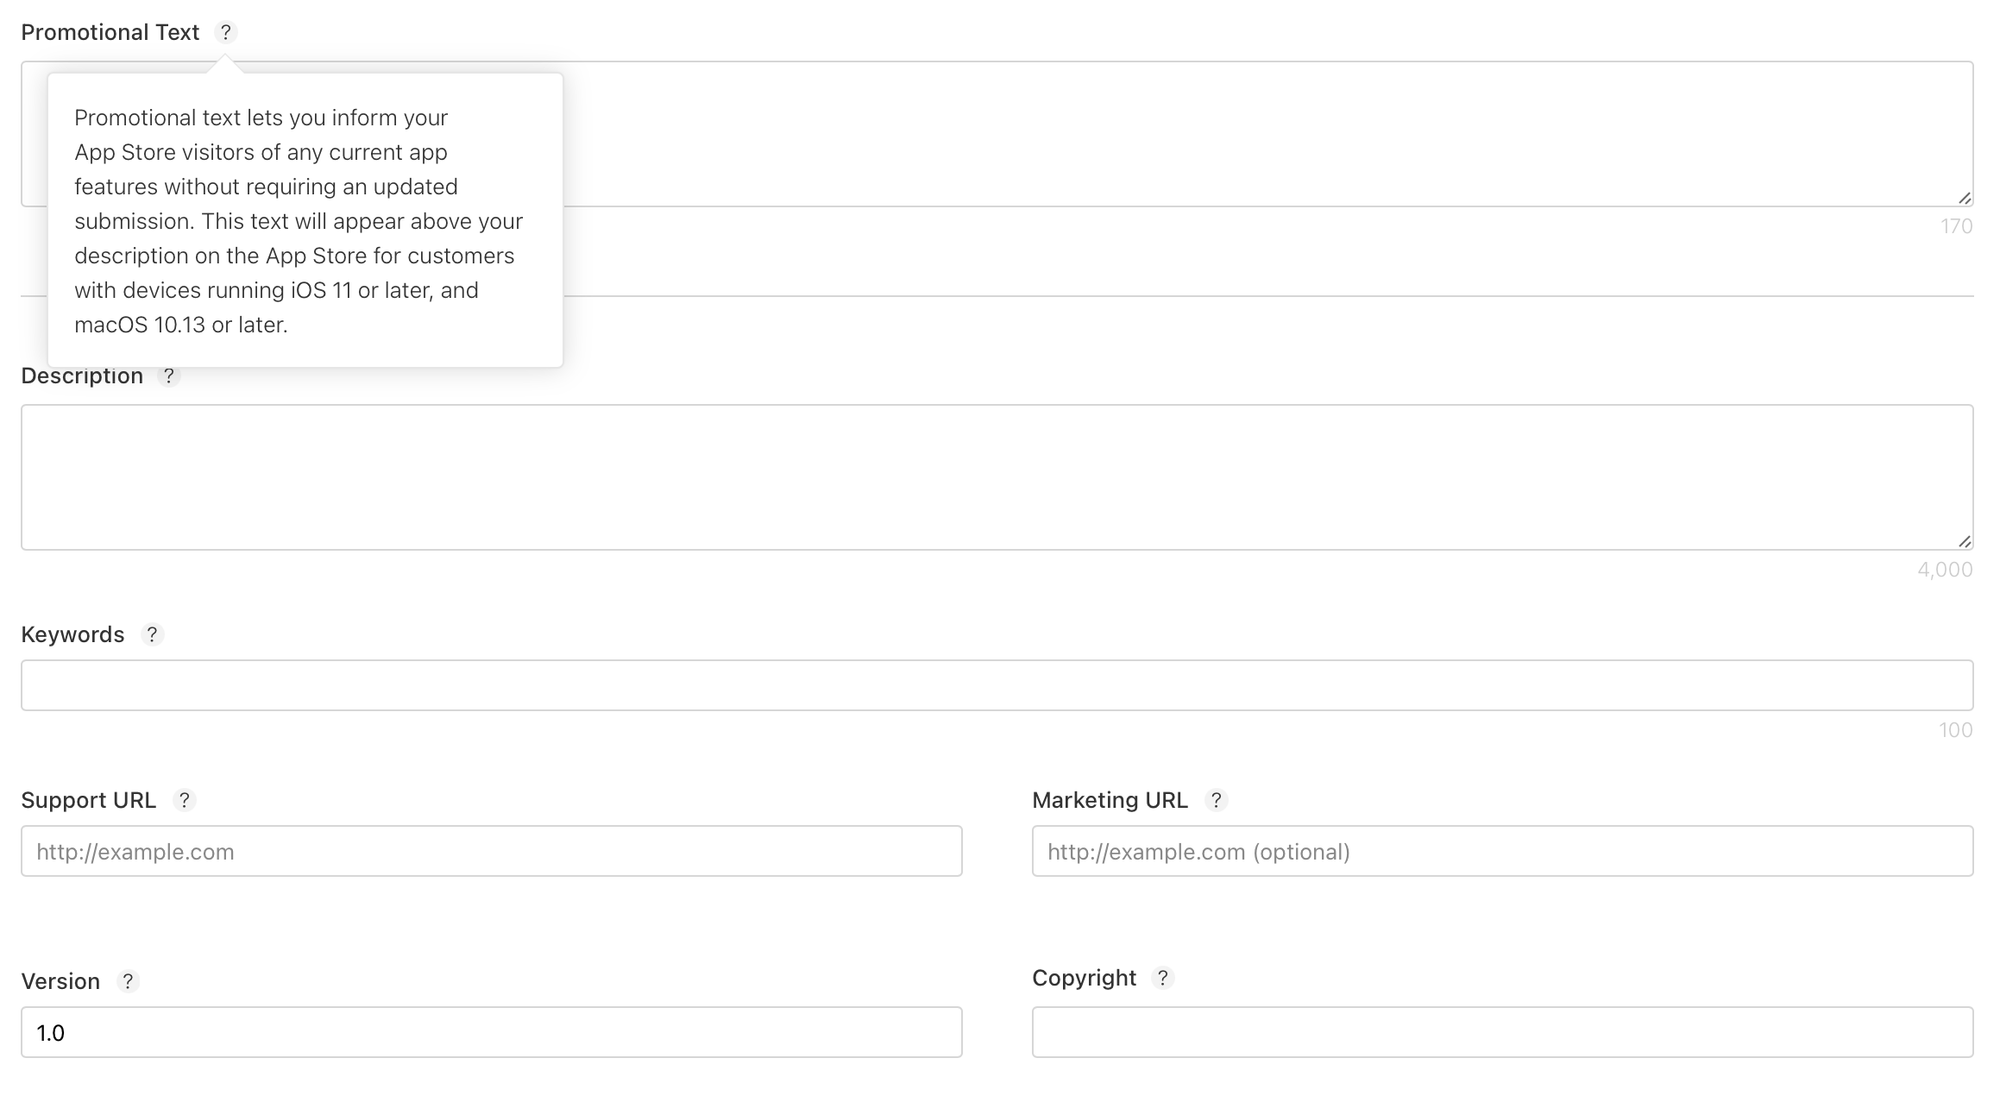
If you want some more context for what each of these fields are for, clicking the question mark icon next to the field name will provide additional details. All of these fields shown above are required except for the Promotional Text and Marketing URL.
The Promotional Text can describe any new features and does not require a new build to change.
The Description will be the description in your App Store listing.
The Keywords are relevant for ASO (App Store Optimization) which is basically the App Store version of SEO (Search Engine Optimization). These will not be visible on your App Store listing. There are plenty of tools and resources to help with ASO and going into details about that would require a whole new blog post so I'll leave it to you to look into ASO further.
Add your copyright information under the Copyright field. Any advice on what to put there would be too close to legal advice for my liking, which I cannot legally give. I'll leave it up to you to look at other App Store listings and do your own research to figure out what's best for your individual app.
Support URL
For the Support URL, there's a few different ways you can handle this. When I was pumping out apps quickly, I created social media pages for app support and linked them. Now that I have a website, I've been creating support pages and using Formspree to embed forms for submission.
Knowing what I know now, if I wanted to ship quickly and still make sure I was able to collect feedback, I would just use Google Forms. You can create a template for your feedback/support form and reuse it for all of your apps. It also comes with a URL that you can paste into the Support URL field in App Store Connect. Easy.
App Motion Information
Next, we have to specify if our app contains high or frequent motion so that Apple can warn users who may be sensitive to that for any reason. Just click the "Set Up" link and choose Yes or No.


Add Build
Next, we have to upload the build that we archived earlier. Press the "Add Build" button and select the build, then press done.
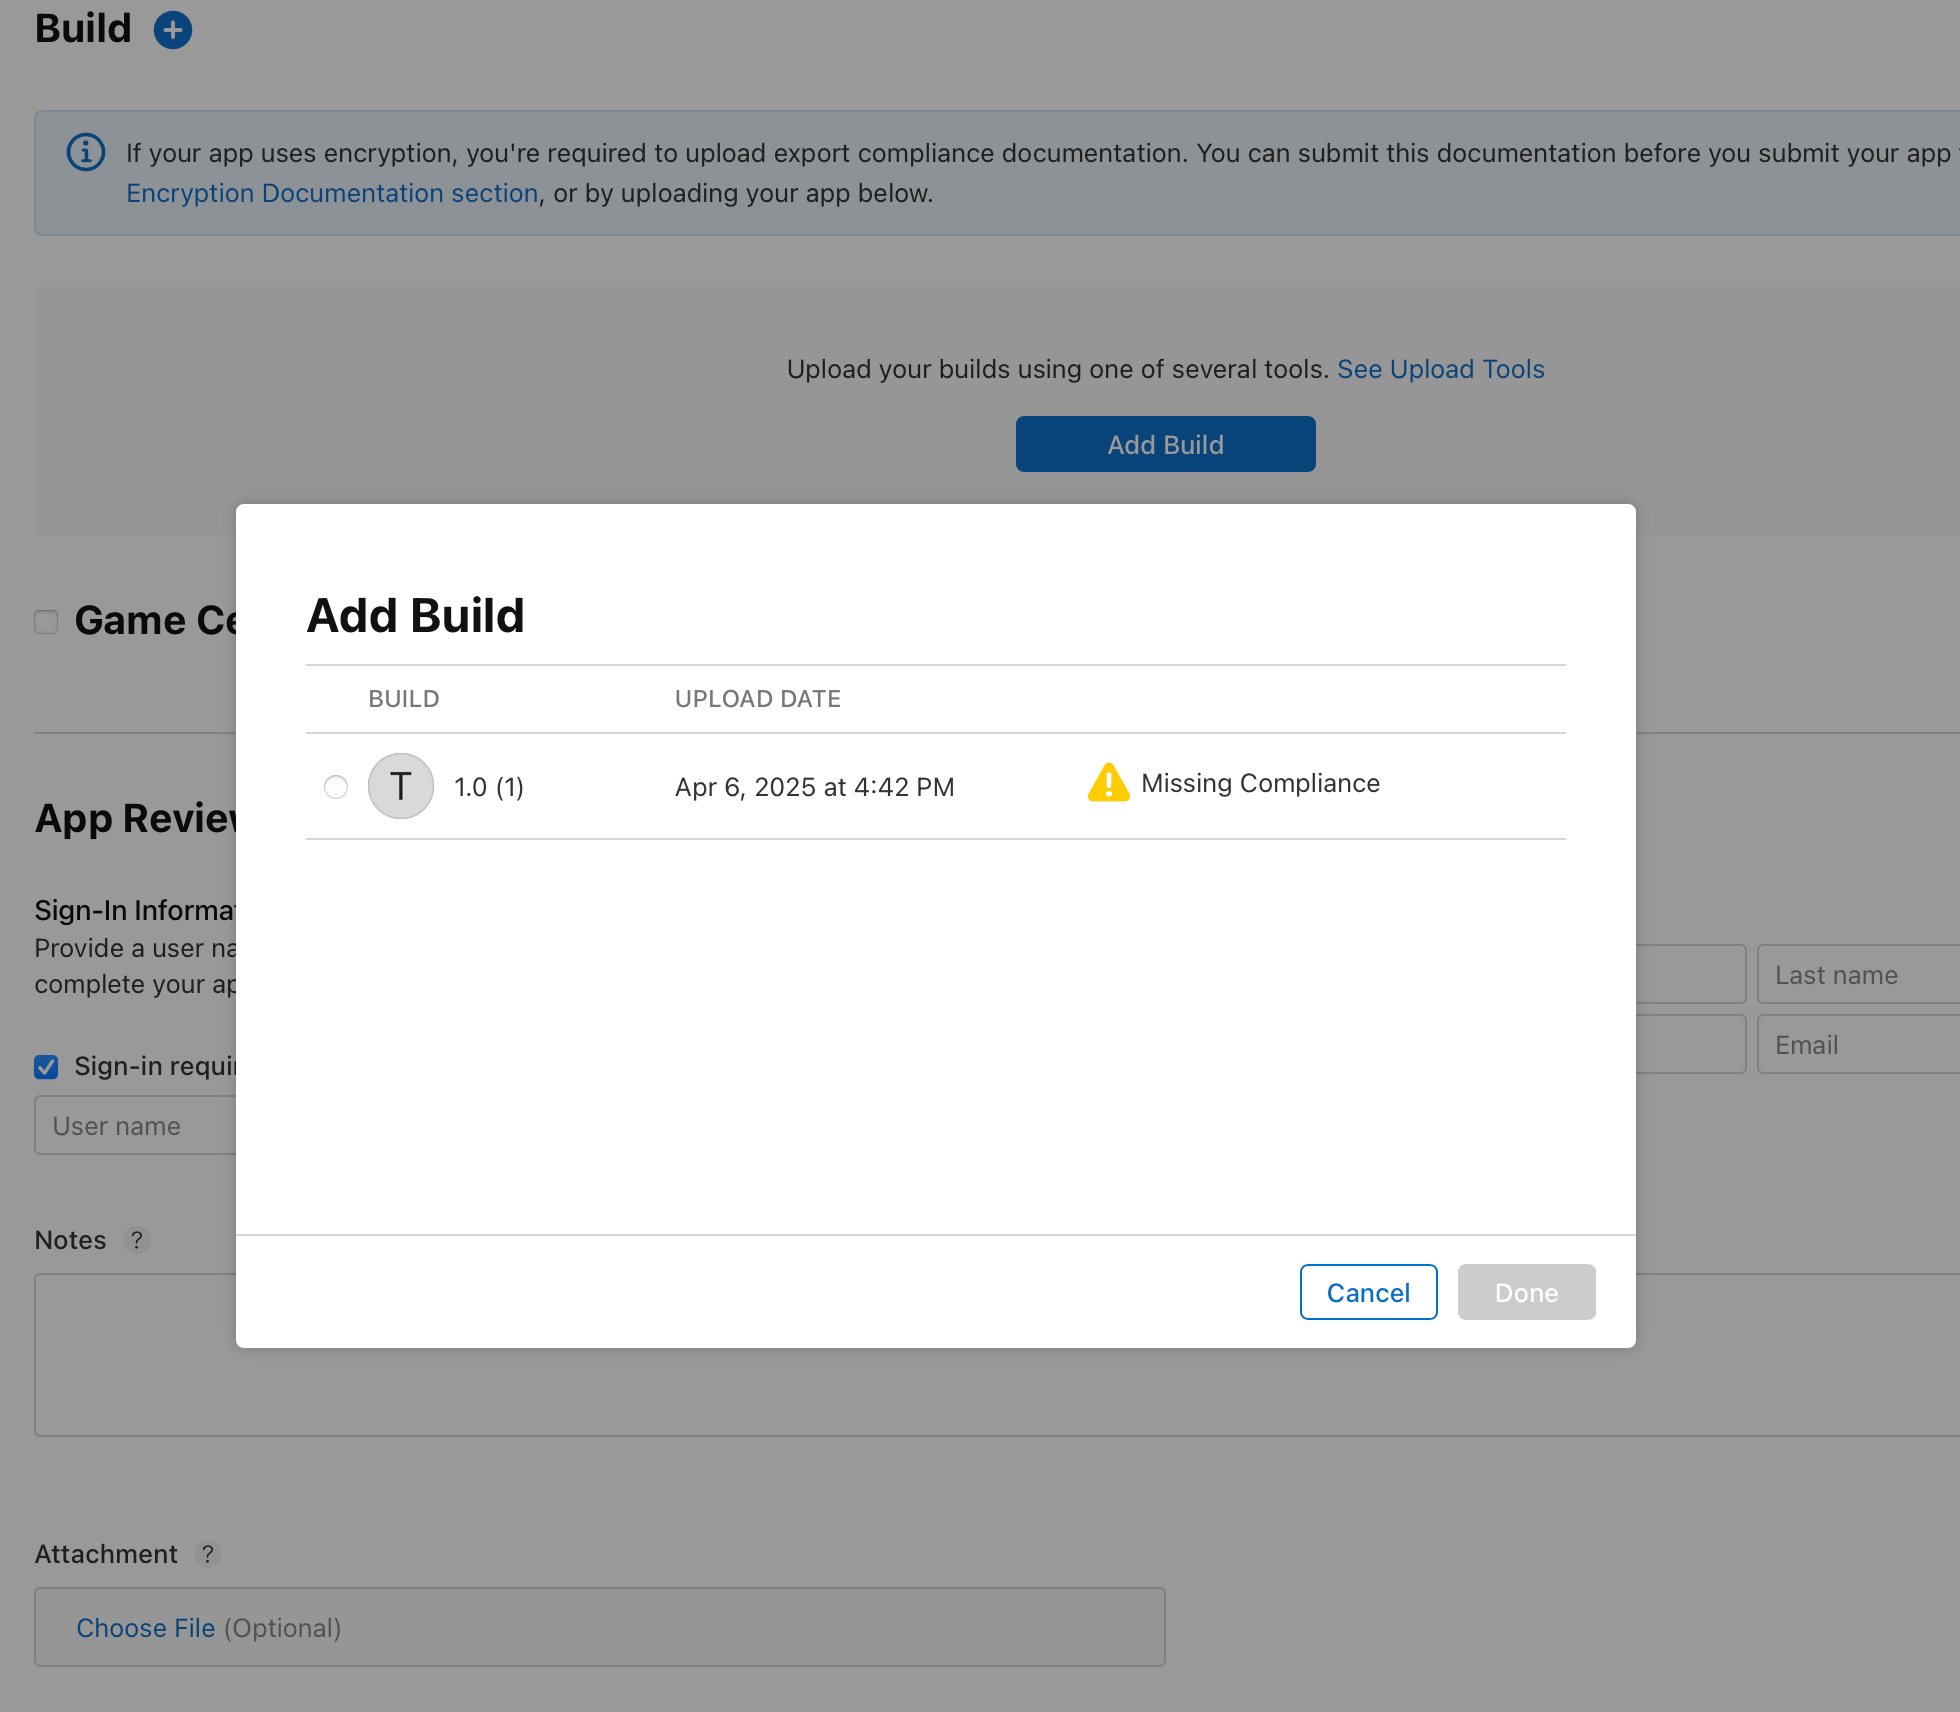
You should then see the build and the Missing Compliance warning.
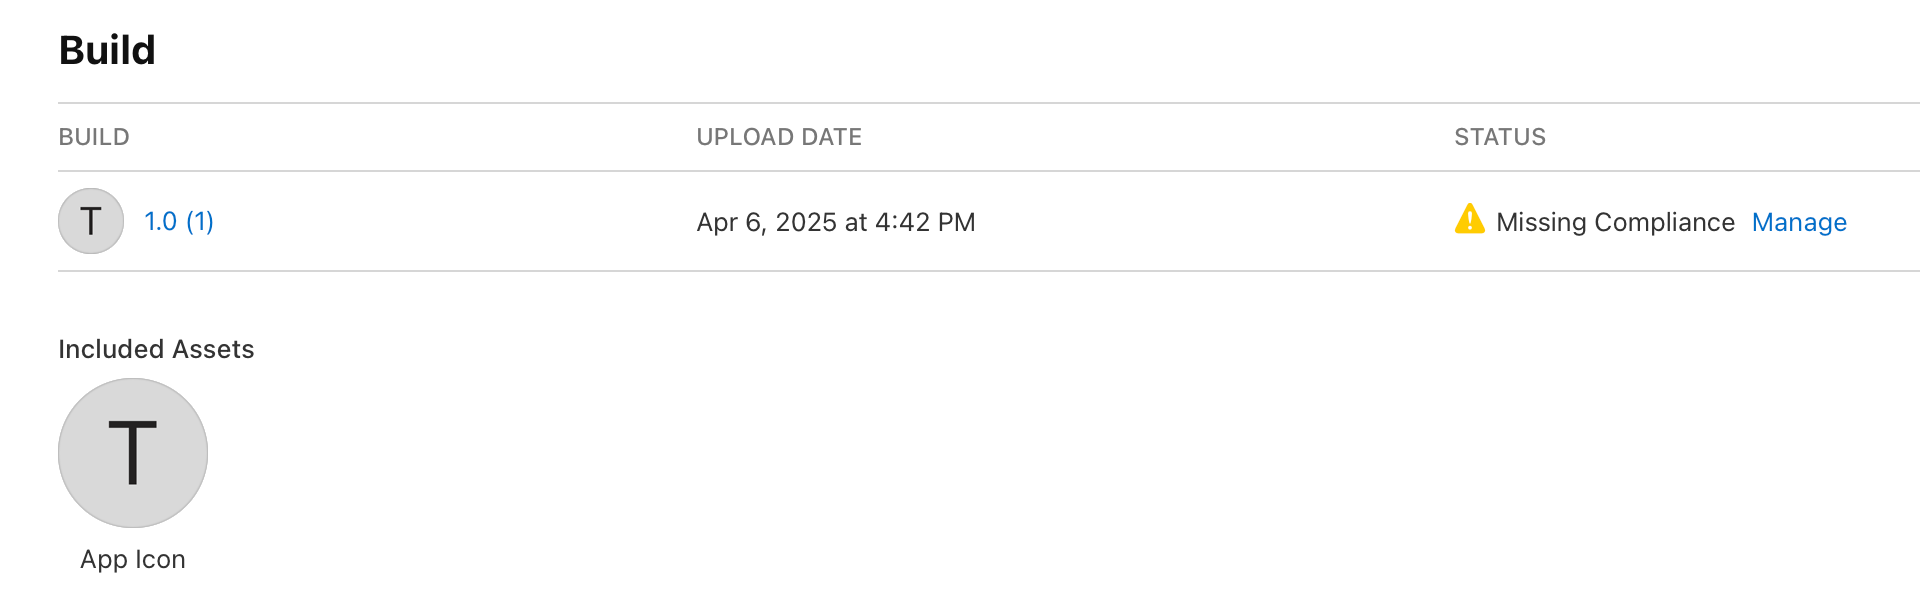
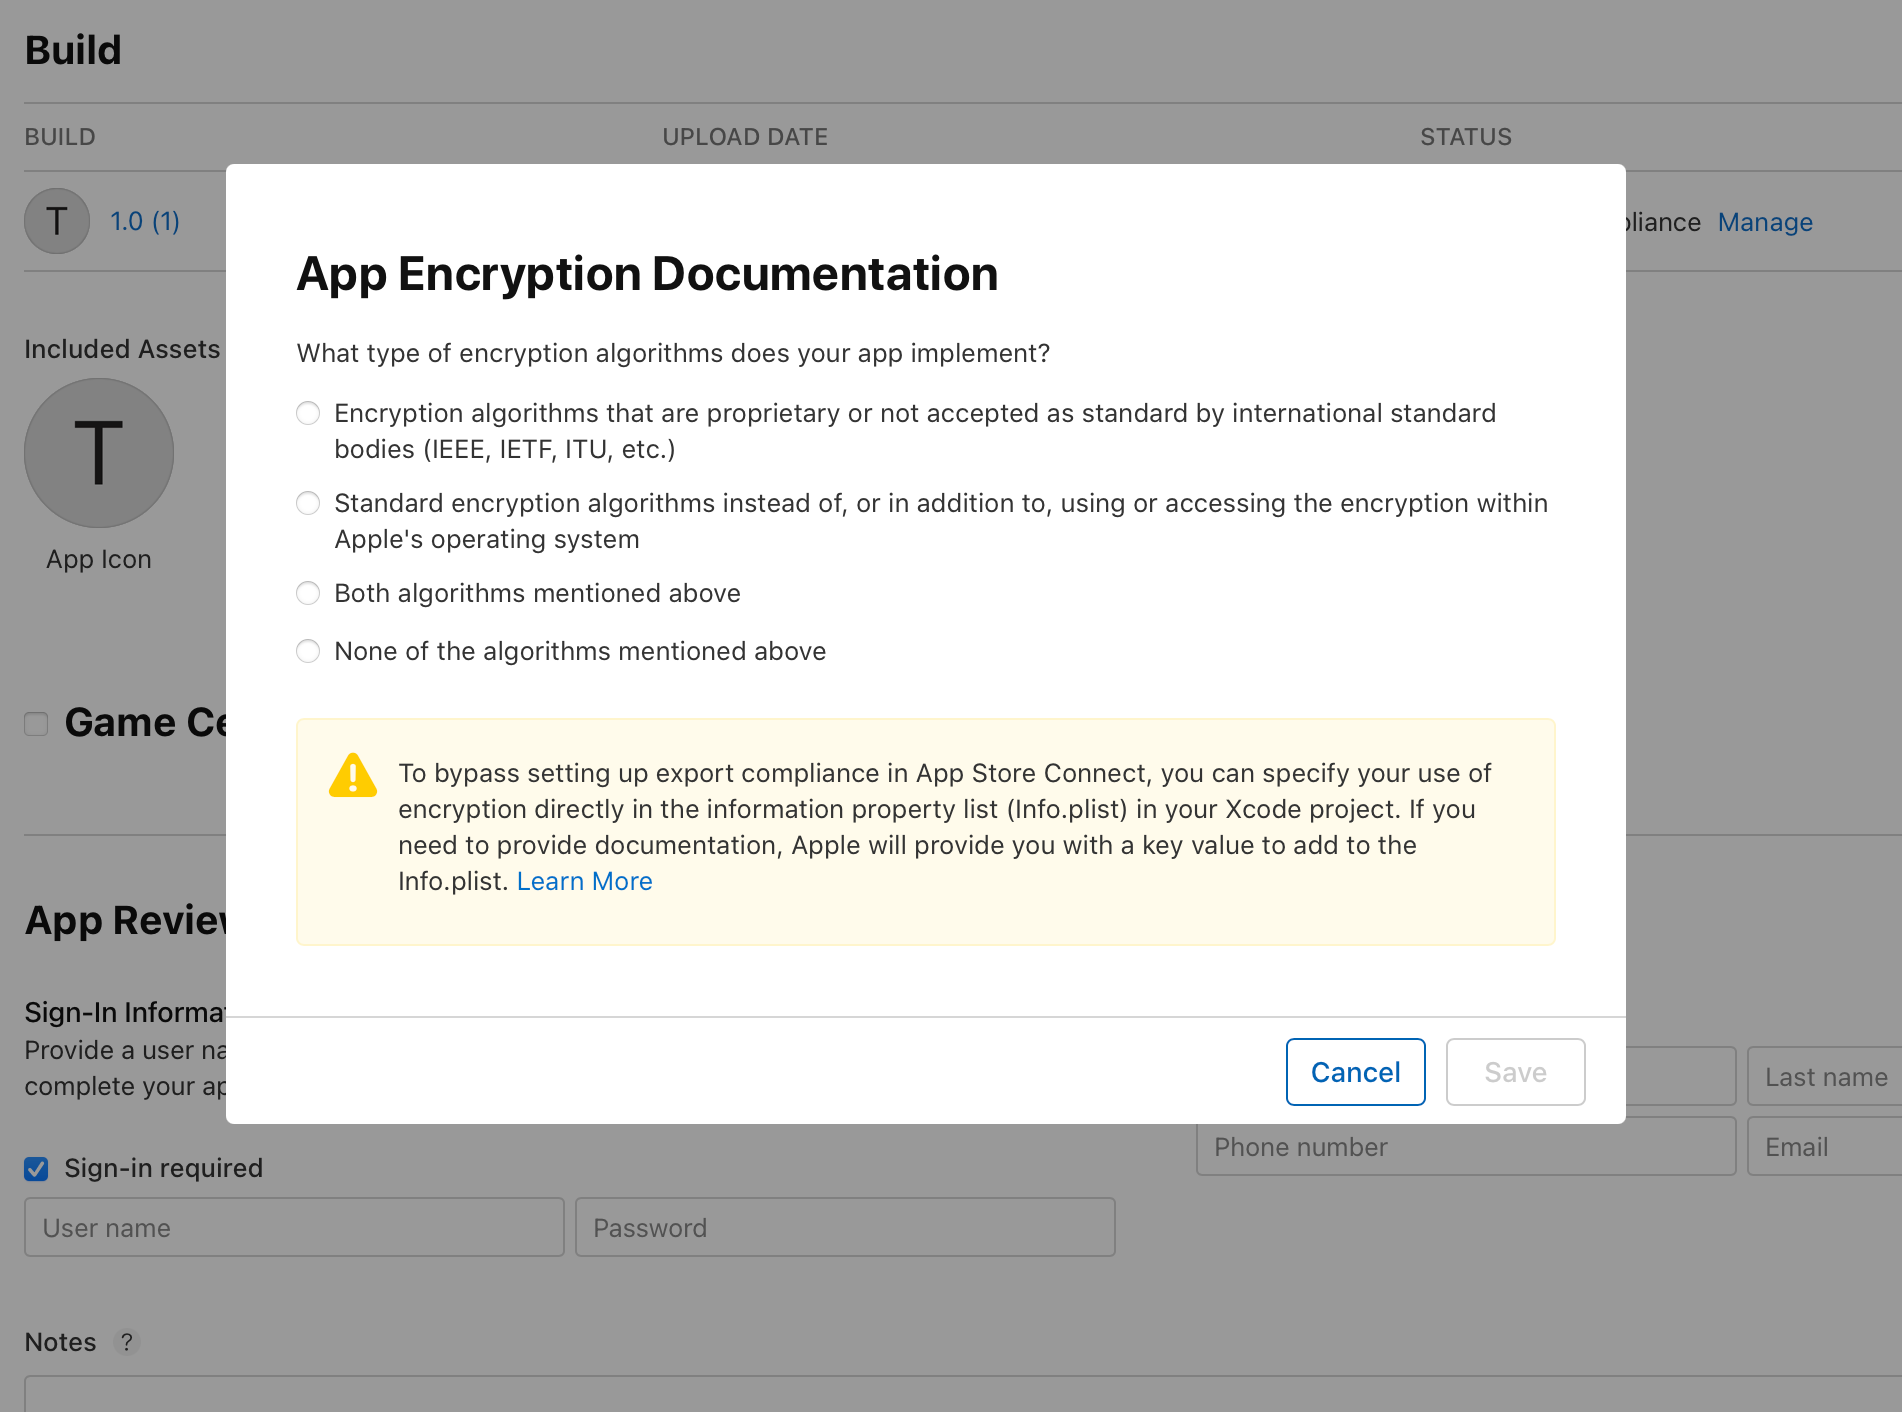
Clicking "Manage" next to the Missing Compliance warning will bring up a window for you to specify what type of encryption algorithms your app implements. My app does not implement and encryption algorithms so I will select "None of the algorithms mentioned above" and click save. If your app uses encryption, be sure to select the correct option here.
App Review Information
If your app requires users to sign-in, you will need to provide credentials for the App Review team. If not, you can uncheck "Sign-in required."
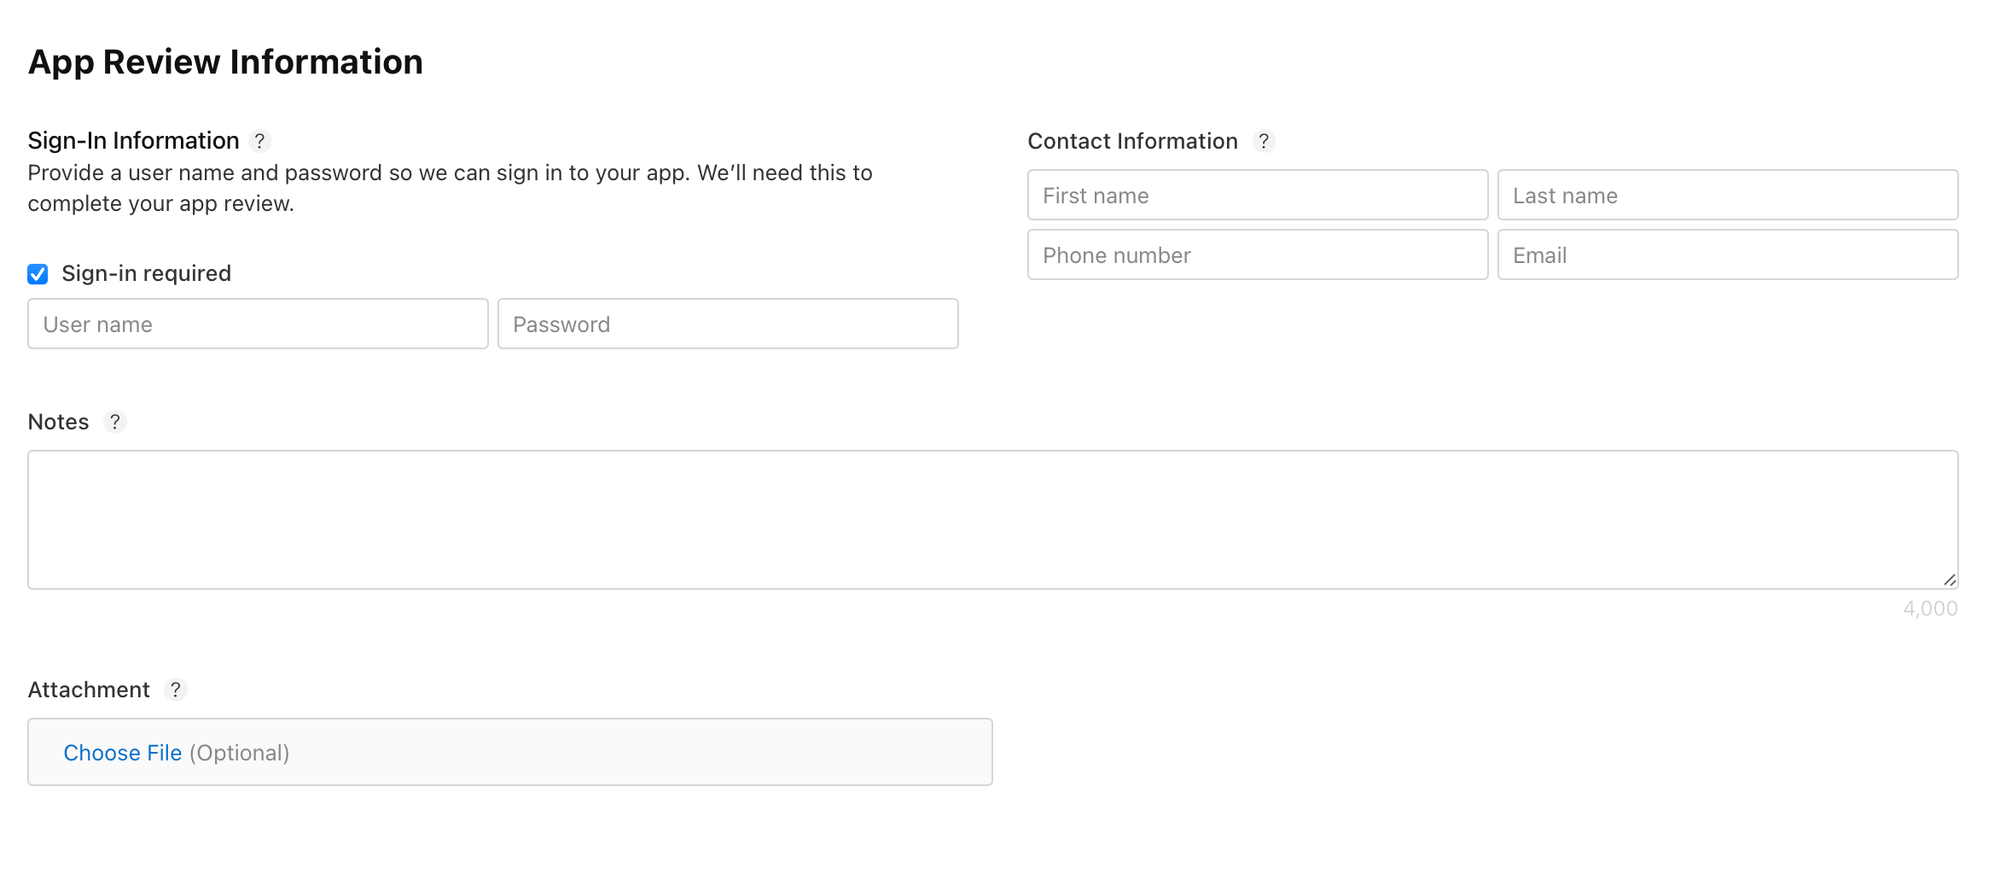
Fill in Contact Information for someone in your organization (or yourself) that can be contacted by the App Review team if they have questions or issues.
You can also include any notes here if there are specific instructions you'd like to pass on to the reviewers. This can be helpful for telling them how to sign-in, how to use the features of your app, or whatever information you think they may need to complete their review.
Save!
After all of the required fields are filled out, be sure to scroll back to the top of the page and press the "Save" button. Do not submit now because are not done yet. There are still more required fields.
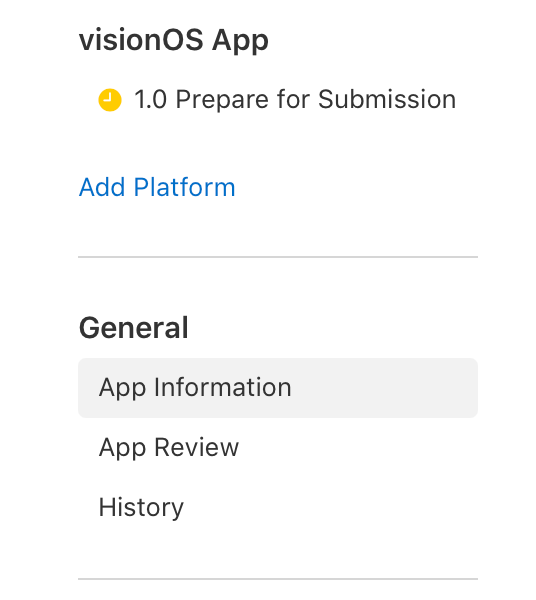
App Information
Next, we need to click on "App Information" in the menu on the left (leading?) side of the screen.
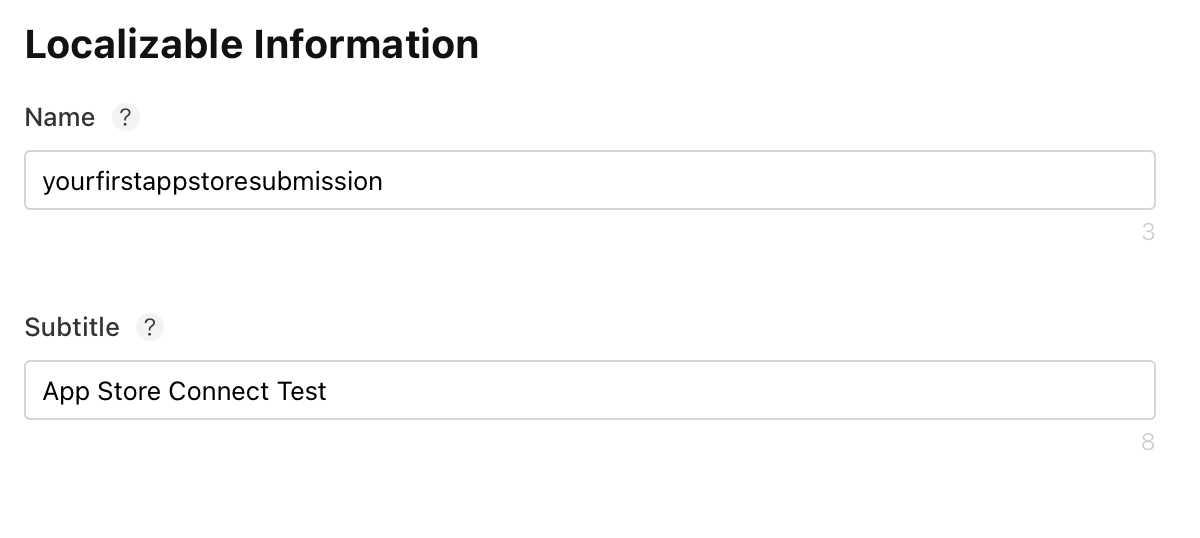
First, we can add a Subtitle which will appear underneath our app name in search results and on the listing itself. Keep in mind that the subtitle also has ASO implications so choose something concise and relevant. There's a 30 character limit here.
Next, we have to set up our app category and content rights information.
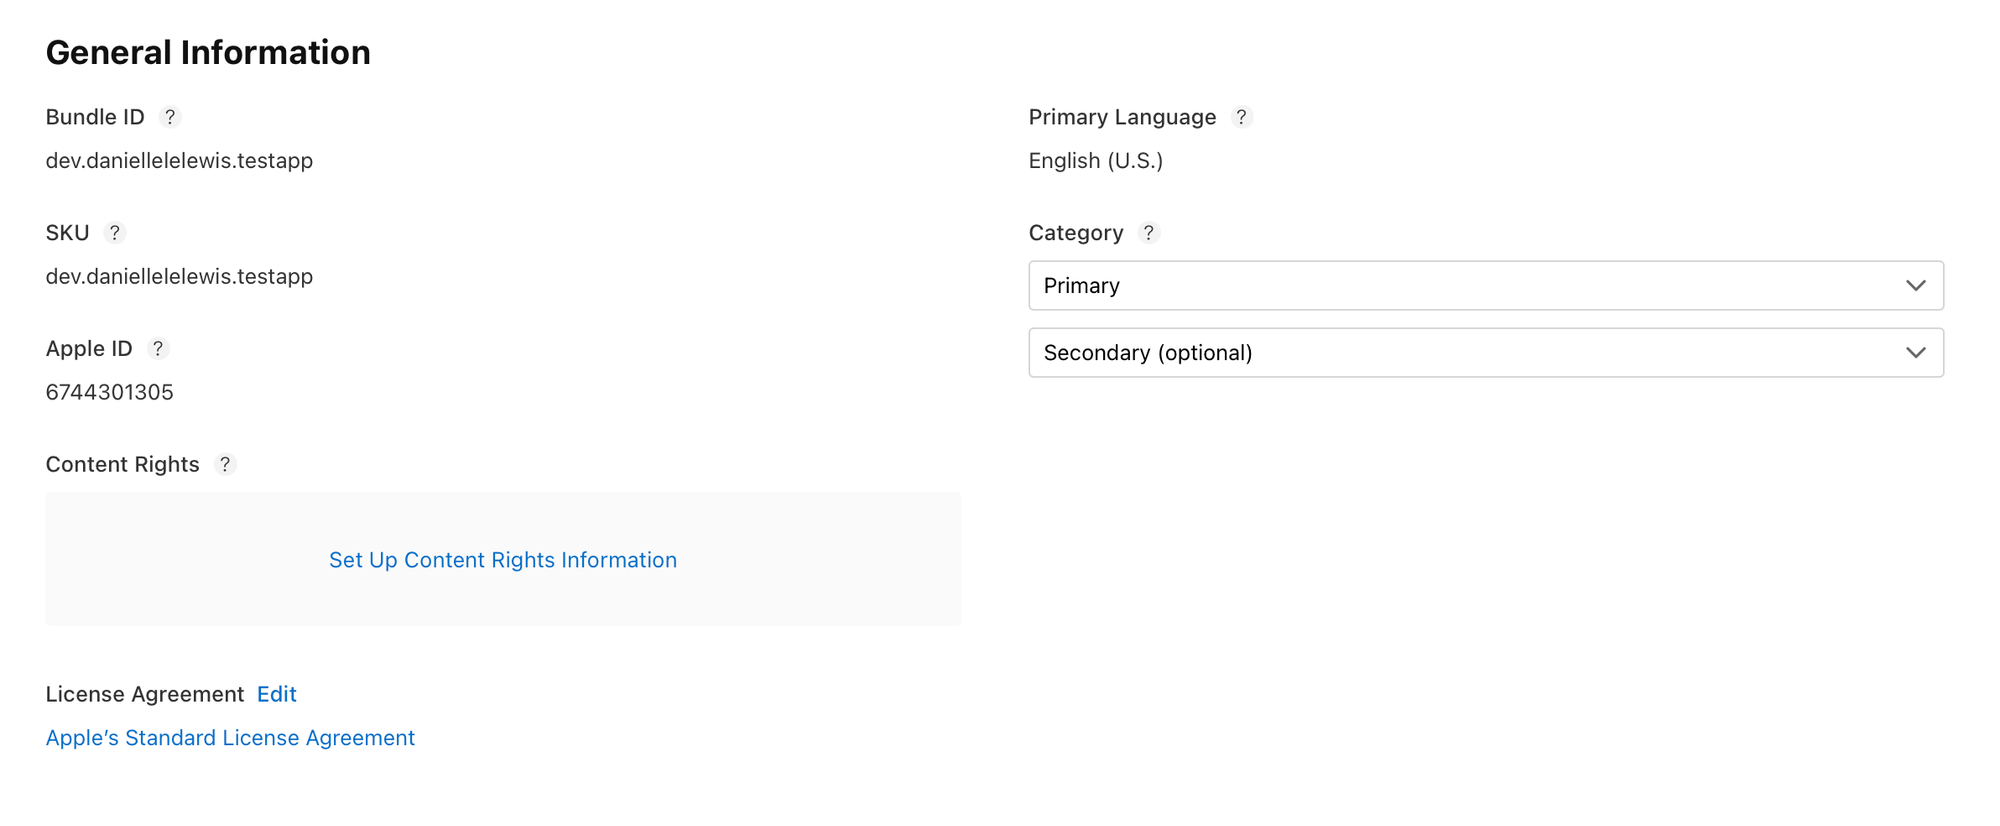
For the app category, the Primary category is required but the Secondary category is optional. There is a list you can choose from, so choose whichever category you believe best suits your application.
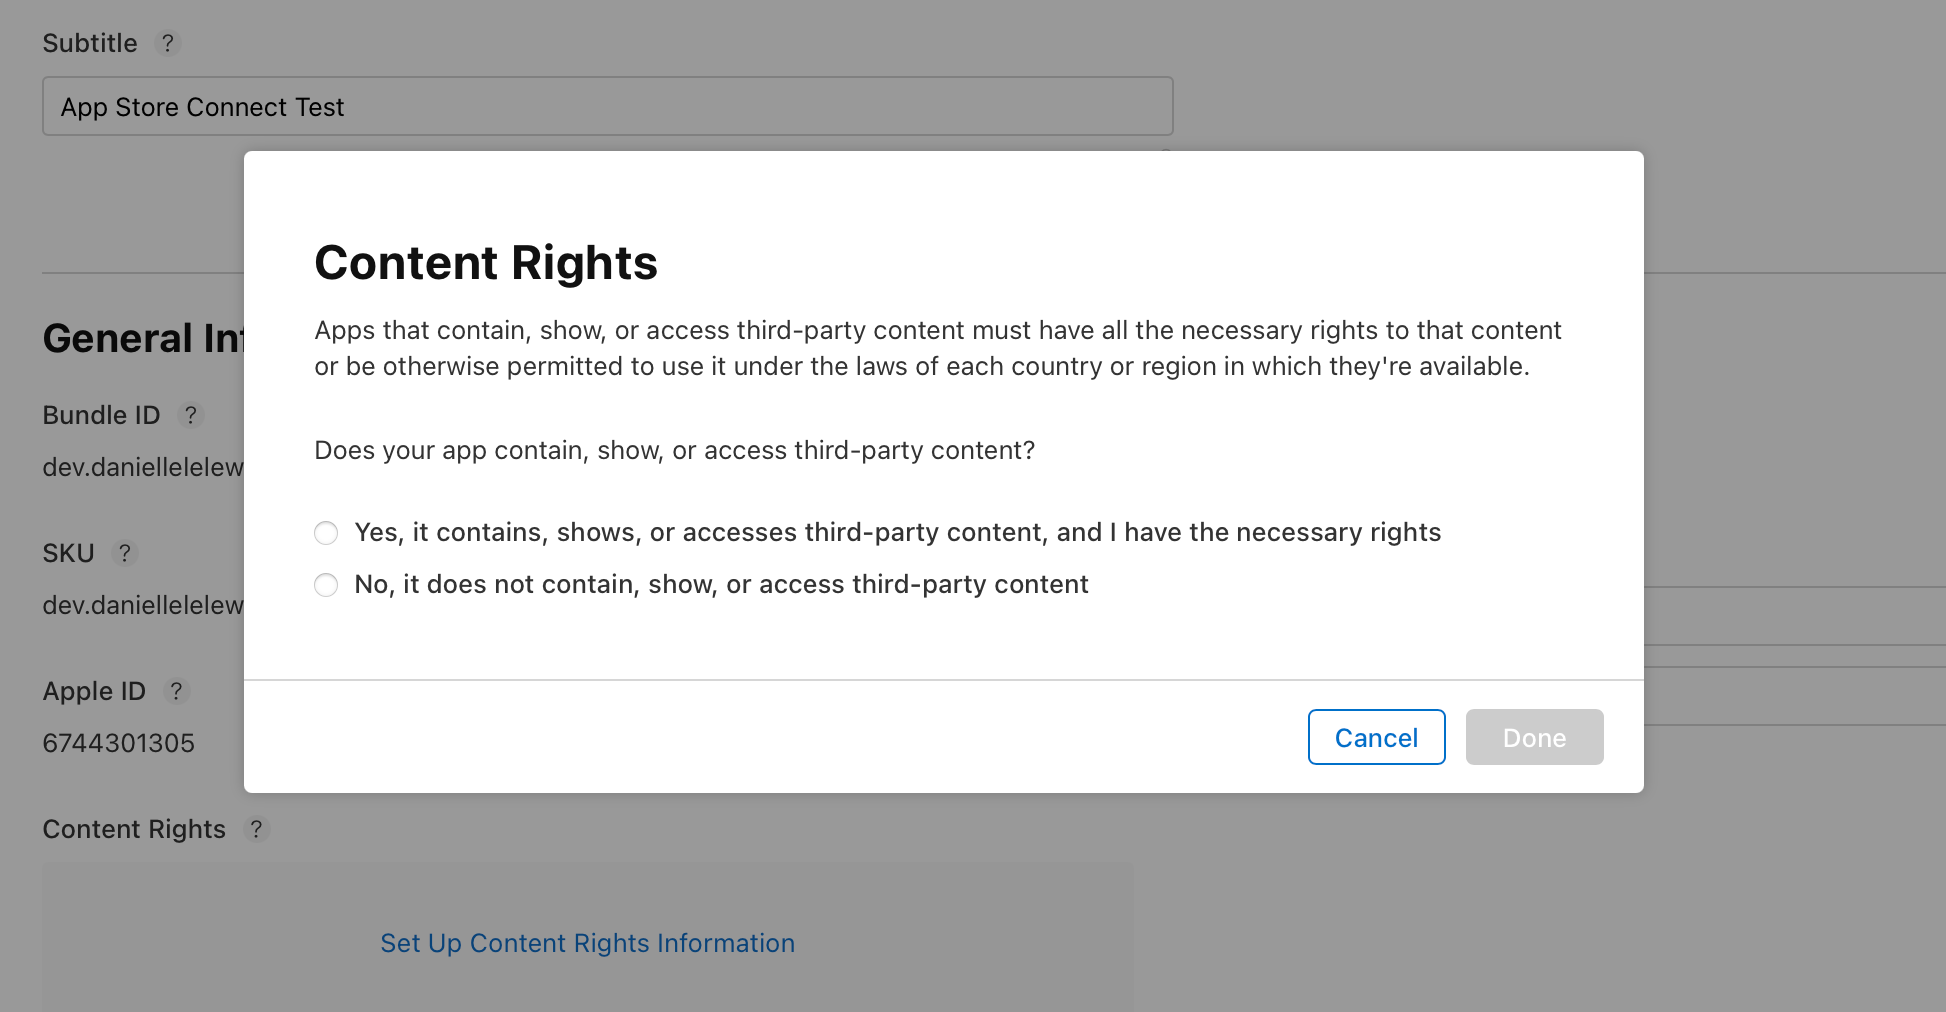
For content rights, choose whether your app contains third-party content and certify that you have the necessary rights if it does.
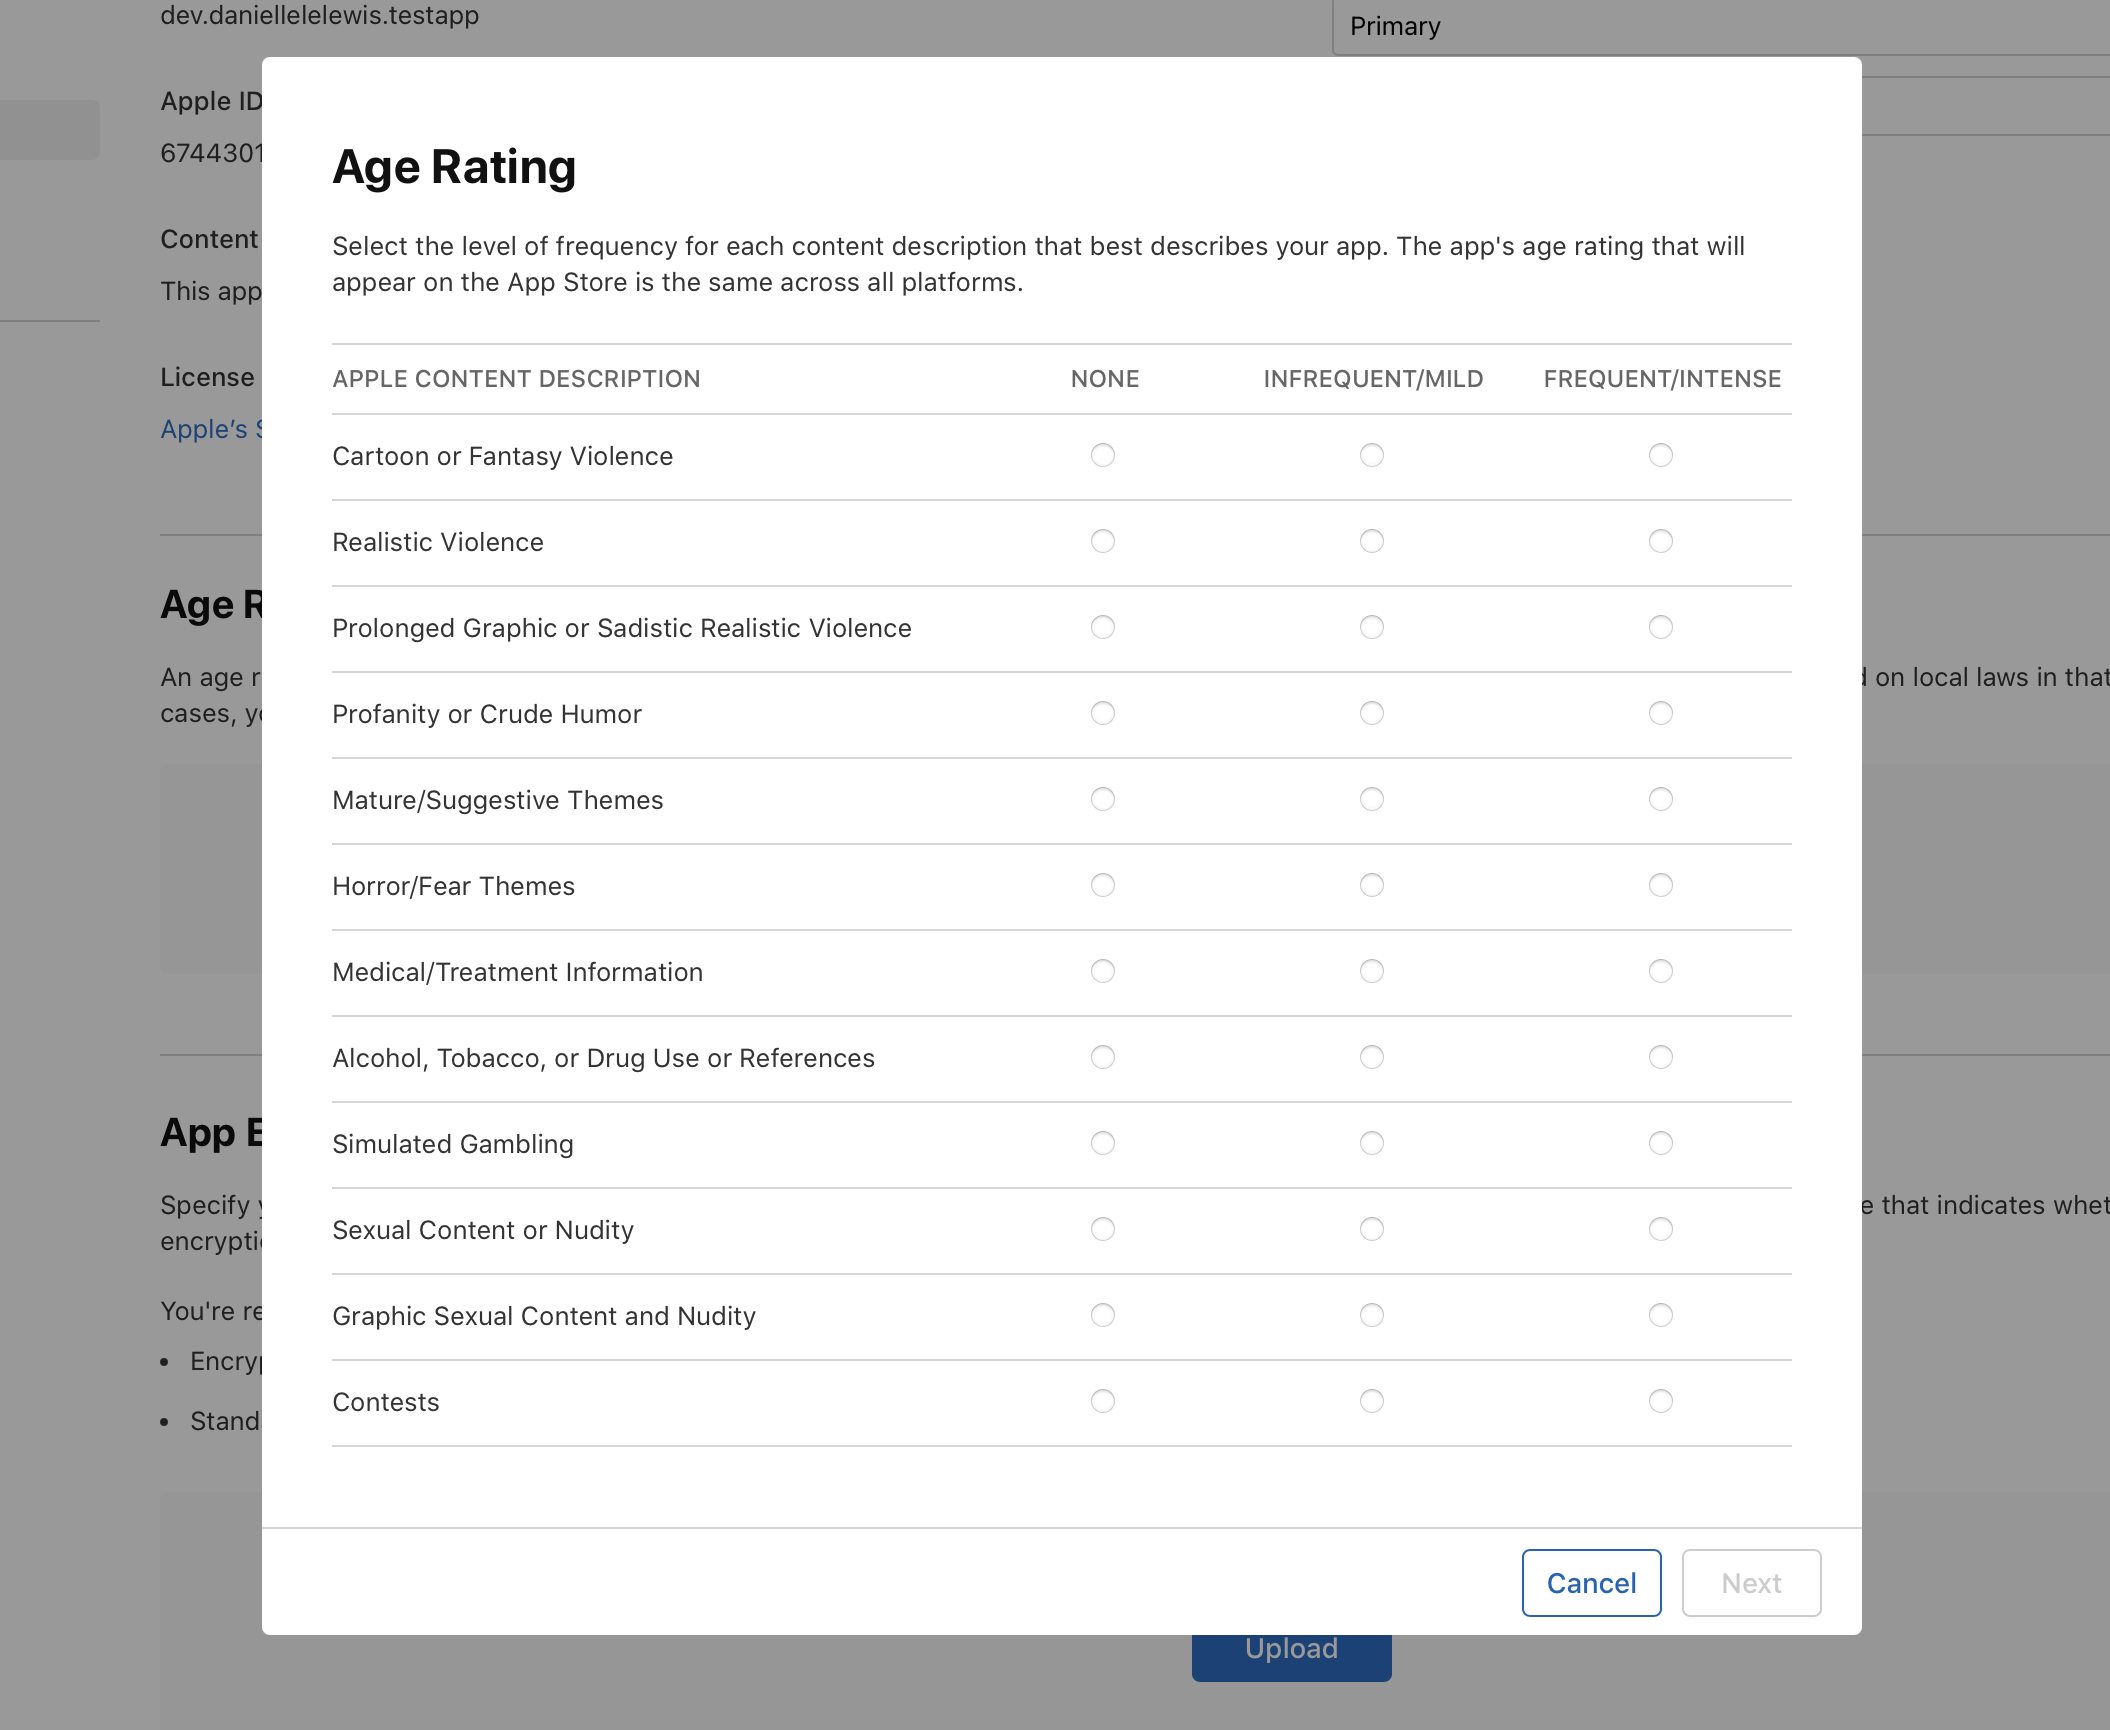
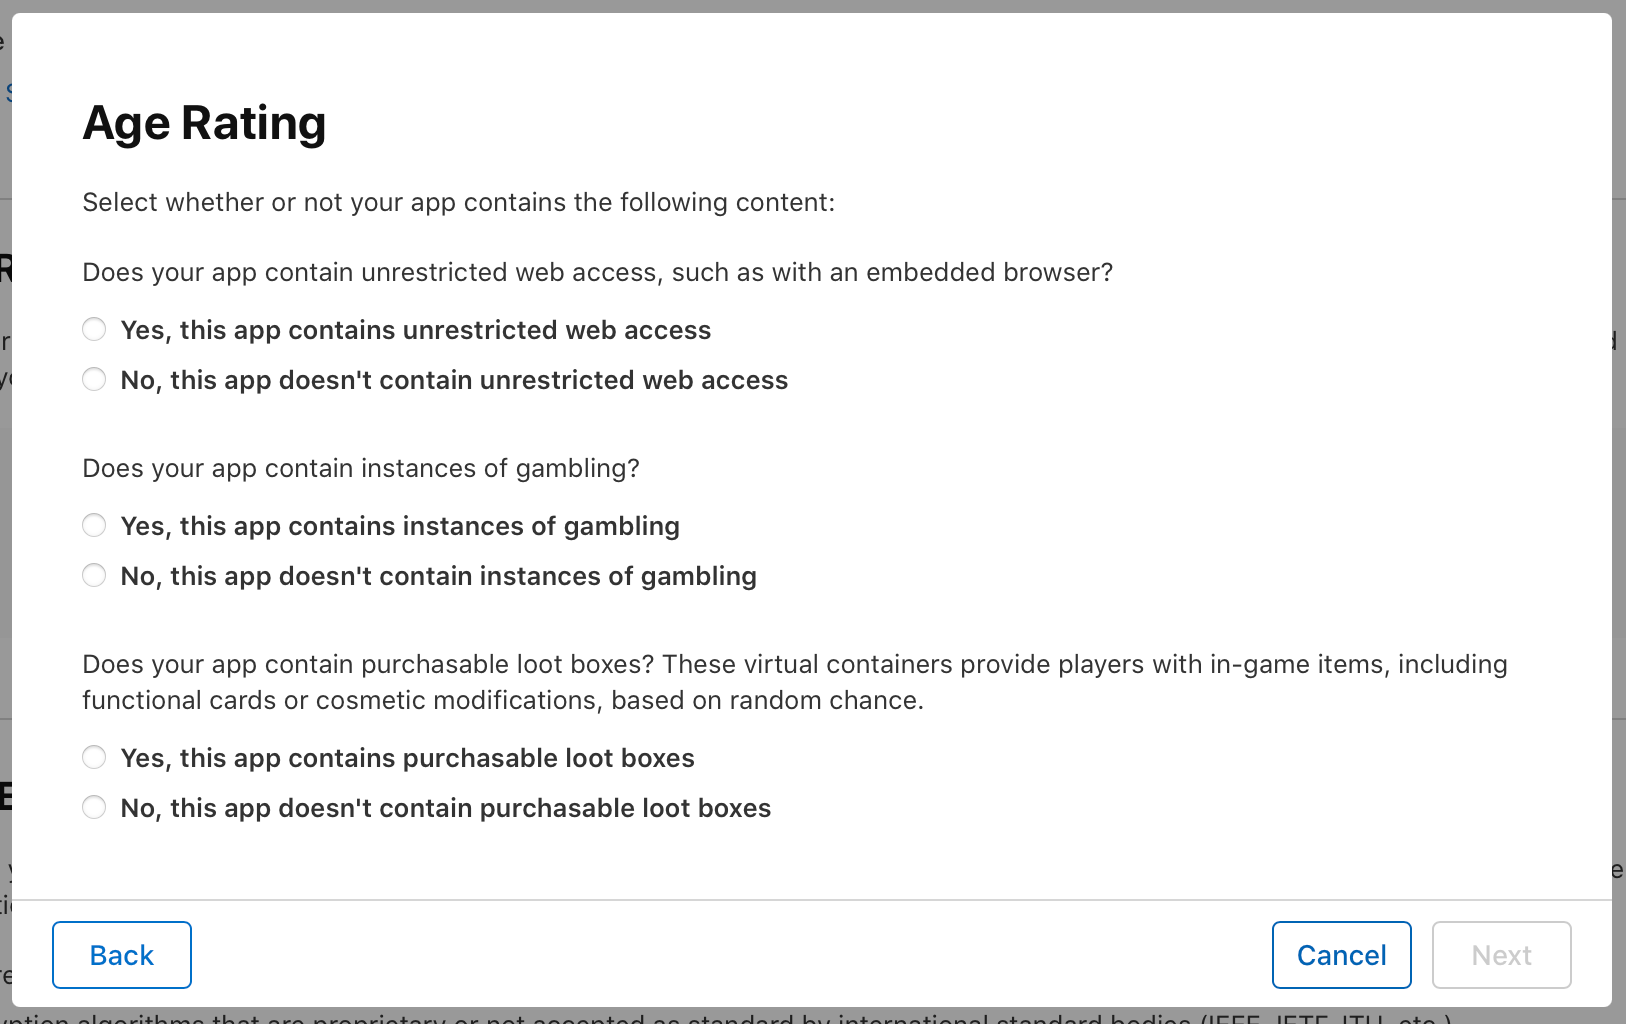
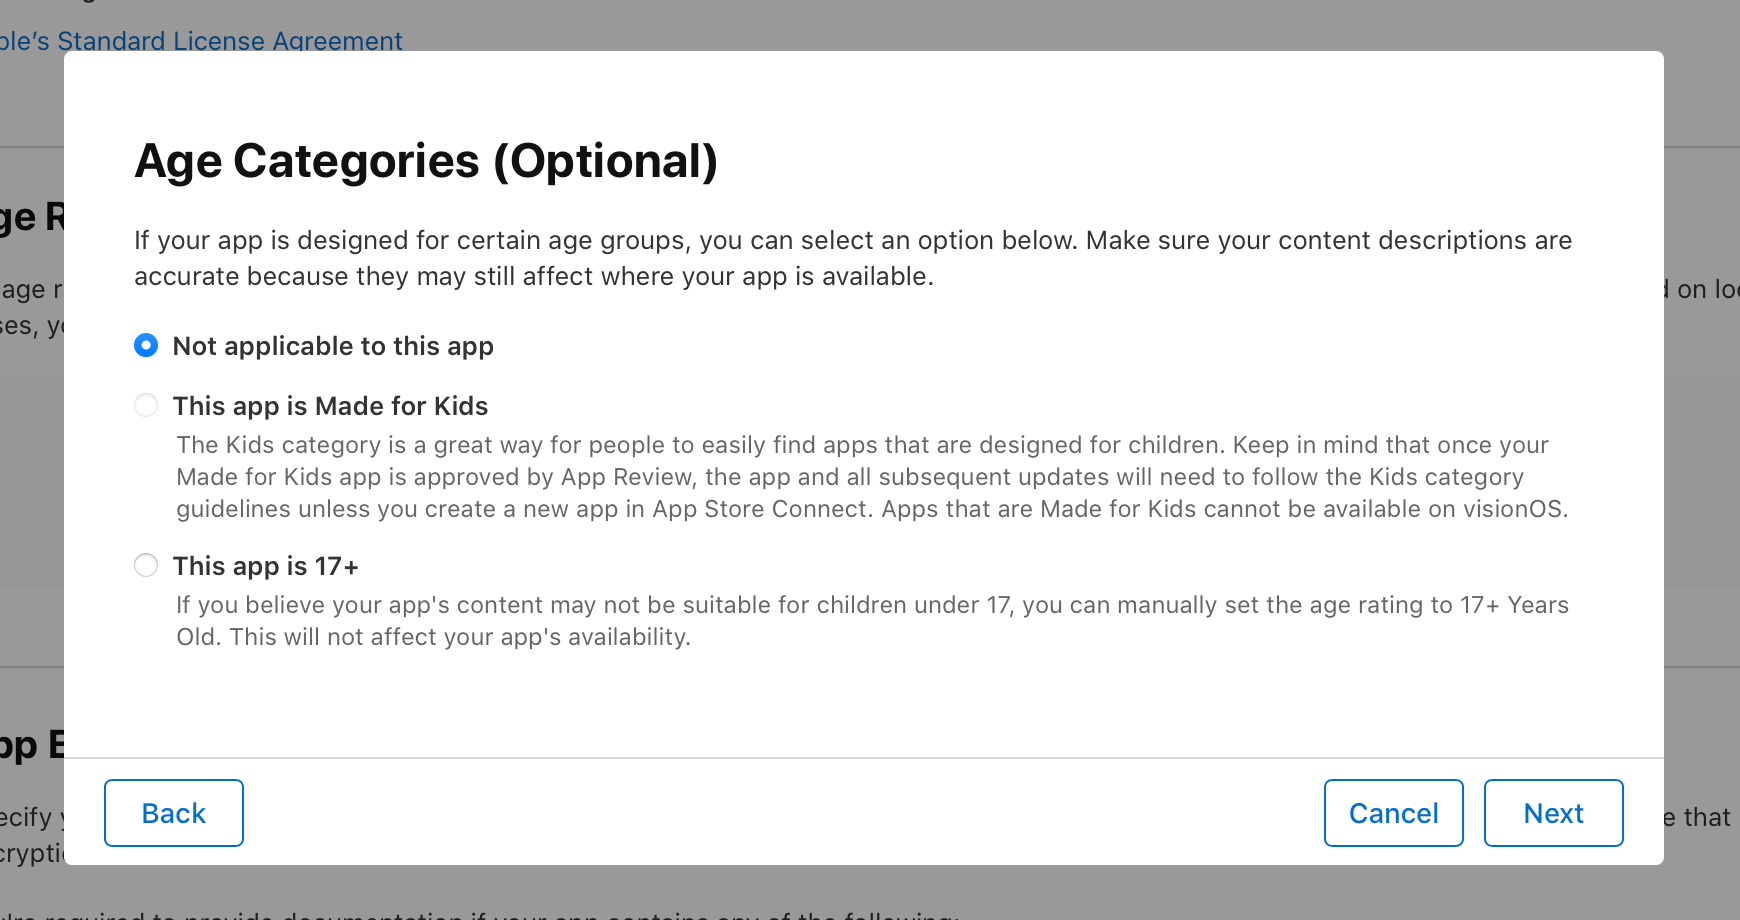
The last piece of required information on this page is the Age Rating. There will be several different content descriptions and you will have to choose the frequency of this content in your app. Then you'll have to tell them whether you app contains unrestricted web access, gambling, or purchasable loot boxes. Finally, you can optionally specify if the app is intended for a certain age group. After you give them all of this information, they will choose an age rating for you.
Save!
Once you've finished entering all of the required app information, scroll back to the top and hit the Save button.
App Privacy
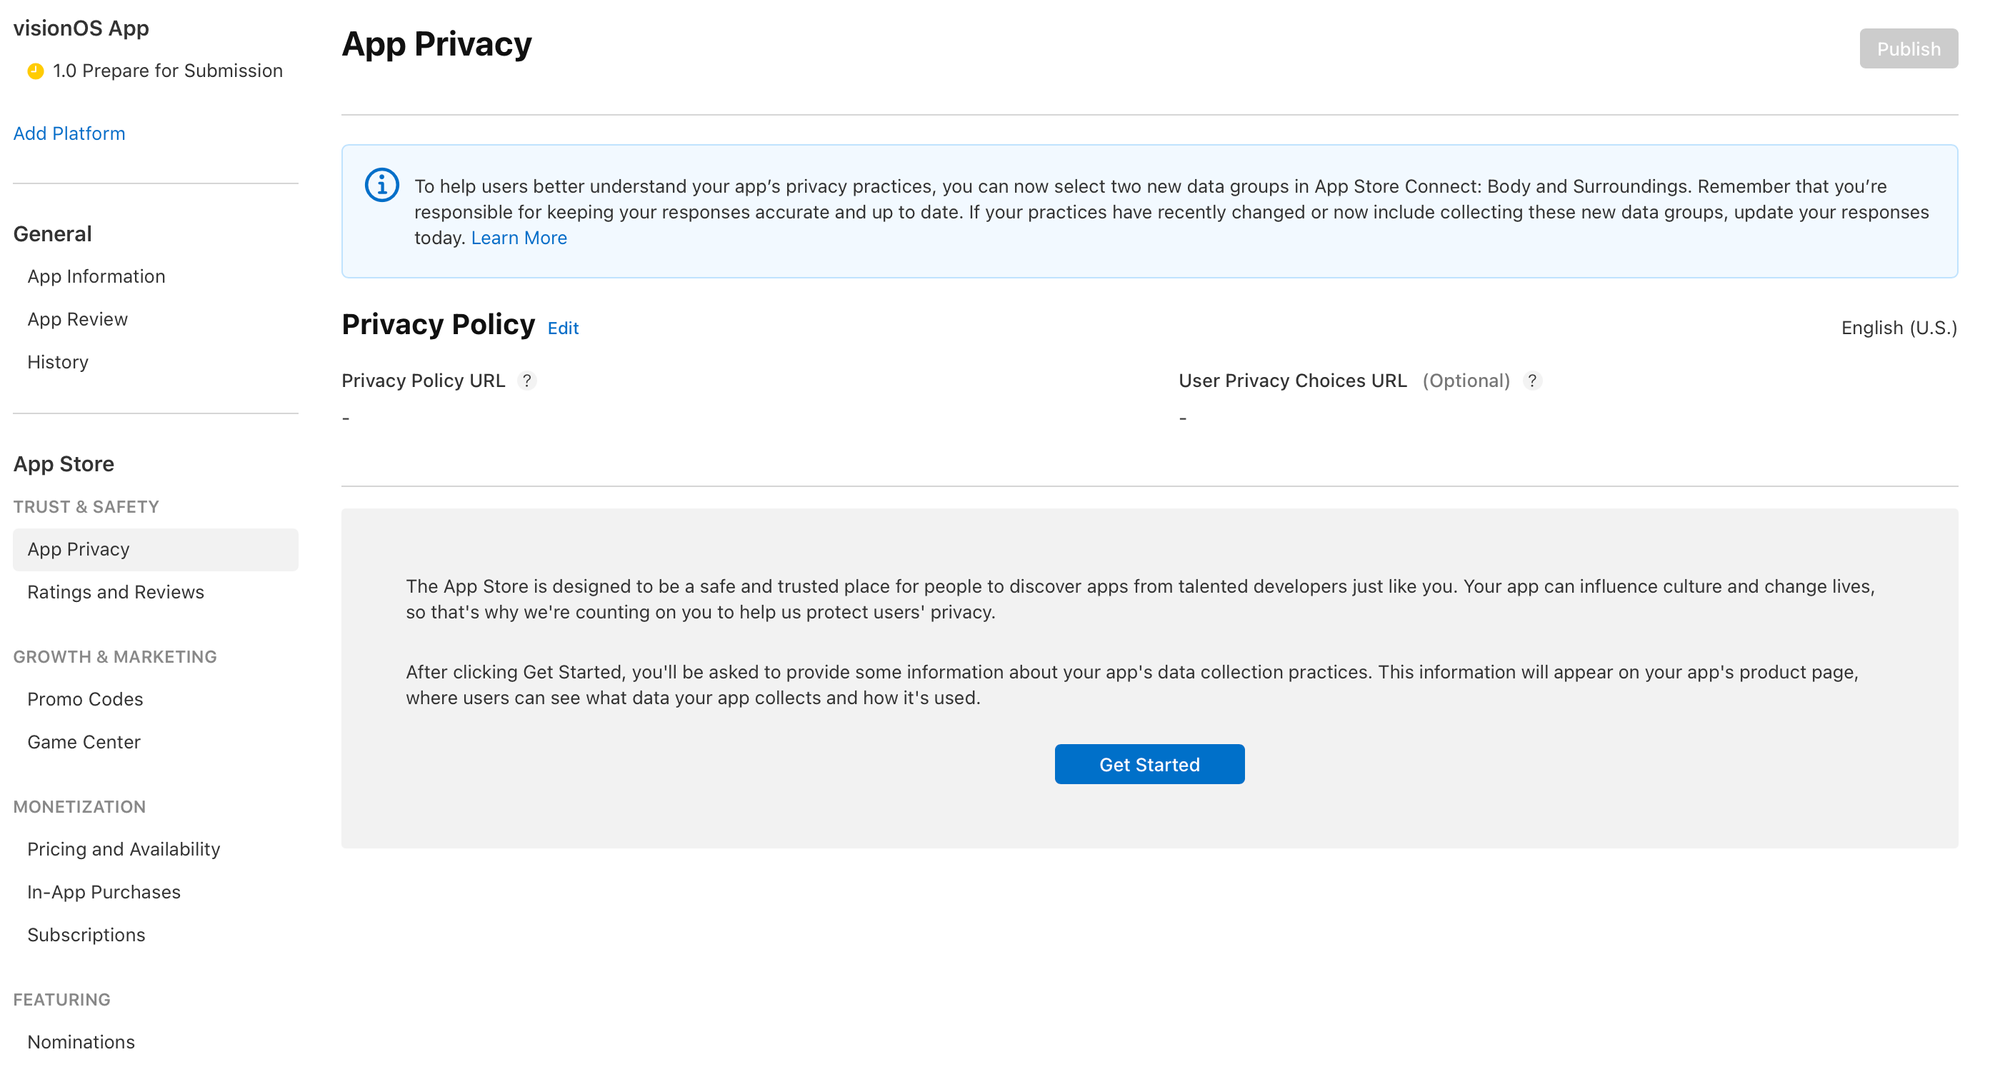
Next, in the menu on the left side of the screen, under the App Store heading, click App Privacy. This is where we will enter our Privacy Policy URL and declare our data collection practices.
Privacy Policy
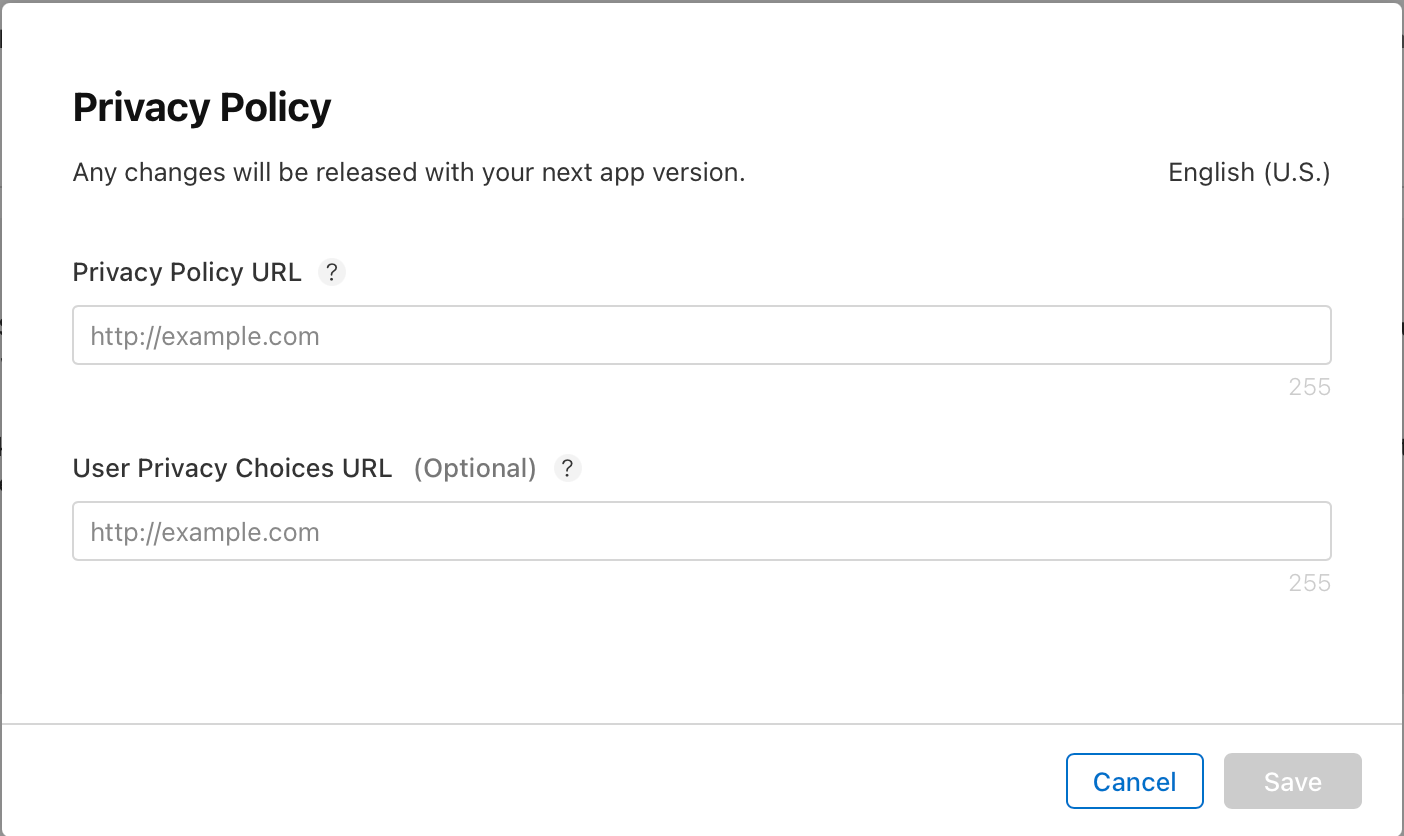
Just like with the copyright information, I can't give you advice on what to put into your privacy policy since that's too close to legal advice for my liking. However, Google Sites will make your life easy when it comes to having a place to host your privacy policy and they give you a unique URL that users can click on to view it.
Once you have the URL that points to your app's privacy policy, click the Edit link next to the Privacy Policy heading and enter your URL. The User Privacy Choices URL is optional, so add it if it makes sense for your app but it is not required.
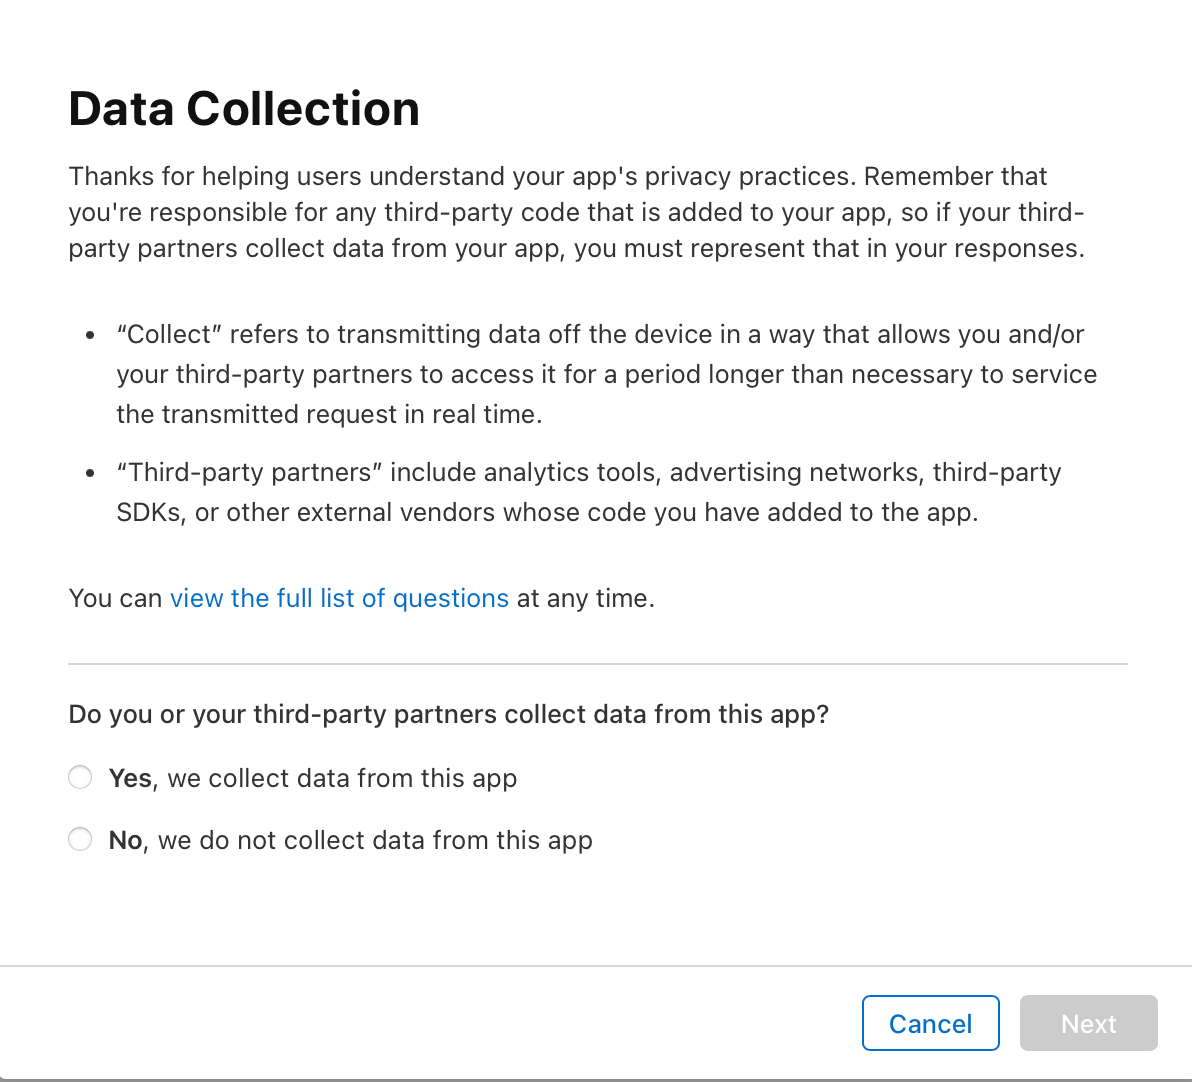
Next, hit the Get Started button to declare your app's data collection practices. Be sure to consider if you are using any third-party APIs in your application as they may be collecting data even if you personally are not.
When you are done, hit the Publish button at the top right hand side of the page.
Pricing and Availability
We are almost done! If we are not using in-app purchases or subscriptions, which I am not for this demo, the last thing we need to do is set up our app pricing and availability.
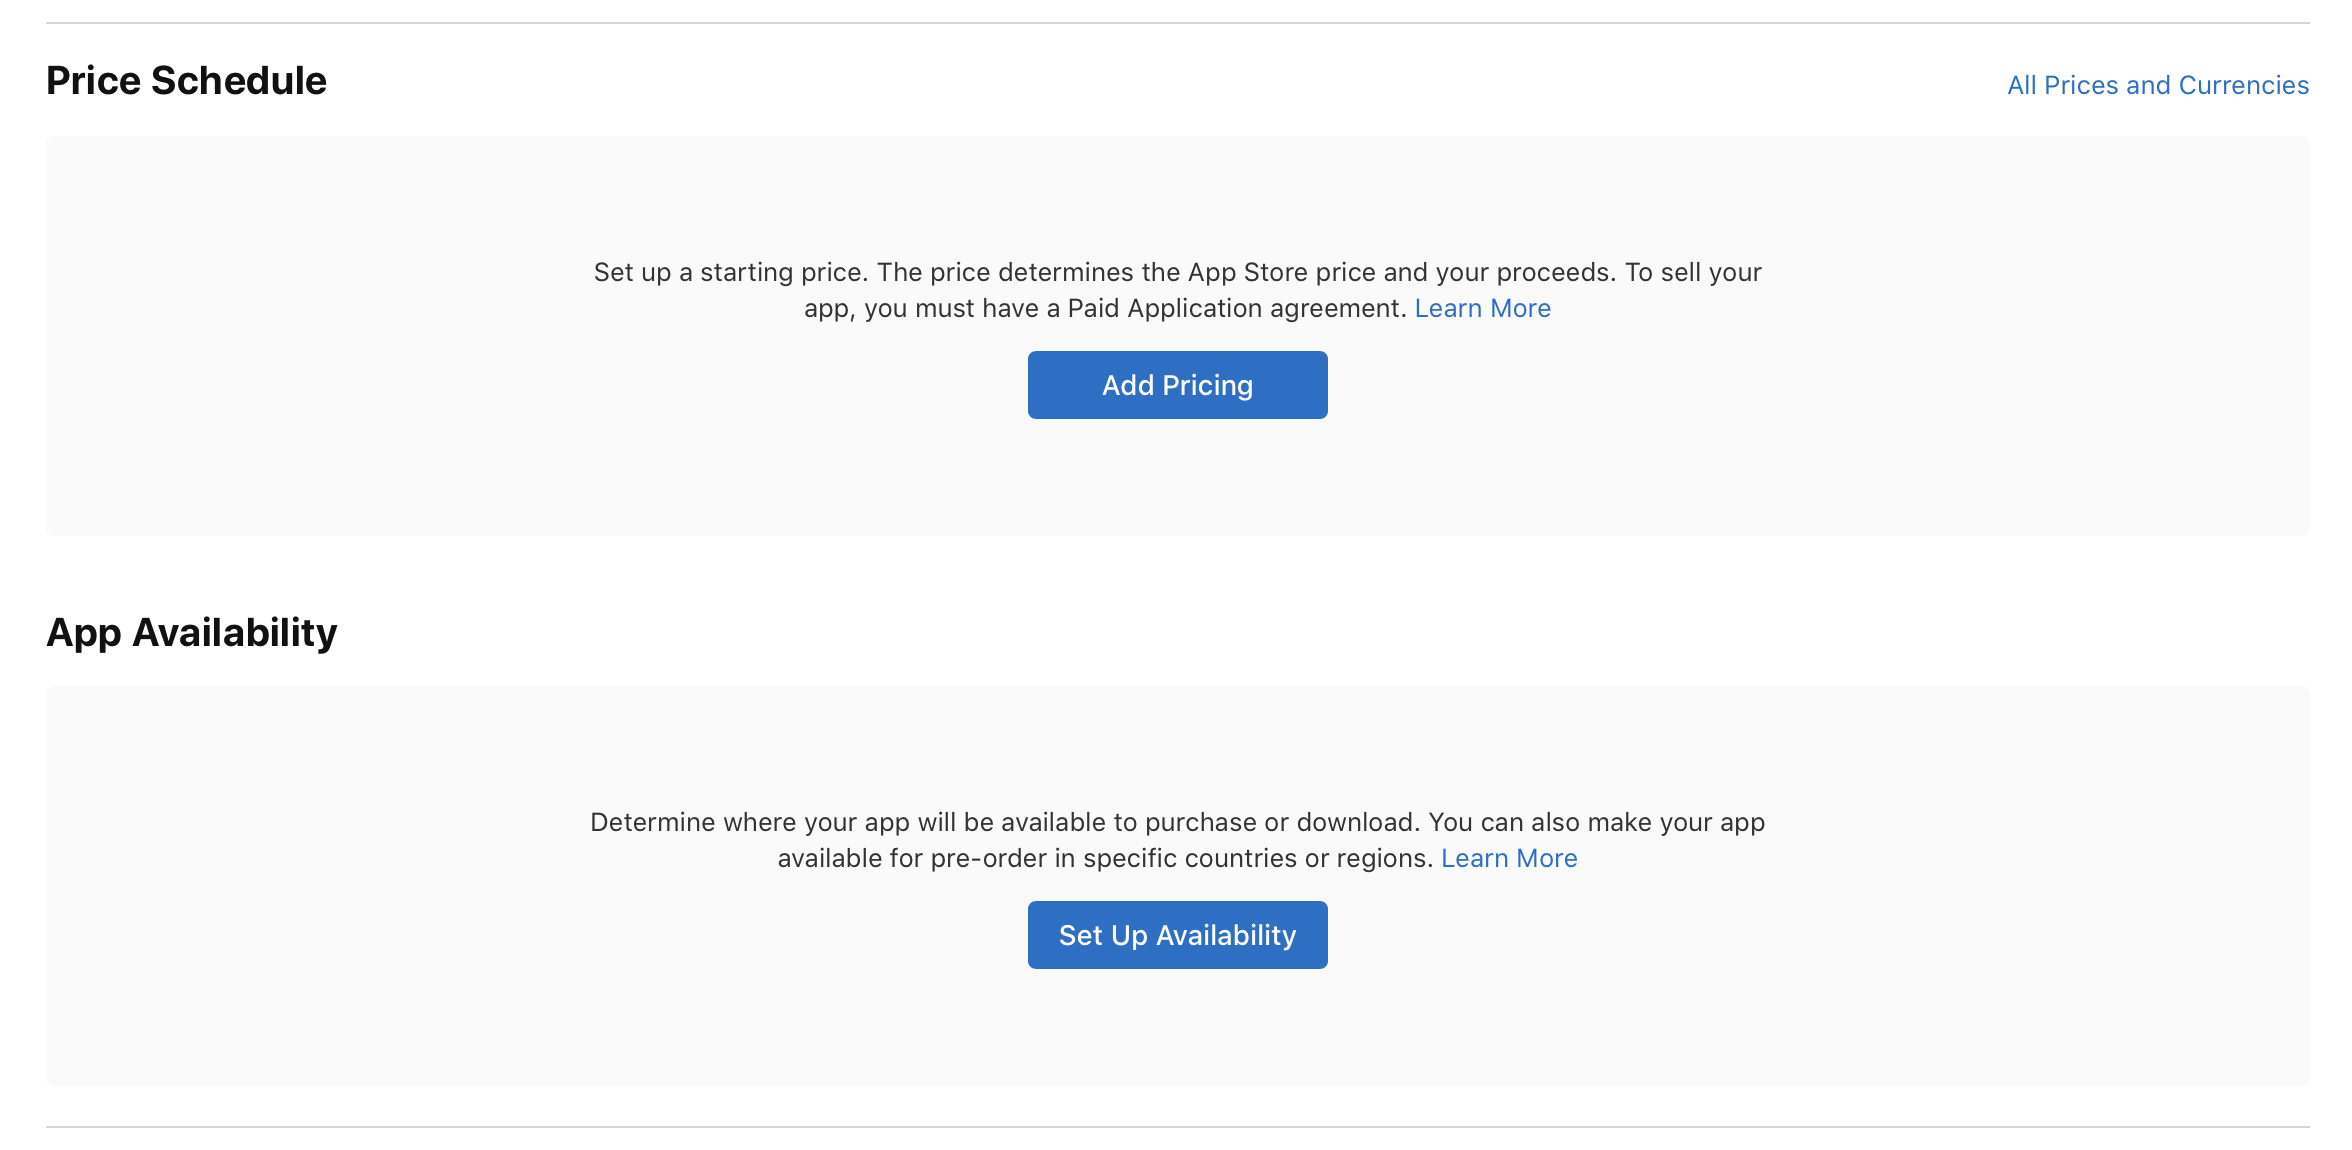
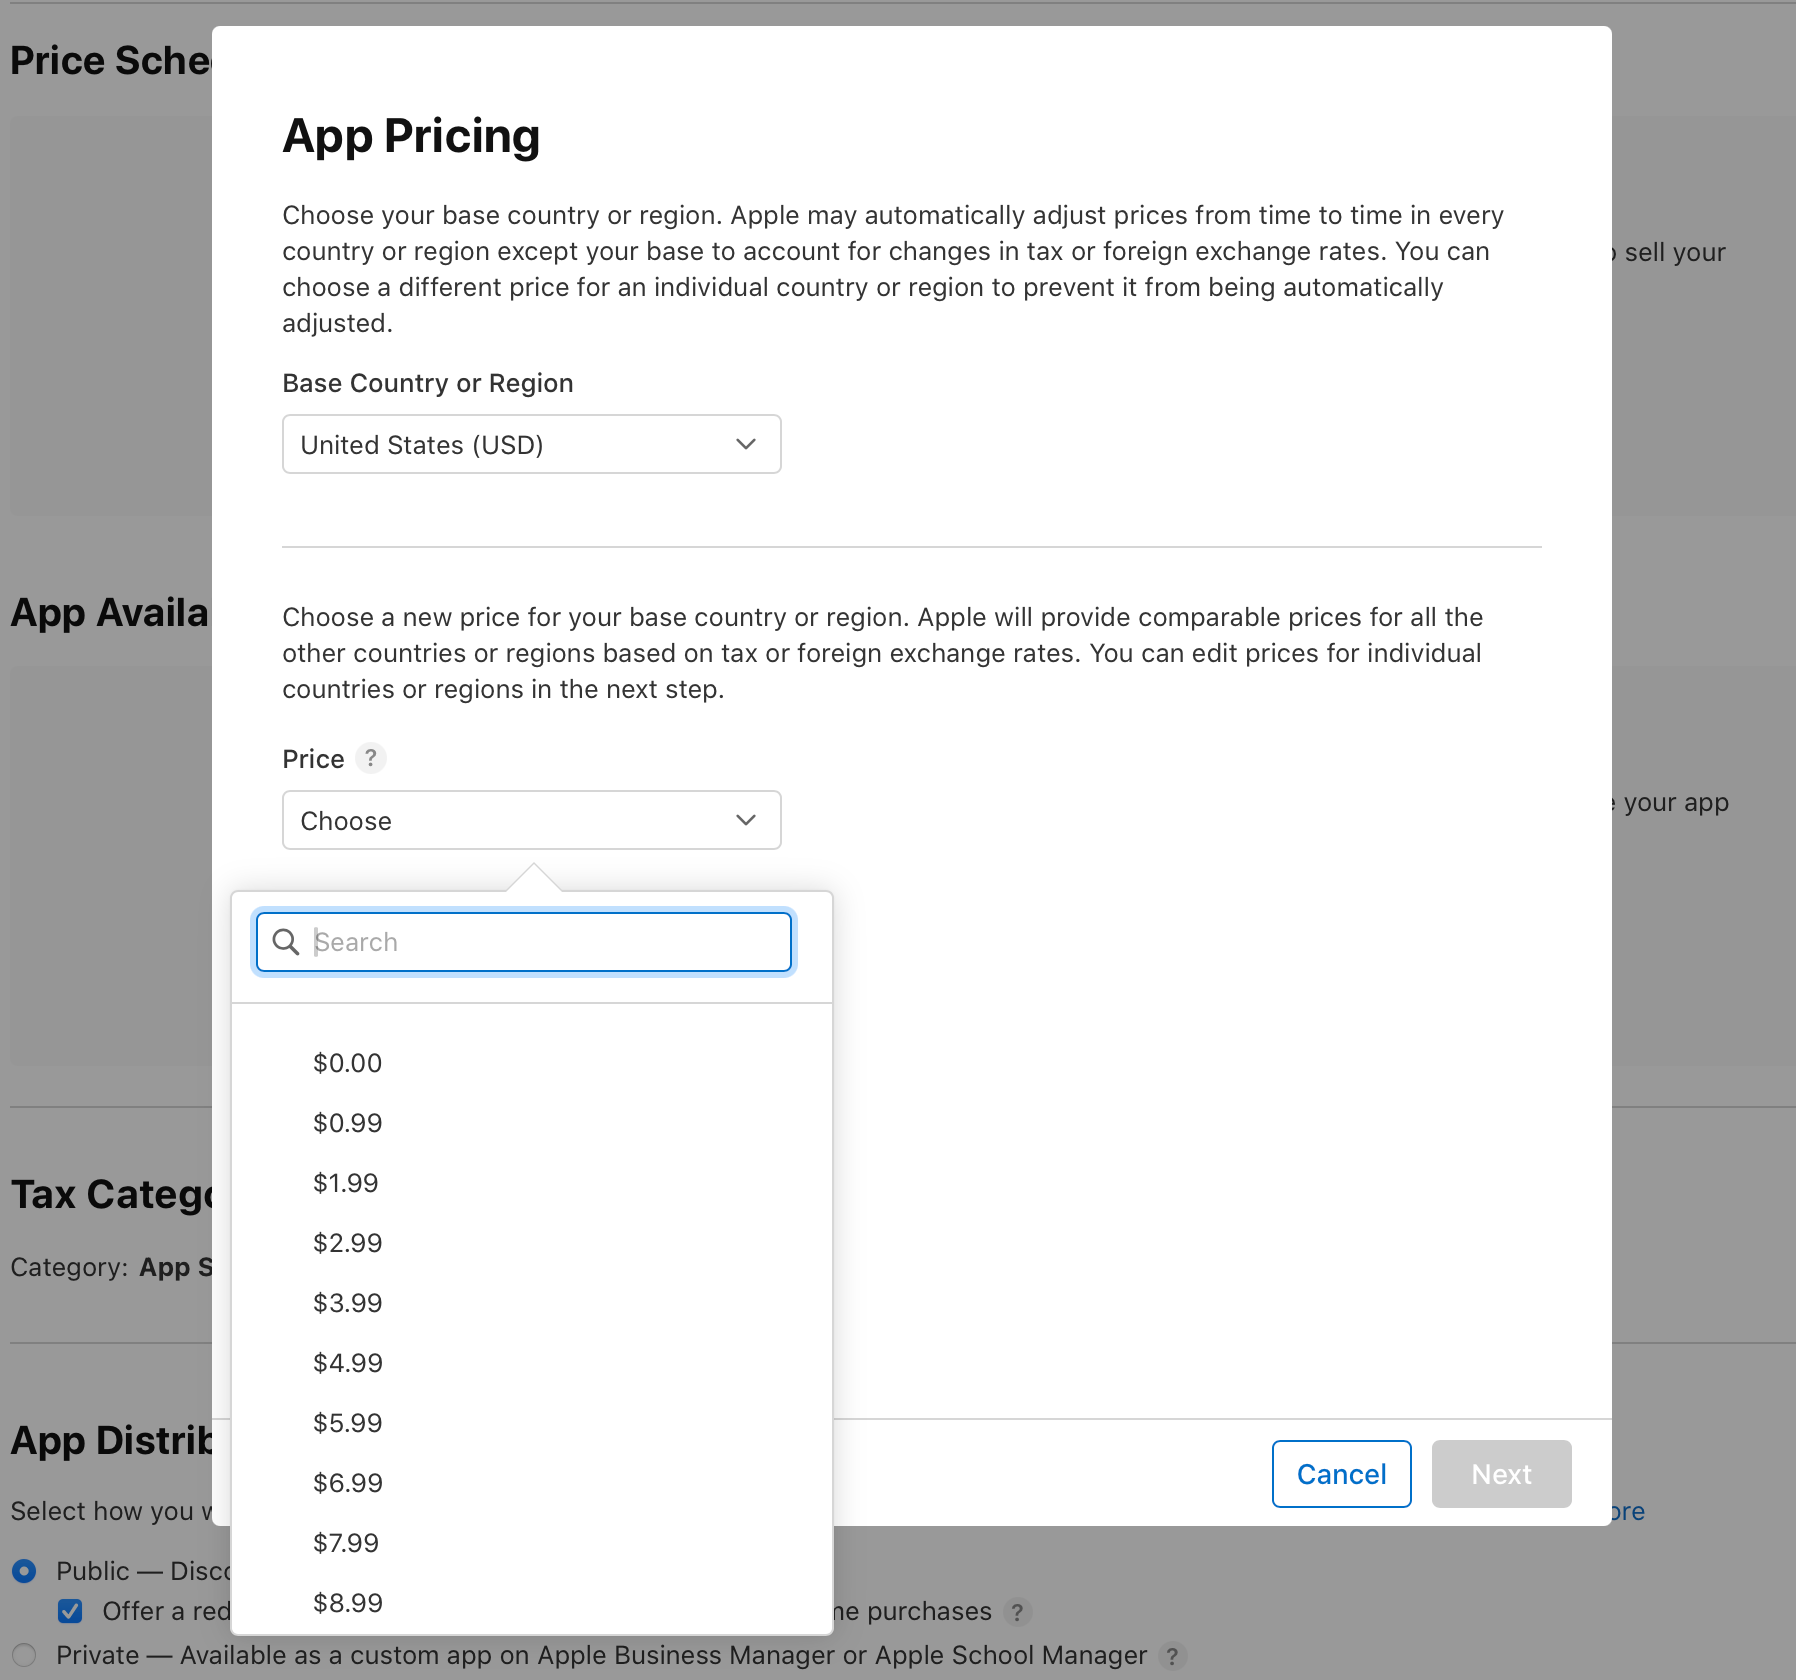
First, let's set up the price. Click the Add Pricing button. Much to my dismay, we can only choose a price from this dropdown list. If you scroll to the bottom of the dropdown, there's a "See Additional Prices" button that will give you more options. I really wanted Cannoisseur to be $4.20 but they really ruined my fun by not allowing that as an option. Choose your pricing and your base country for tax and foreign exchange rates. Once you hit Next, you'll be able to set custom pricing for different regions if you want to. Hit Next again and confirm that your pricing information is correct. This can be changed later if you'd like, so don't worry if you decide you want something different later.
Finally, we need to set the regional availability of our app.
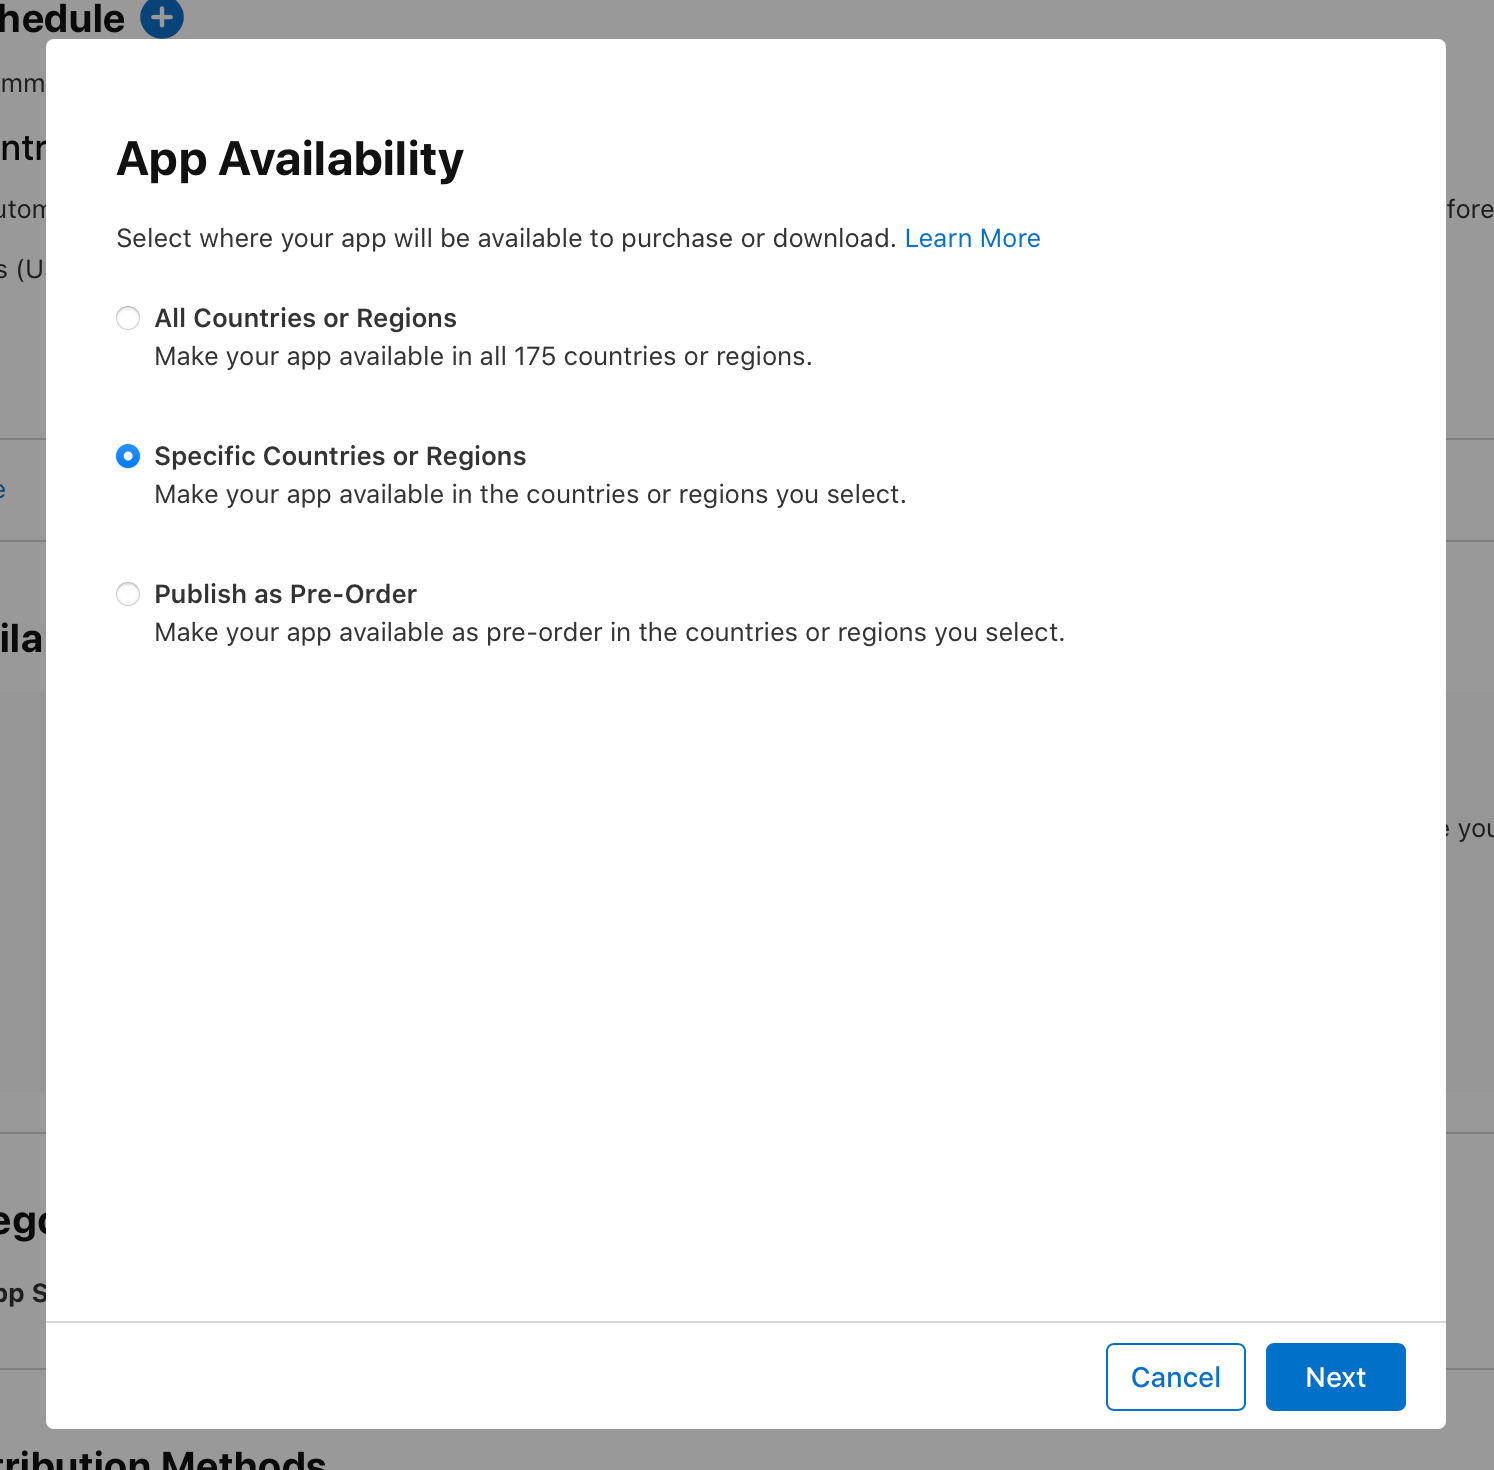
This is important if, for example, your app's functions or purpose are illegal in certain countries. When I was publishing Cannoisseur I had to restrict it to countries where cannabis was legal.
Select your regional app availability and confirm your choices.
That's it! We're done with the requirements since we are not handling in-app purchases or subscriptions.
Submit
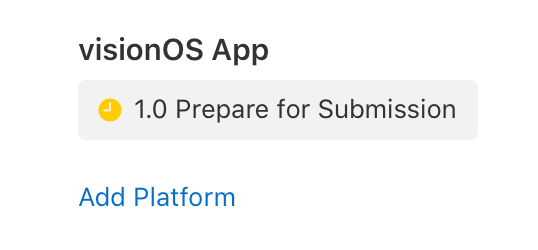
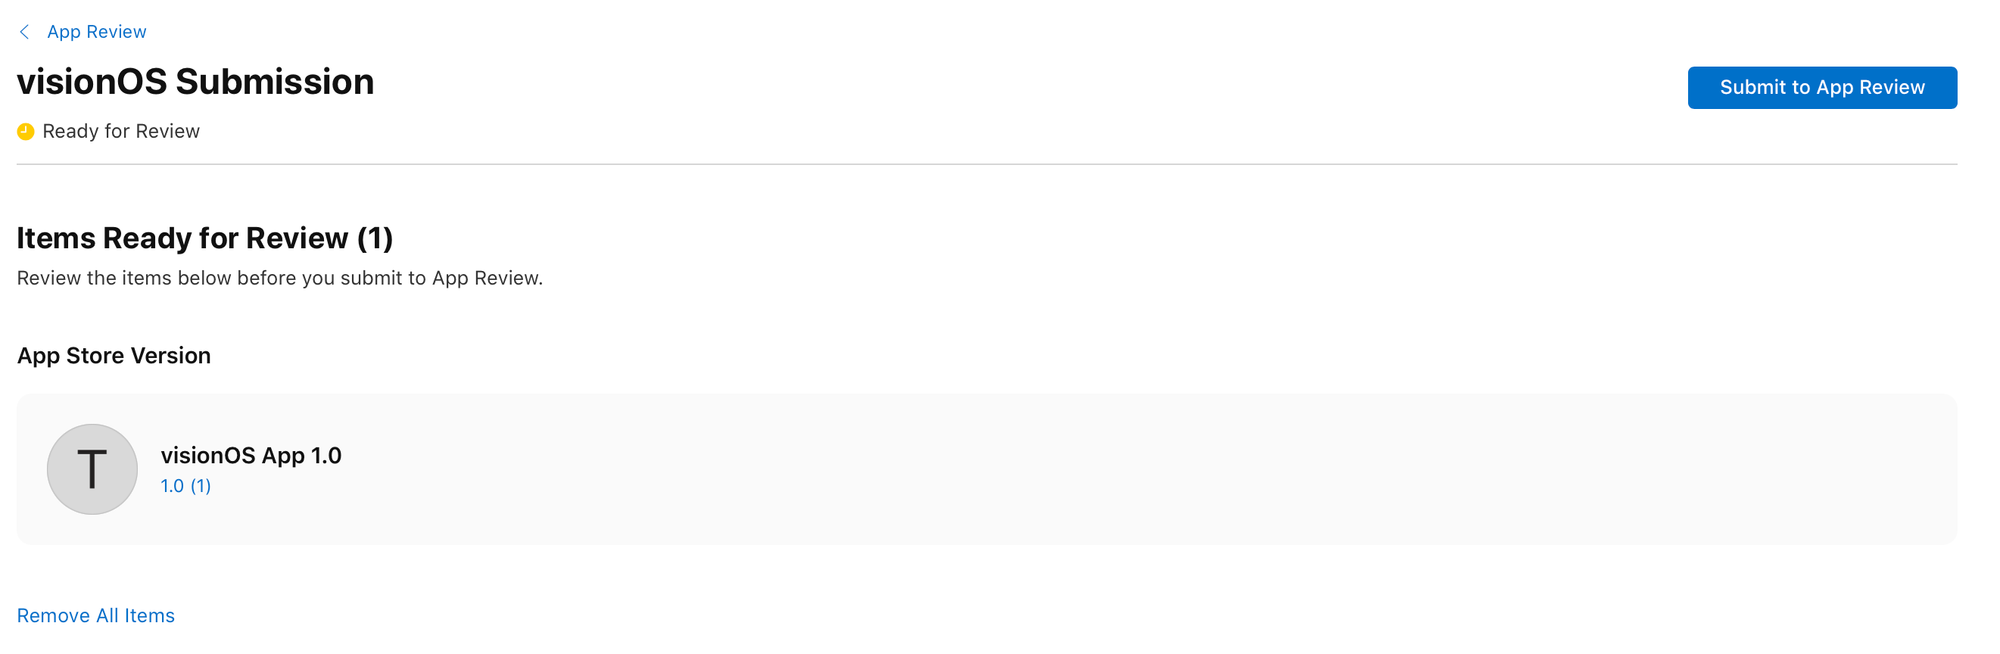
Now that our required App Store Connect information is entered, we are ready to submit the app for review. Navigate back to your app submission by clicking the button in the top left hand side of your screen with your app's version number and "Prepare for Submission"
Verify that all of the information you entered here looks good. If so, hit the button to Add for Review. Once you do that, there's one more confirmation screen before you officially send in your submission to the review team. Once everything looks good, hit the Submit to App Review button.
That's it! You did it!
Good luck with the review process and reach out if you have any questions or need clarification.