Let's Learn a Little Swift: Variables and Constants
In June 2023, I saw the Vision Pro announced at WWDC and immediately started looking into how I could learn to make an app for it. If you've found yourself in the same position, looking to learn how to code in Apple's native programming language, I would love to help you get started.
Despite what my friends may think, I'm not delusional. I'm not the most experienced or knowledgeable engineer you'll find in this space. If you want full courses that will take you from 0 to app developer, you won't find that here today, but I will happily point you in the direction of a few of the courses that helped me gain the knowledge I needed to get my first apps published. These are not affiliate links and I am not compensated in any way for posting them here. They genuinely helped me and I want to share them with those in the same position I was in that June:
Paul Hudson's 100 Days of SwiftUI (free, optional subscription)
Sean Allen's Swift Programming Tutorial course (free, Youtube)
Chris Ching's iOS Development courses (paid)
If for some odd reason you decided you'd like to learn something from me instead, let's work on what I consider the absolute most basic introductory concepts in Swift programming: variables and constants. To continue forward, you'll need an iPad or a MacBook with the Swift Playgrounds app installed. Swift Playgrounds is a lightweight educational tool and development environment for Swift.
I'll be using version 4.6.3 on Mac. If you're reading this from the future or using an iPad your app may look different, but the instructions should still be the same. When you open the app you'll see a screen that looks like this:
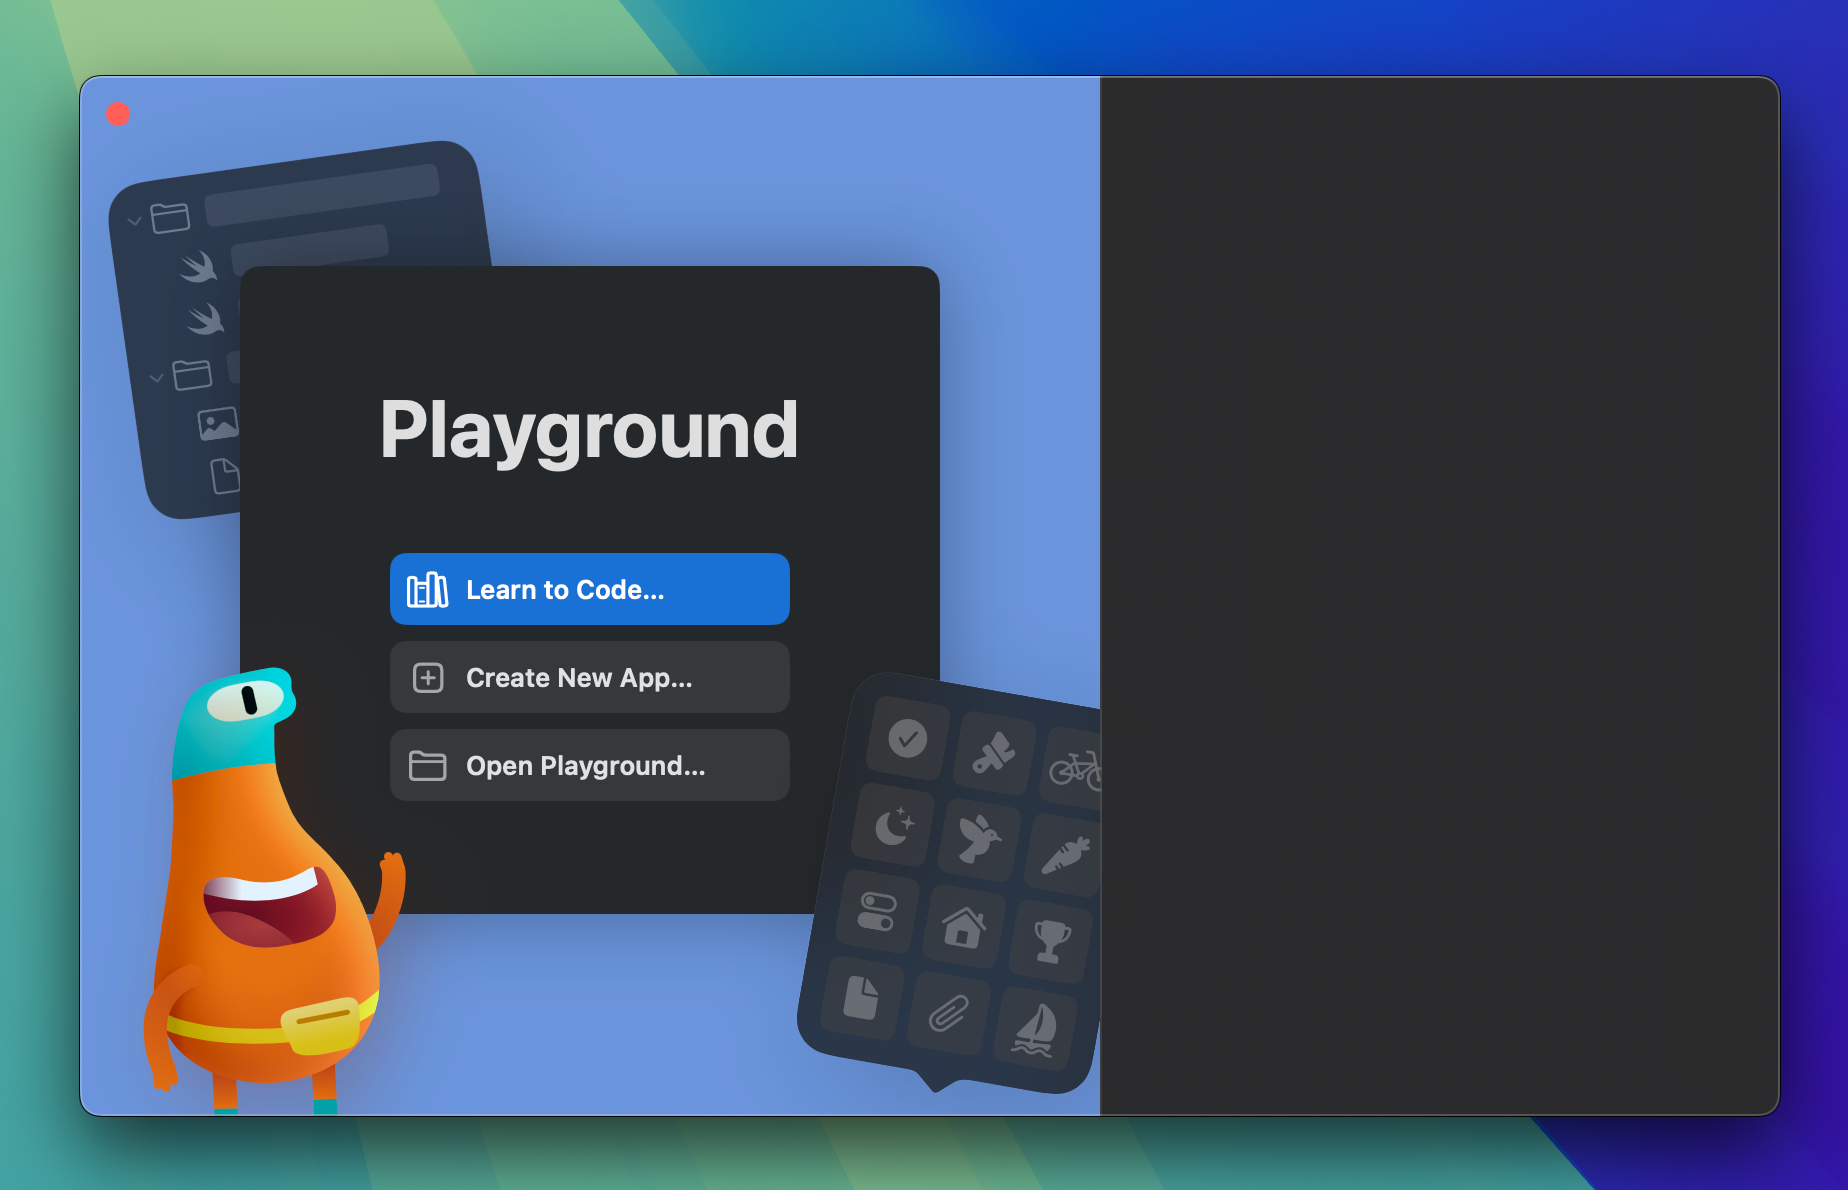
If you hit the "Learn to Code..." button, you'll be sent to a library of fun games designed to introduce you to programming concepts and learning Swift. They are appropriate for all ages and a great way to familiarize yourself with the language. Don't be afraid to try them out! "Get Started with Code" is a great foundation for your learning. If you're brand new, start there!
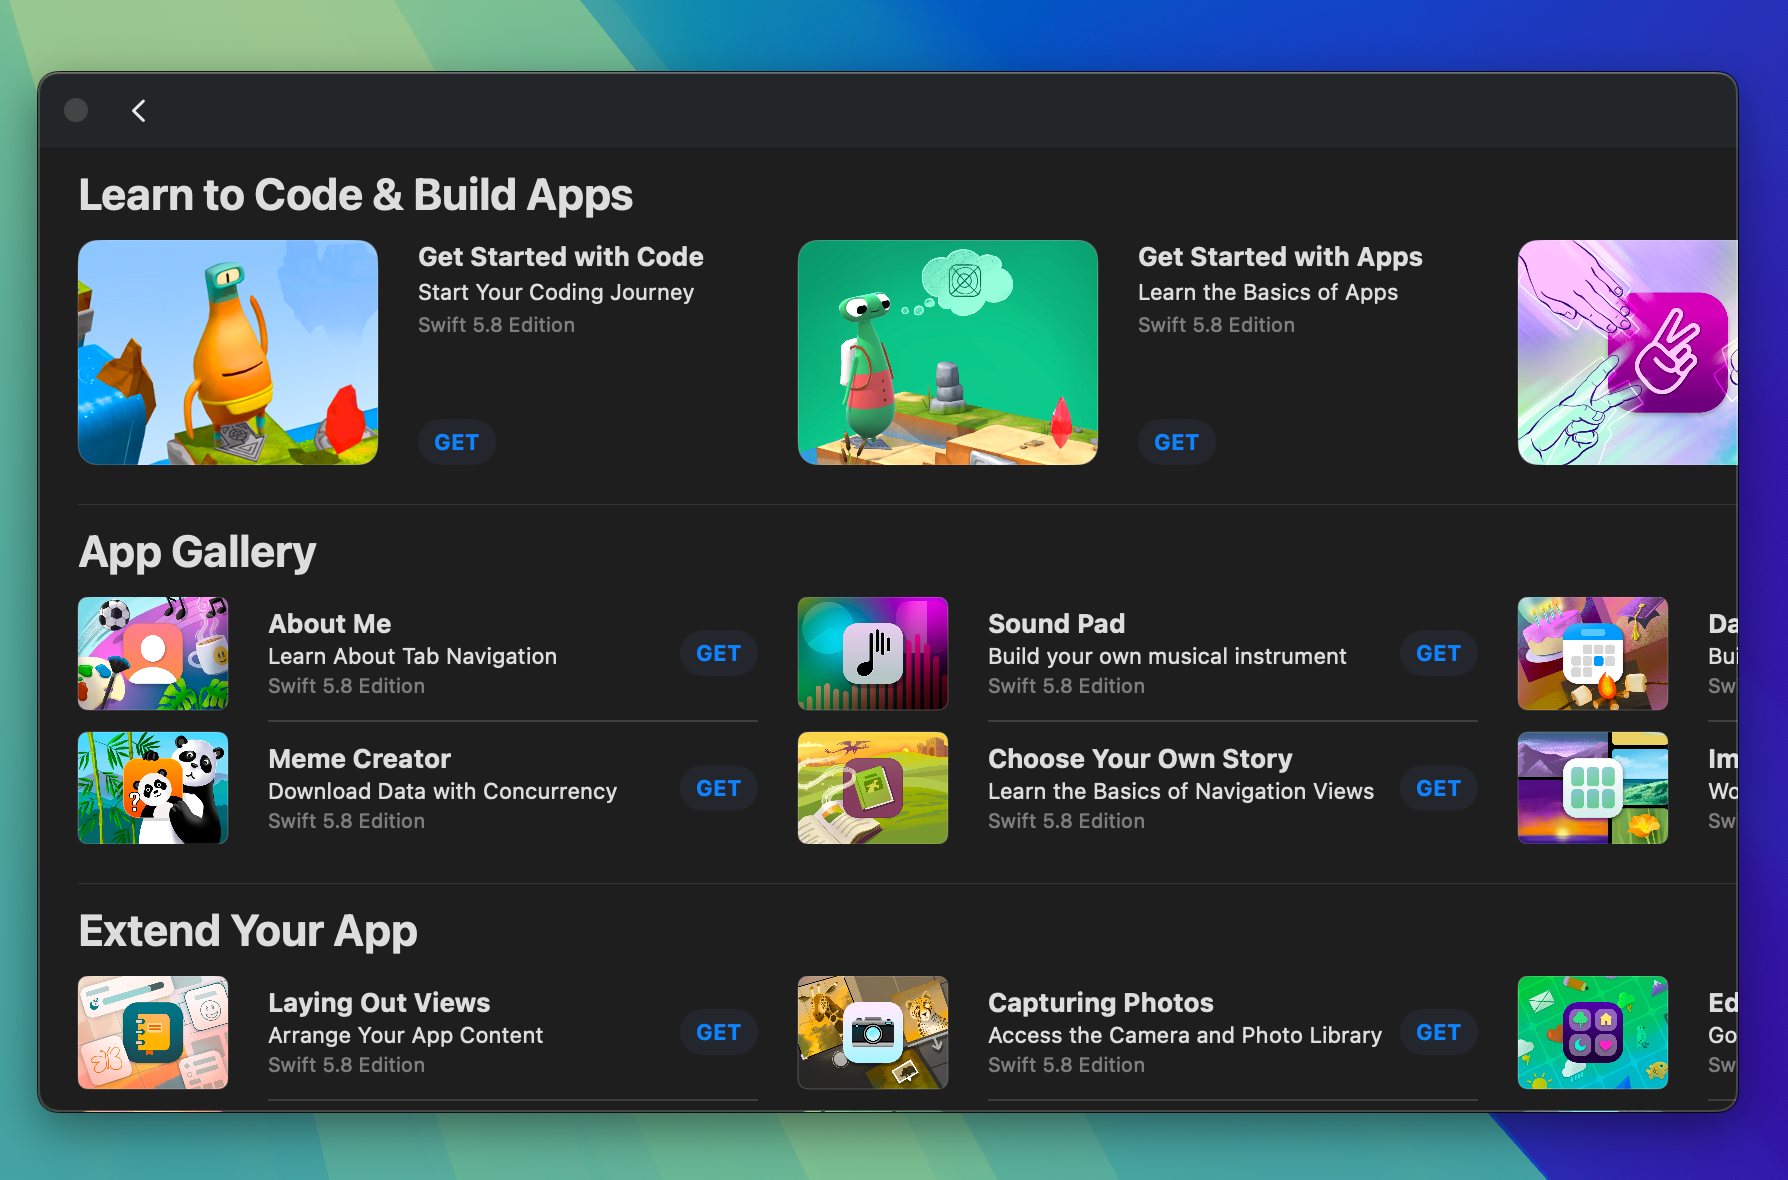
Today, we are going to the menu bar, clicking File, and then New Book.
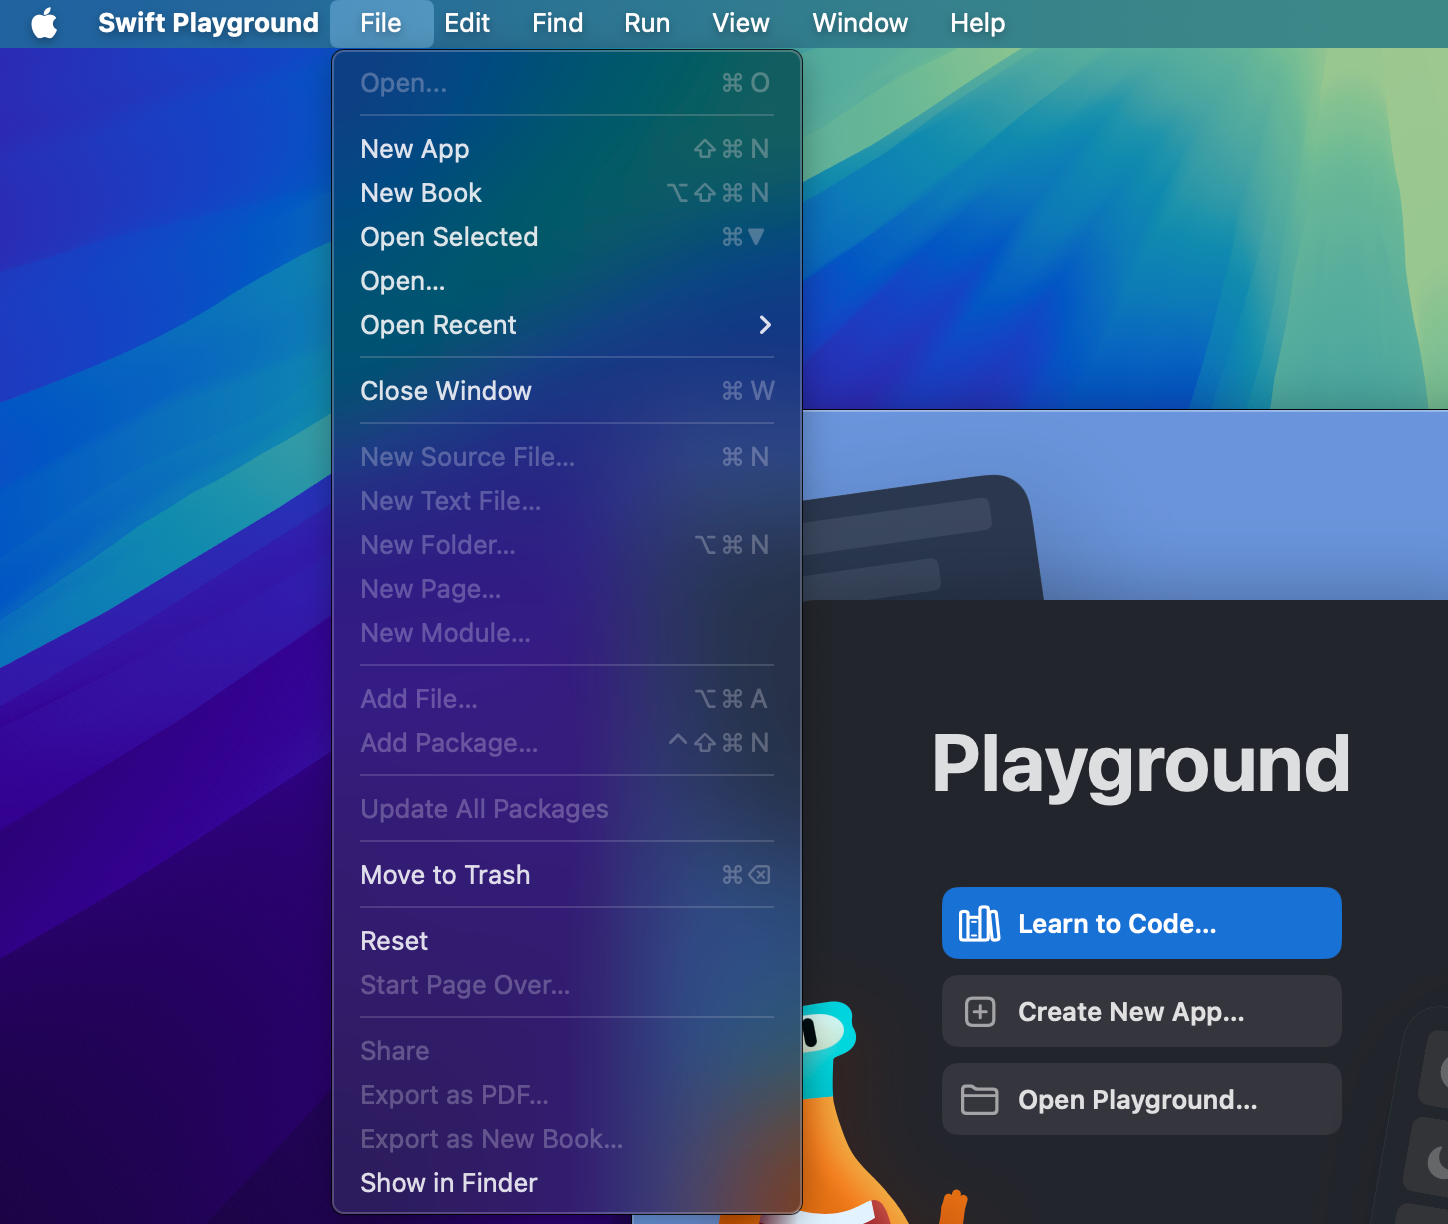
You'll see a project appear in the right panel of Swift Playgrounds called "My Playground". Click on that to open the Playground so that we can get started.
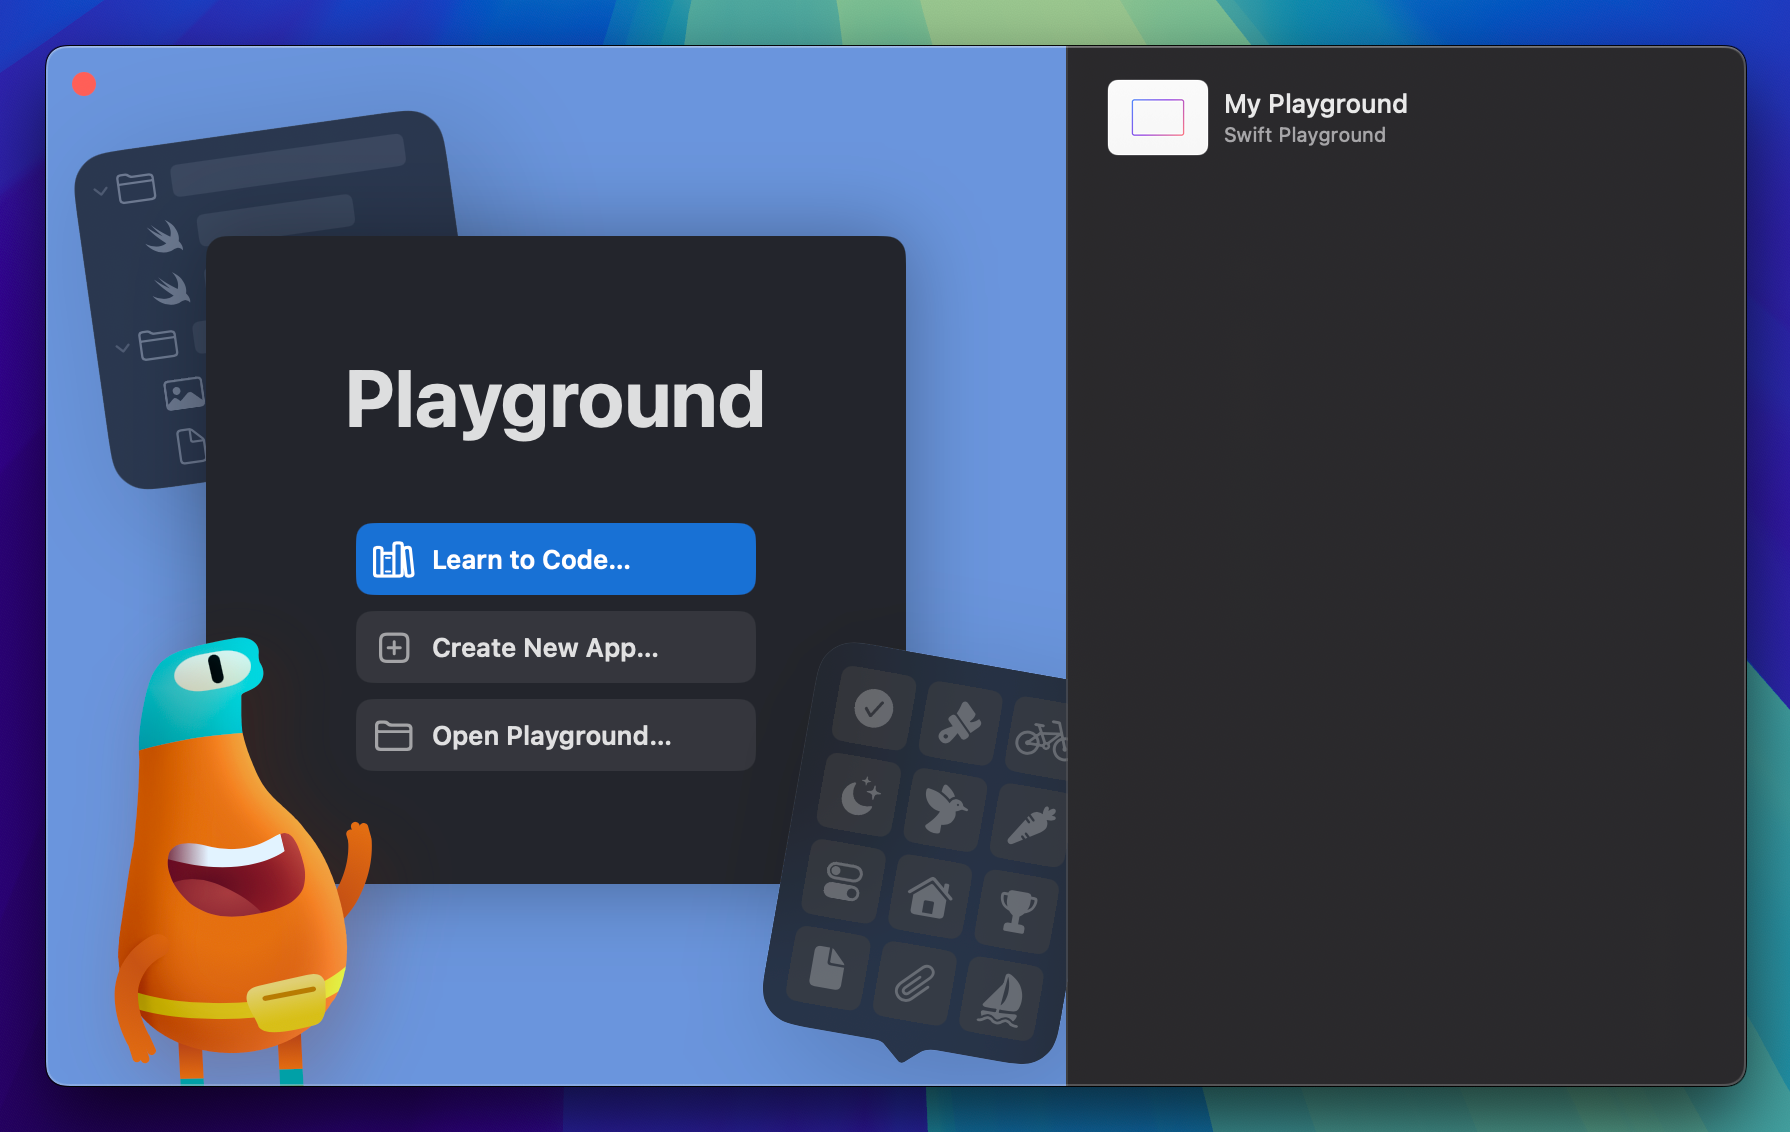
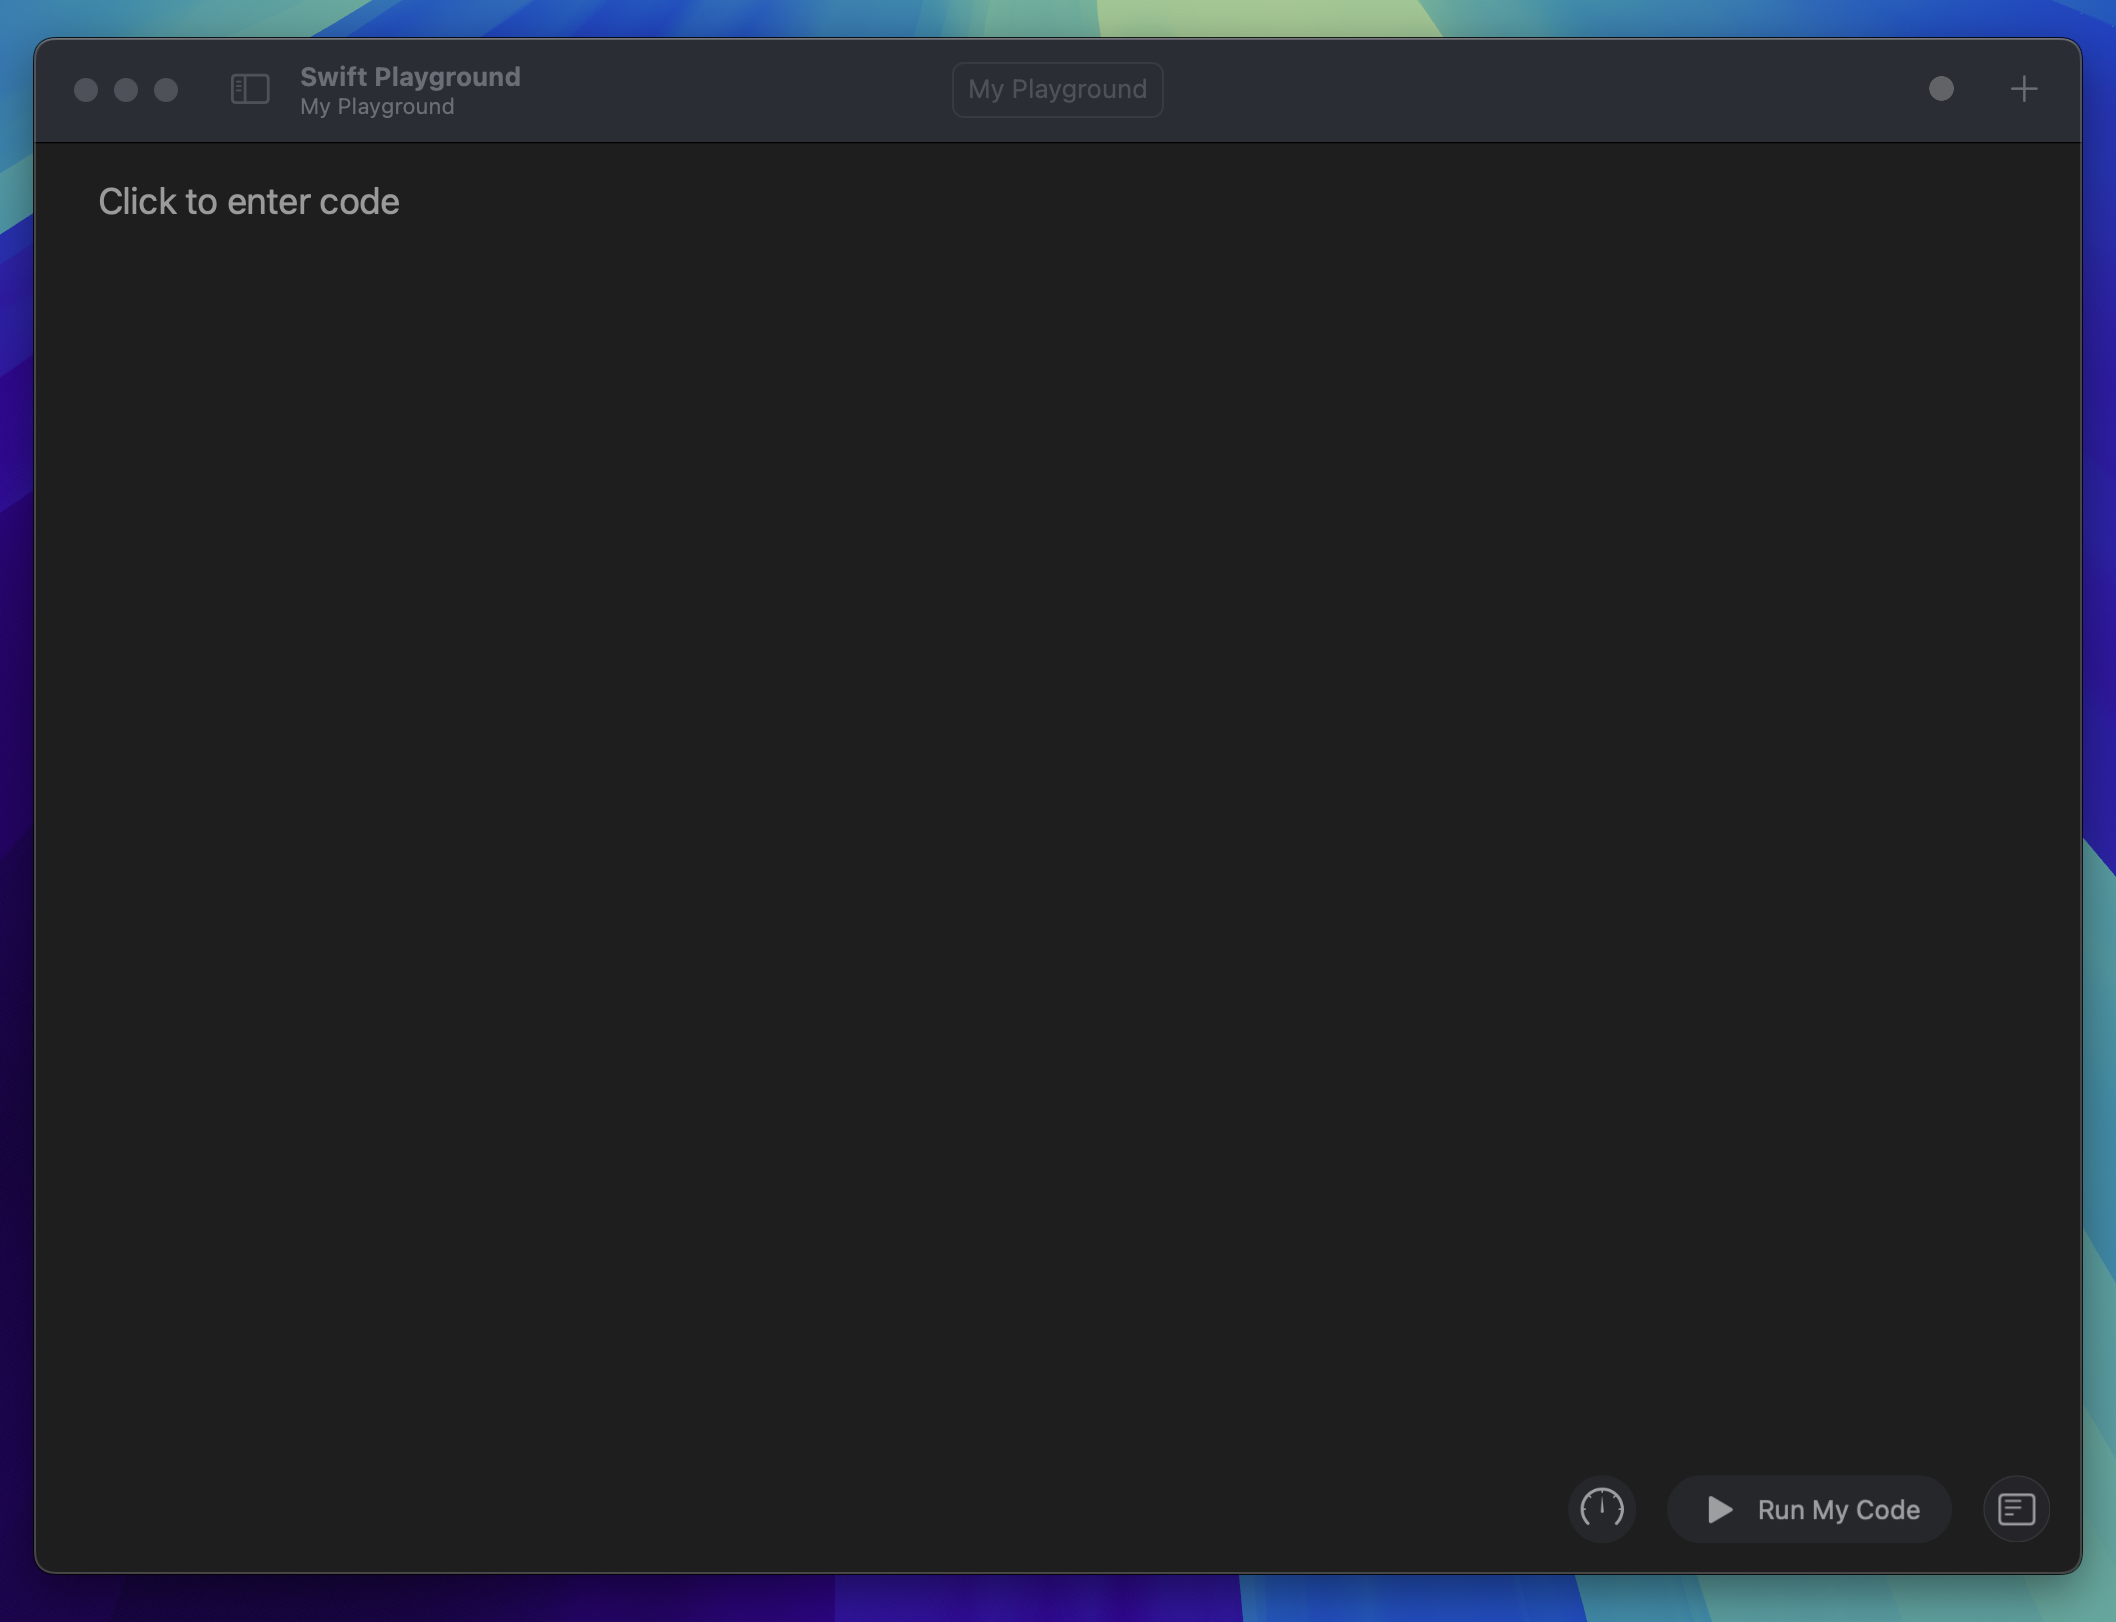
After opening the Playground, you should see a blank screen that says "Click to enter code", and on the bottom you'll see a few buttons that we can ignore for now.
So you're not completely lost, we will go over a little about what variables actually are and why they matter.
What are constants and variables?
Let's imagine that we are creating an app that tracks how many times The Recording Academy has played in Beyoncé's face over the Album of the Year. We would need certain pieces of information to come up with an answer to that question. First, we would need to know how many total albums Beyoncé has released that qualified for the award. We then need to determine, in our humble (but correct) opinion how many of those albums deserved to win. The next piece of information we'd need is how many of those albums actually won.
Since those are not static numbers, and they may change whenever Beyoncé releases a new album, we would store those values as variables. The artist herself, Beyoncé, would be a constant because regardless of how many albums she releases, she will still be Beyoncé.
If it helps, here is how apple describes variables and constants in the official Swift language documentation:

If that looks like a bunch of mumbo jumbo to you, it's okay. I'll explain further soon.
Using our Beyoncé example, let's head to Swift Playgrounds and show what this would look like in code.
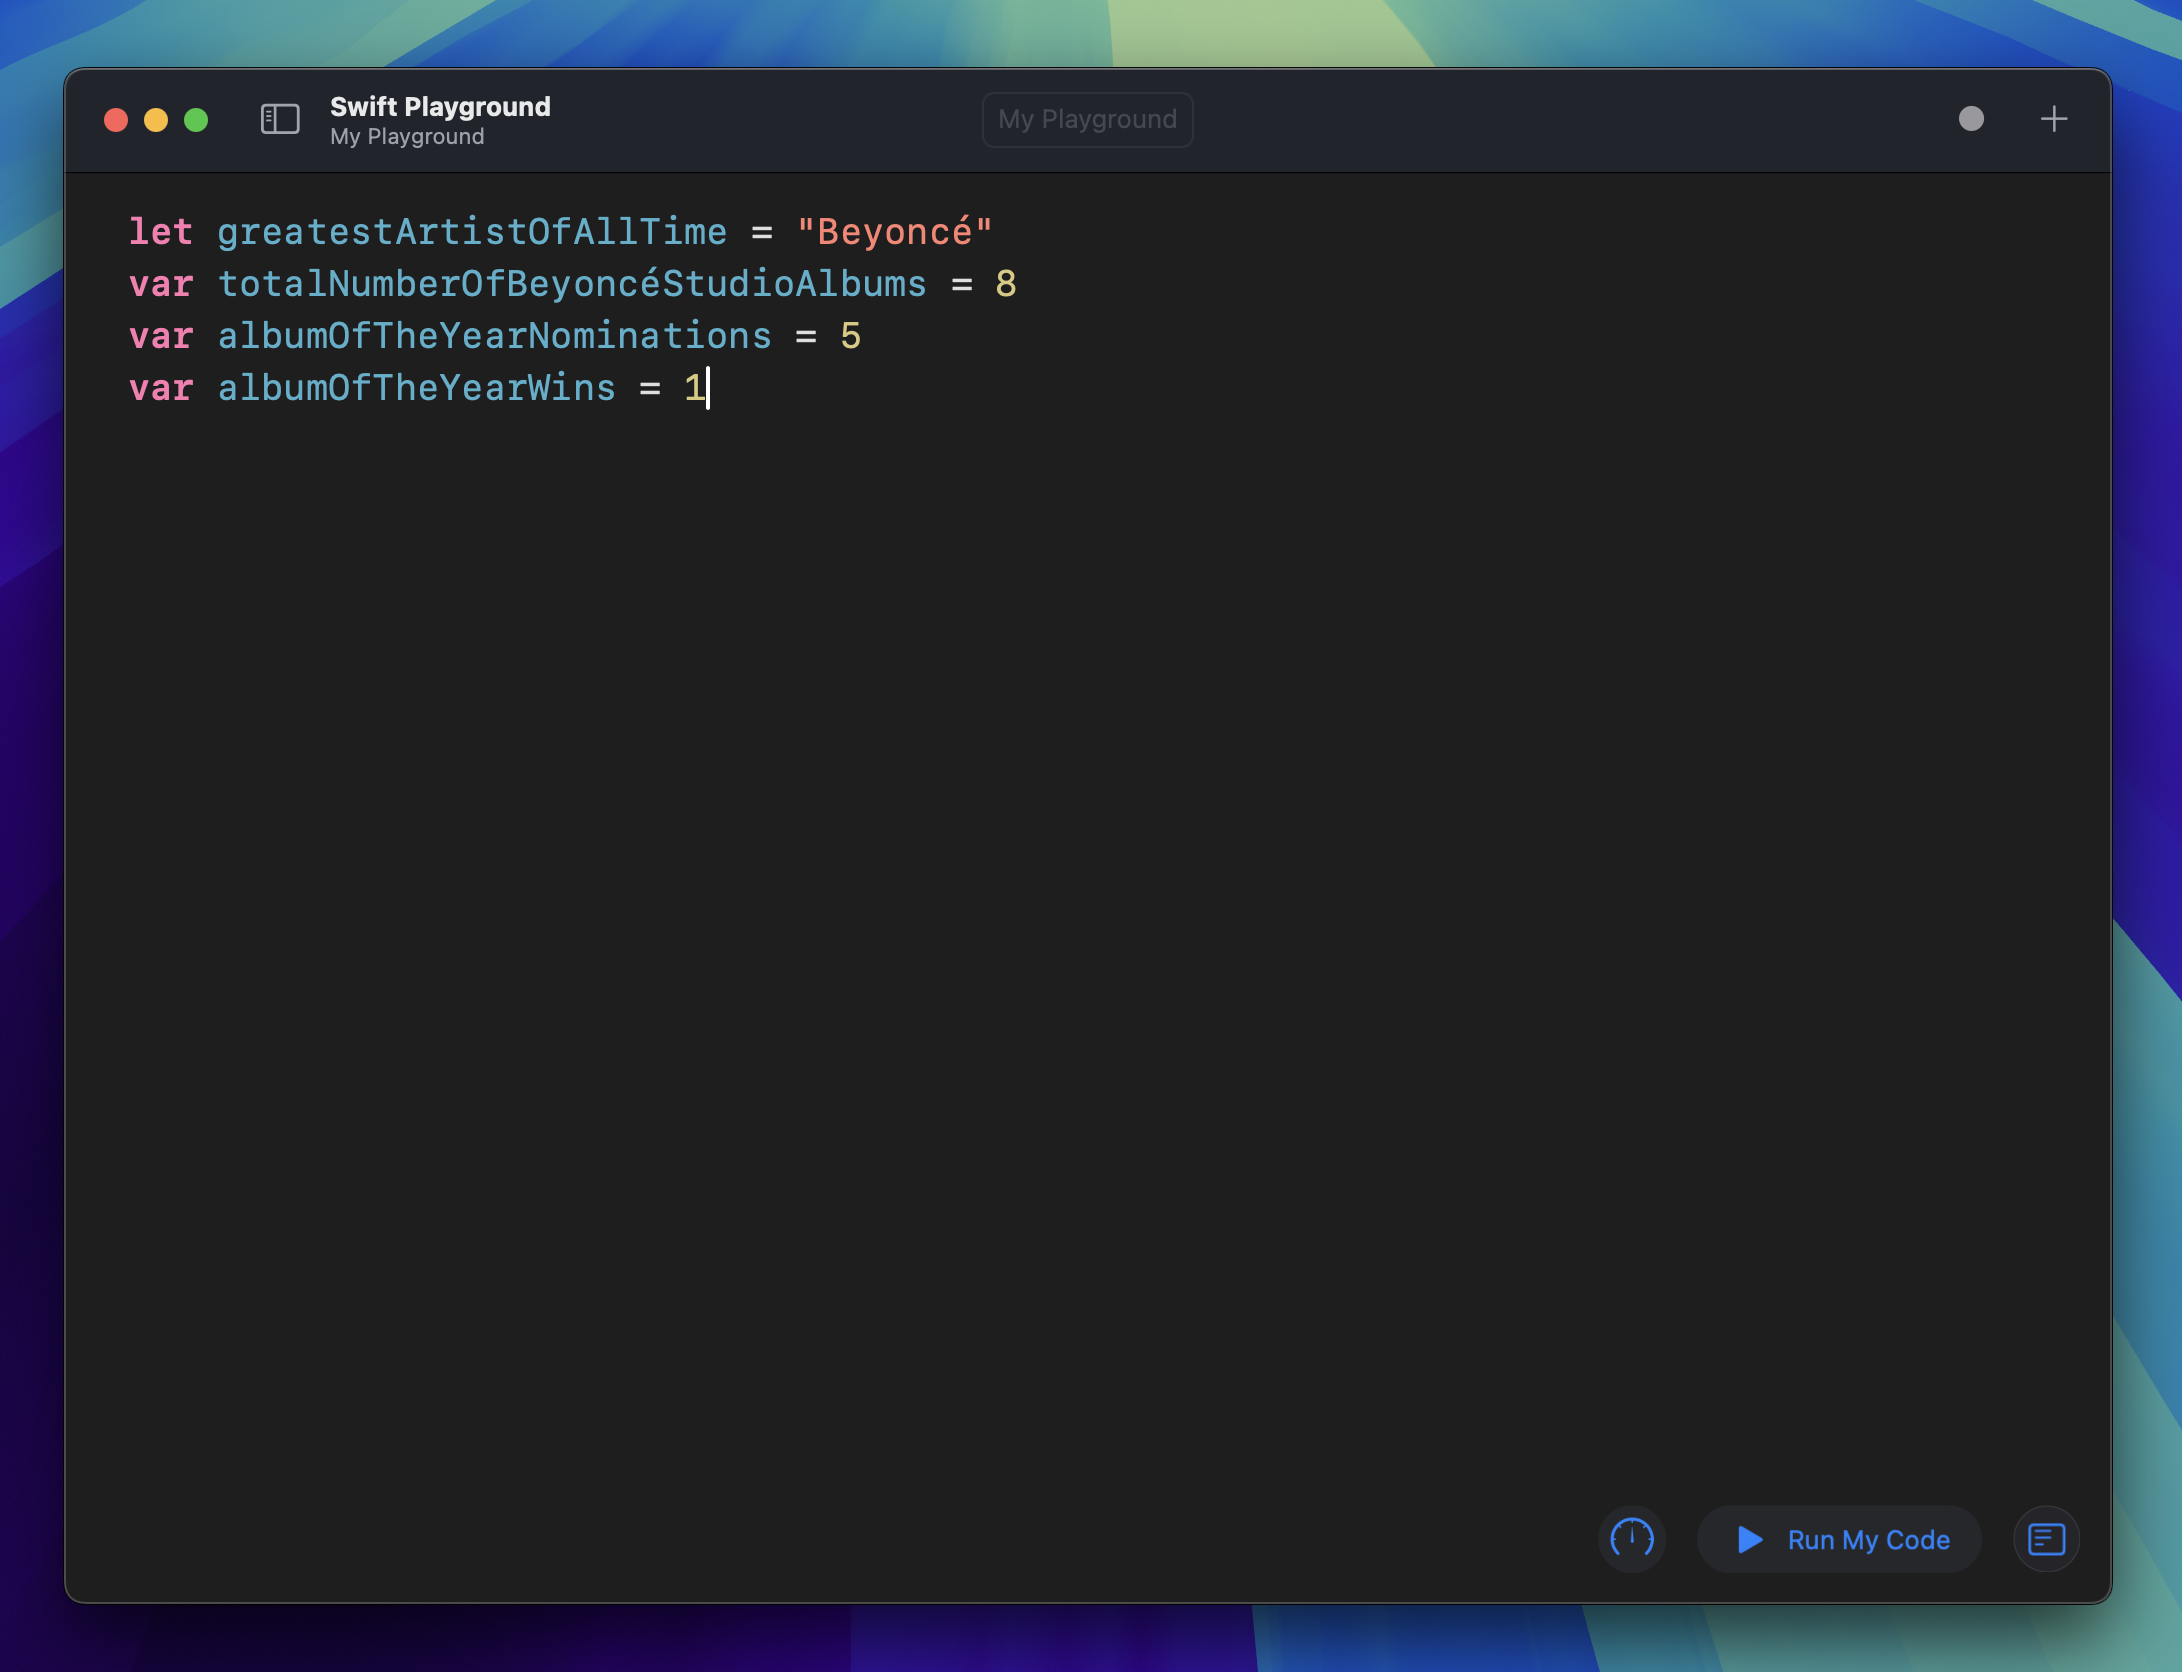
let greatestArtistOfAllTime = "Beyoncé"
var totalNumberOfBeyoncéStudioAlbums = 8
var albumOfTheYearNominations = 5
var albumOfTheYearWins = 1
Constants are created by using "let" in front of the name of the constant, an equal sign to denote that we are assigning that constant a value, followed by the value we want to assign.
In Swift, the convention for constants and variables is that we use what's called camel case. Camel case means that we should start the first word with either a capital or lowercase letter, and each subsequent word will start with a capital letter. When it comes to value types like constants and variables, we start them with lowercase letters. These names can be anything you'd like them to be, but it's advised to make them descriptive so that it is clear what each value contains.
Another thing to point out in this example is the concept of types. There are several types of data in programming and we use two different ones here. The first being a String type which holds a string of characters. If you are trying to represent text, that would be a string type. It doesn't matter if it's one word or a hundred. Strings are made by putting your characters between double quotes ("), like "Beyoncé" in the example above.
The next type that we use is an Integer type, or Int in Swift. This value holds whole numbers. There are other value types to hold decimal numbers but we won't be using those today. They don't require quotes and Swift can intelligently assume that we are trying to create an Int when we enter a whole number after the equal sign. Same with Strings, and most other value types. You can also specify a type by adding a colon (:) and the type after the variable name like the example below:
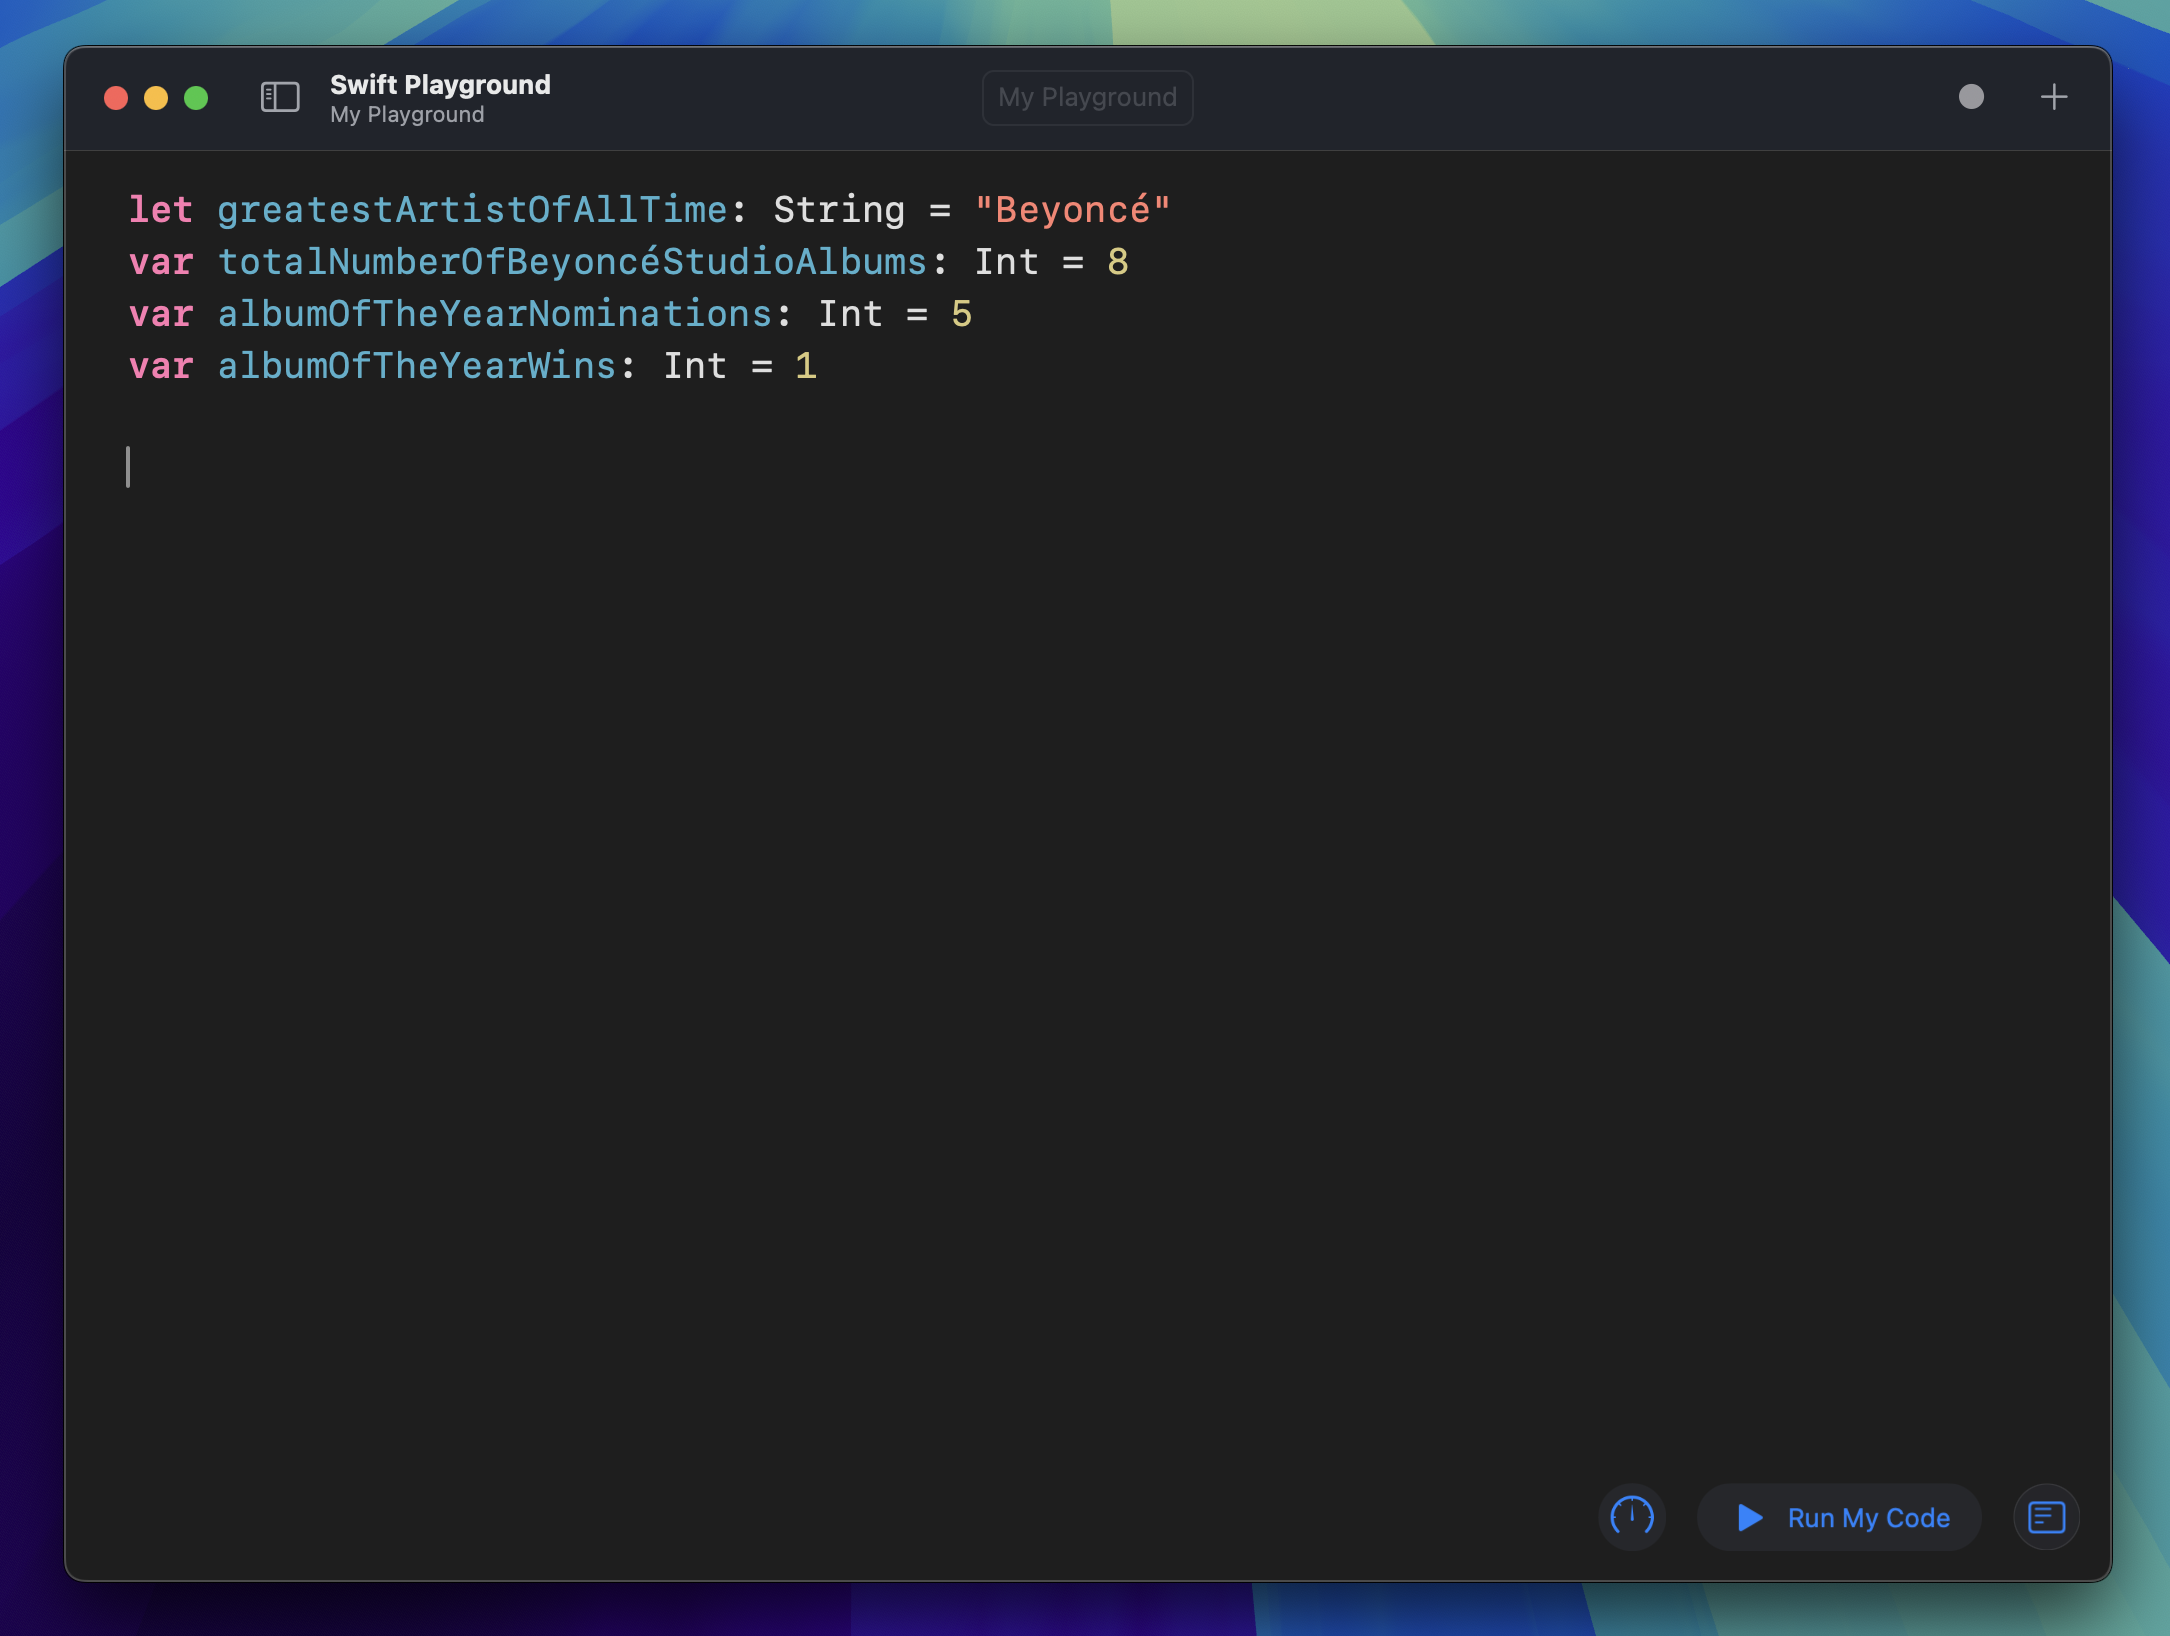
let greatestArtistOfAllTime: String = "Beyoncé"
var totalNumberOfBeyoncéStudioAlbums: Int = 8
var albumOfTheYearNominations: Int = 5
var albumOfTheYearWins: Int = 1
Now that we have our value types added, we need to figure out how to calculate and display the number of times The Recording Academy played in Beyoncé's face. There is no singular way to do this, and I encourage you to experiment with different values as we work through this example. Before we write any code, let's first think about how we would perform this calculation mathematically. For me, every one of her nominations should have been golden statues. So that would mean creating a new constant I'll name timesTheyPlayedInHerFace . It's a constant because I won't be changing the value in code after it's created.
I'll set the value of timesTheyPlayedInHerFace to be equal to the difference (subtraction) of albumOfTheYearNominations and albumOfTheYearWins. Then I'll tell Swift to print the value of timesTheyPlayedInHerFace, which holds the result of our calculation, to the console. Here's what that will look like:
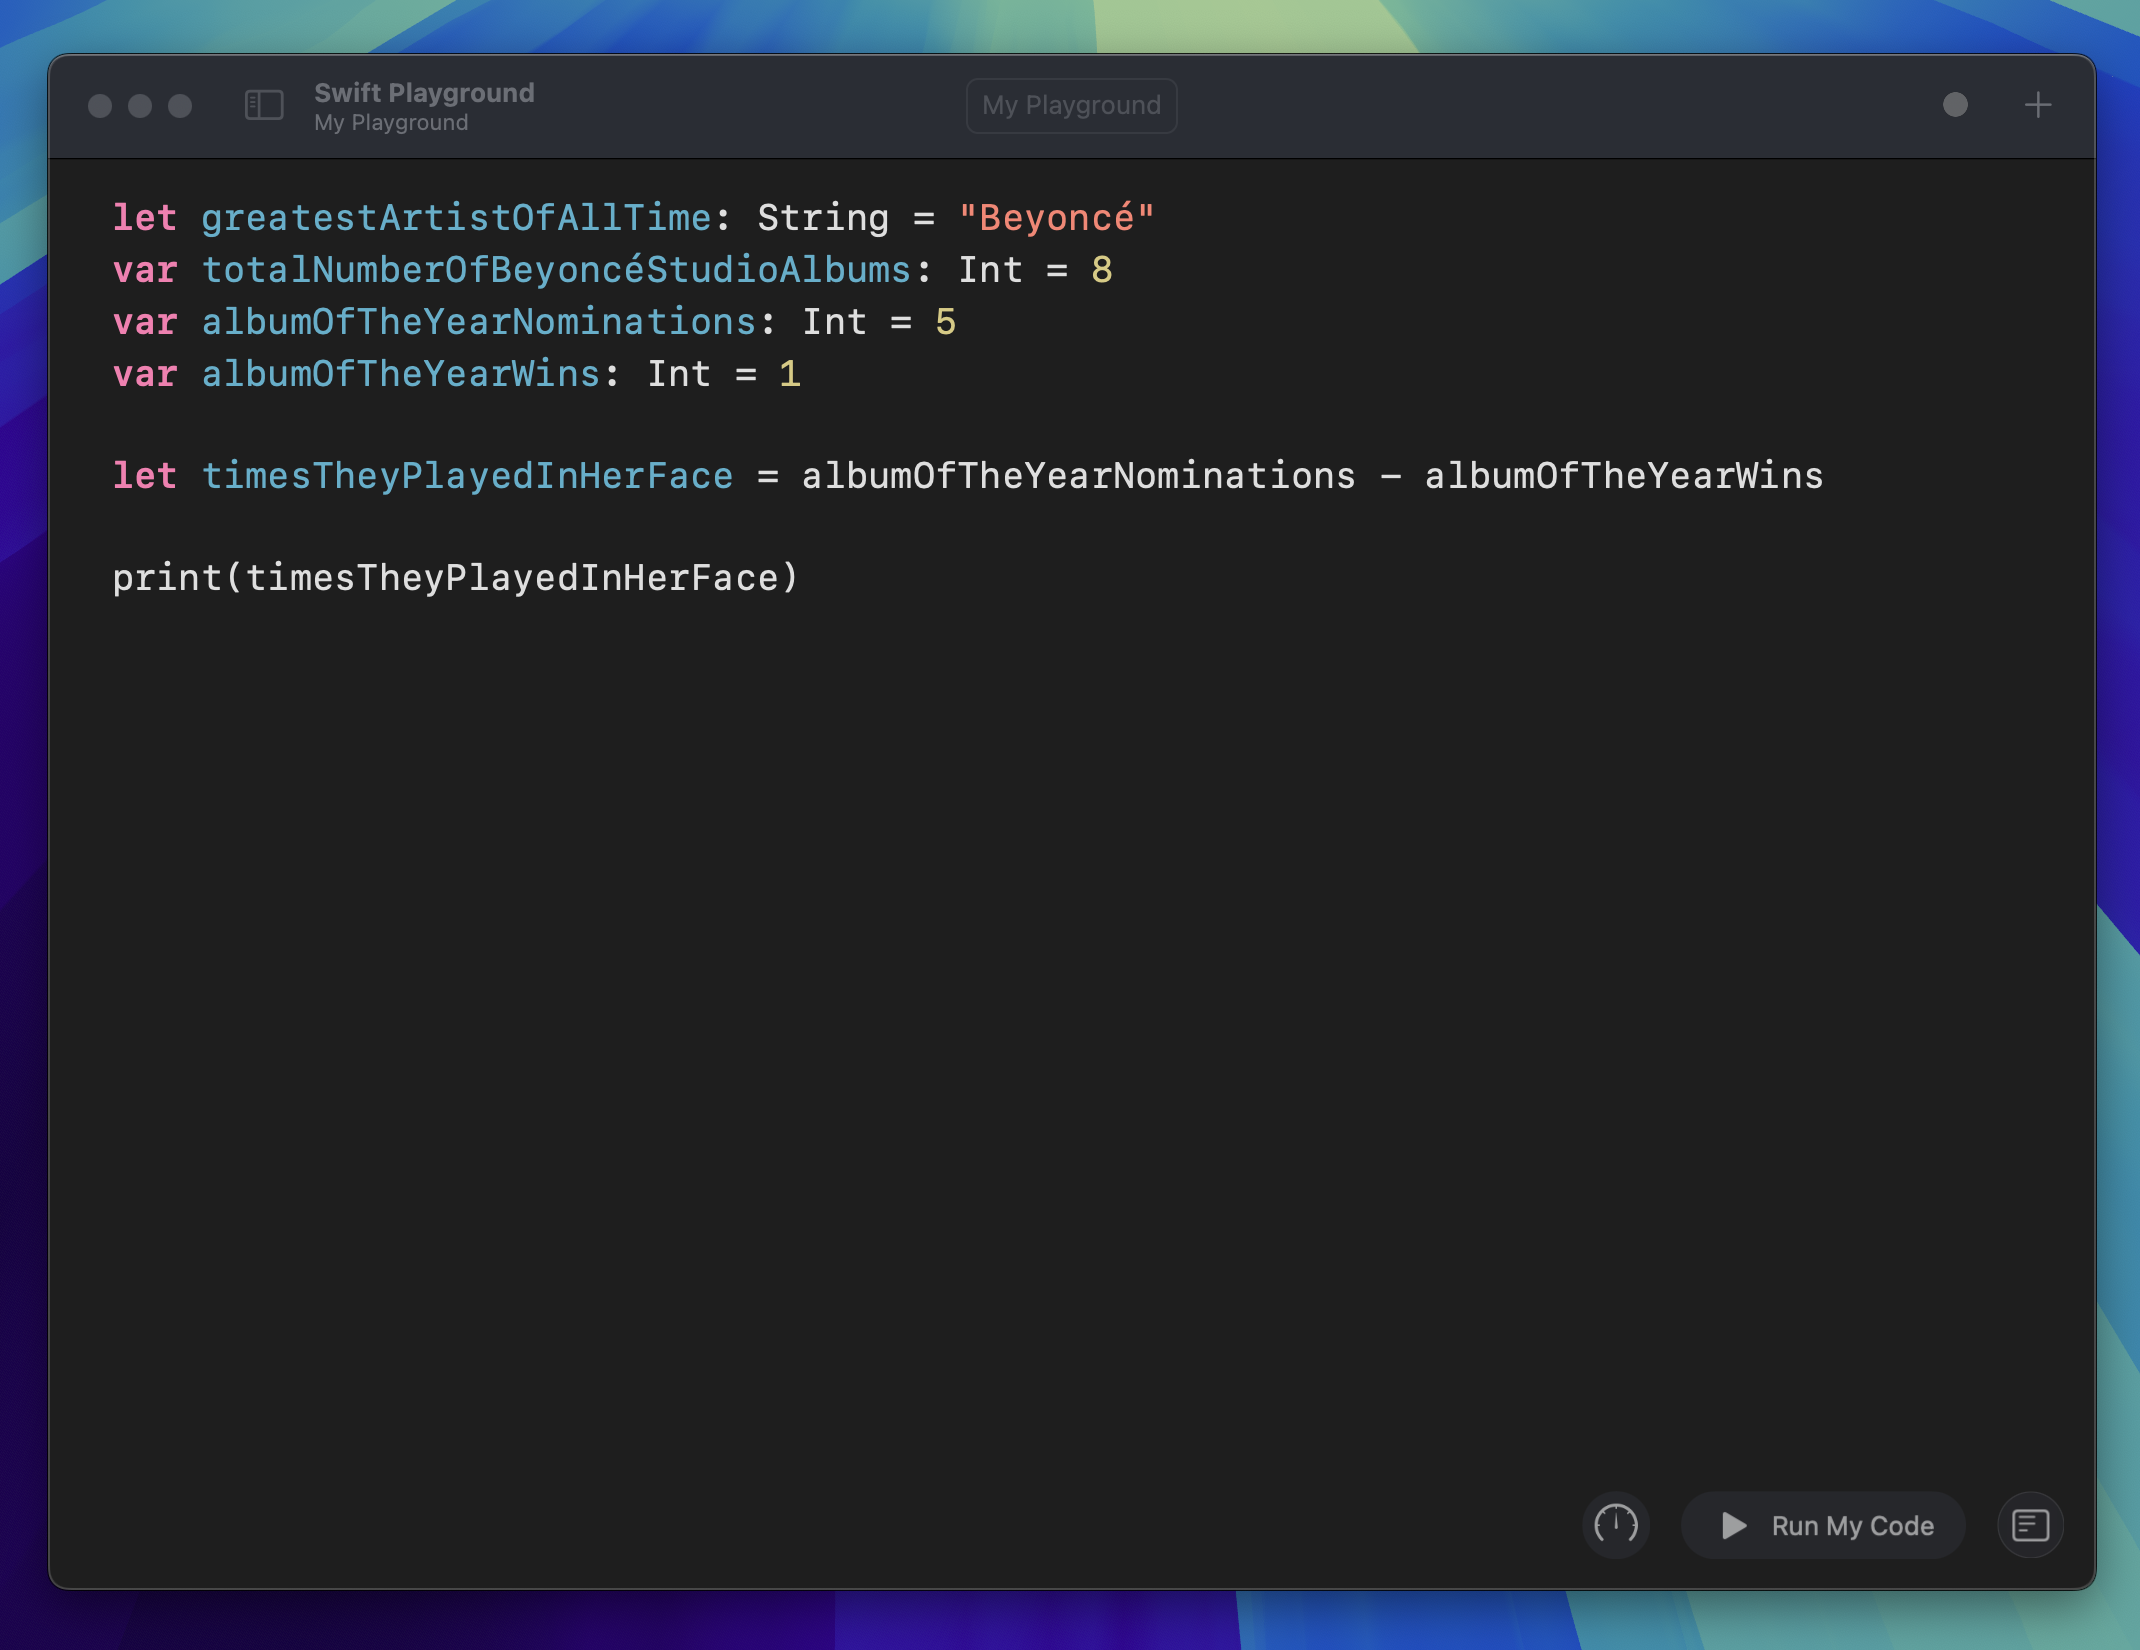
let greatestArtistOfAllTime: String = "Beyoncé"
var totalNumberOfBeyoncéStudioAlbums: Int = 8
var albumOfTheYearNominations: Int = 5
var albumOfTheYearWins: Int = 1

let timesTheyPlayedInHerFace = albumOfTheYearNominations - albumOfTheYearWins

print(timesTheyPlayedInHerFace)
Now we can open the console using the bottom right button, and then press "Run My Code".

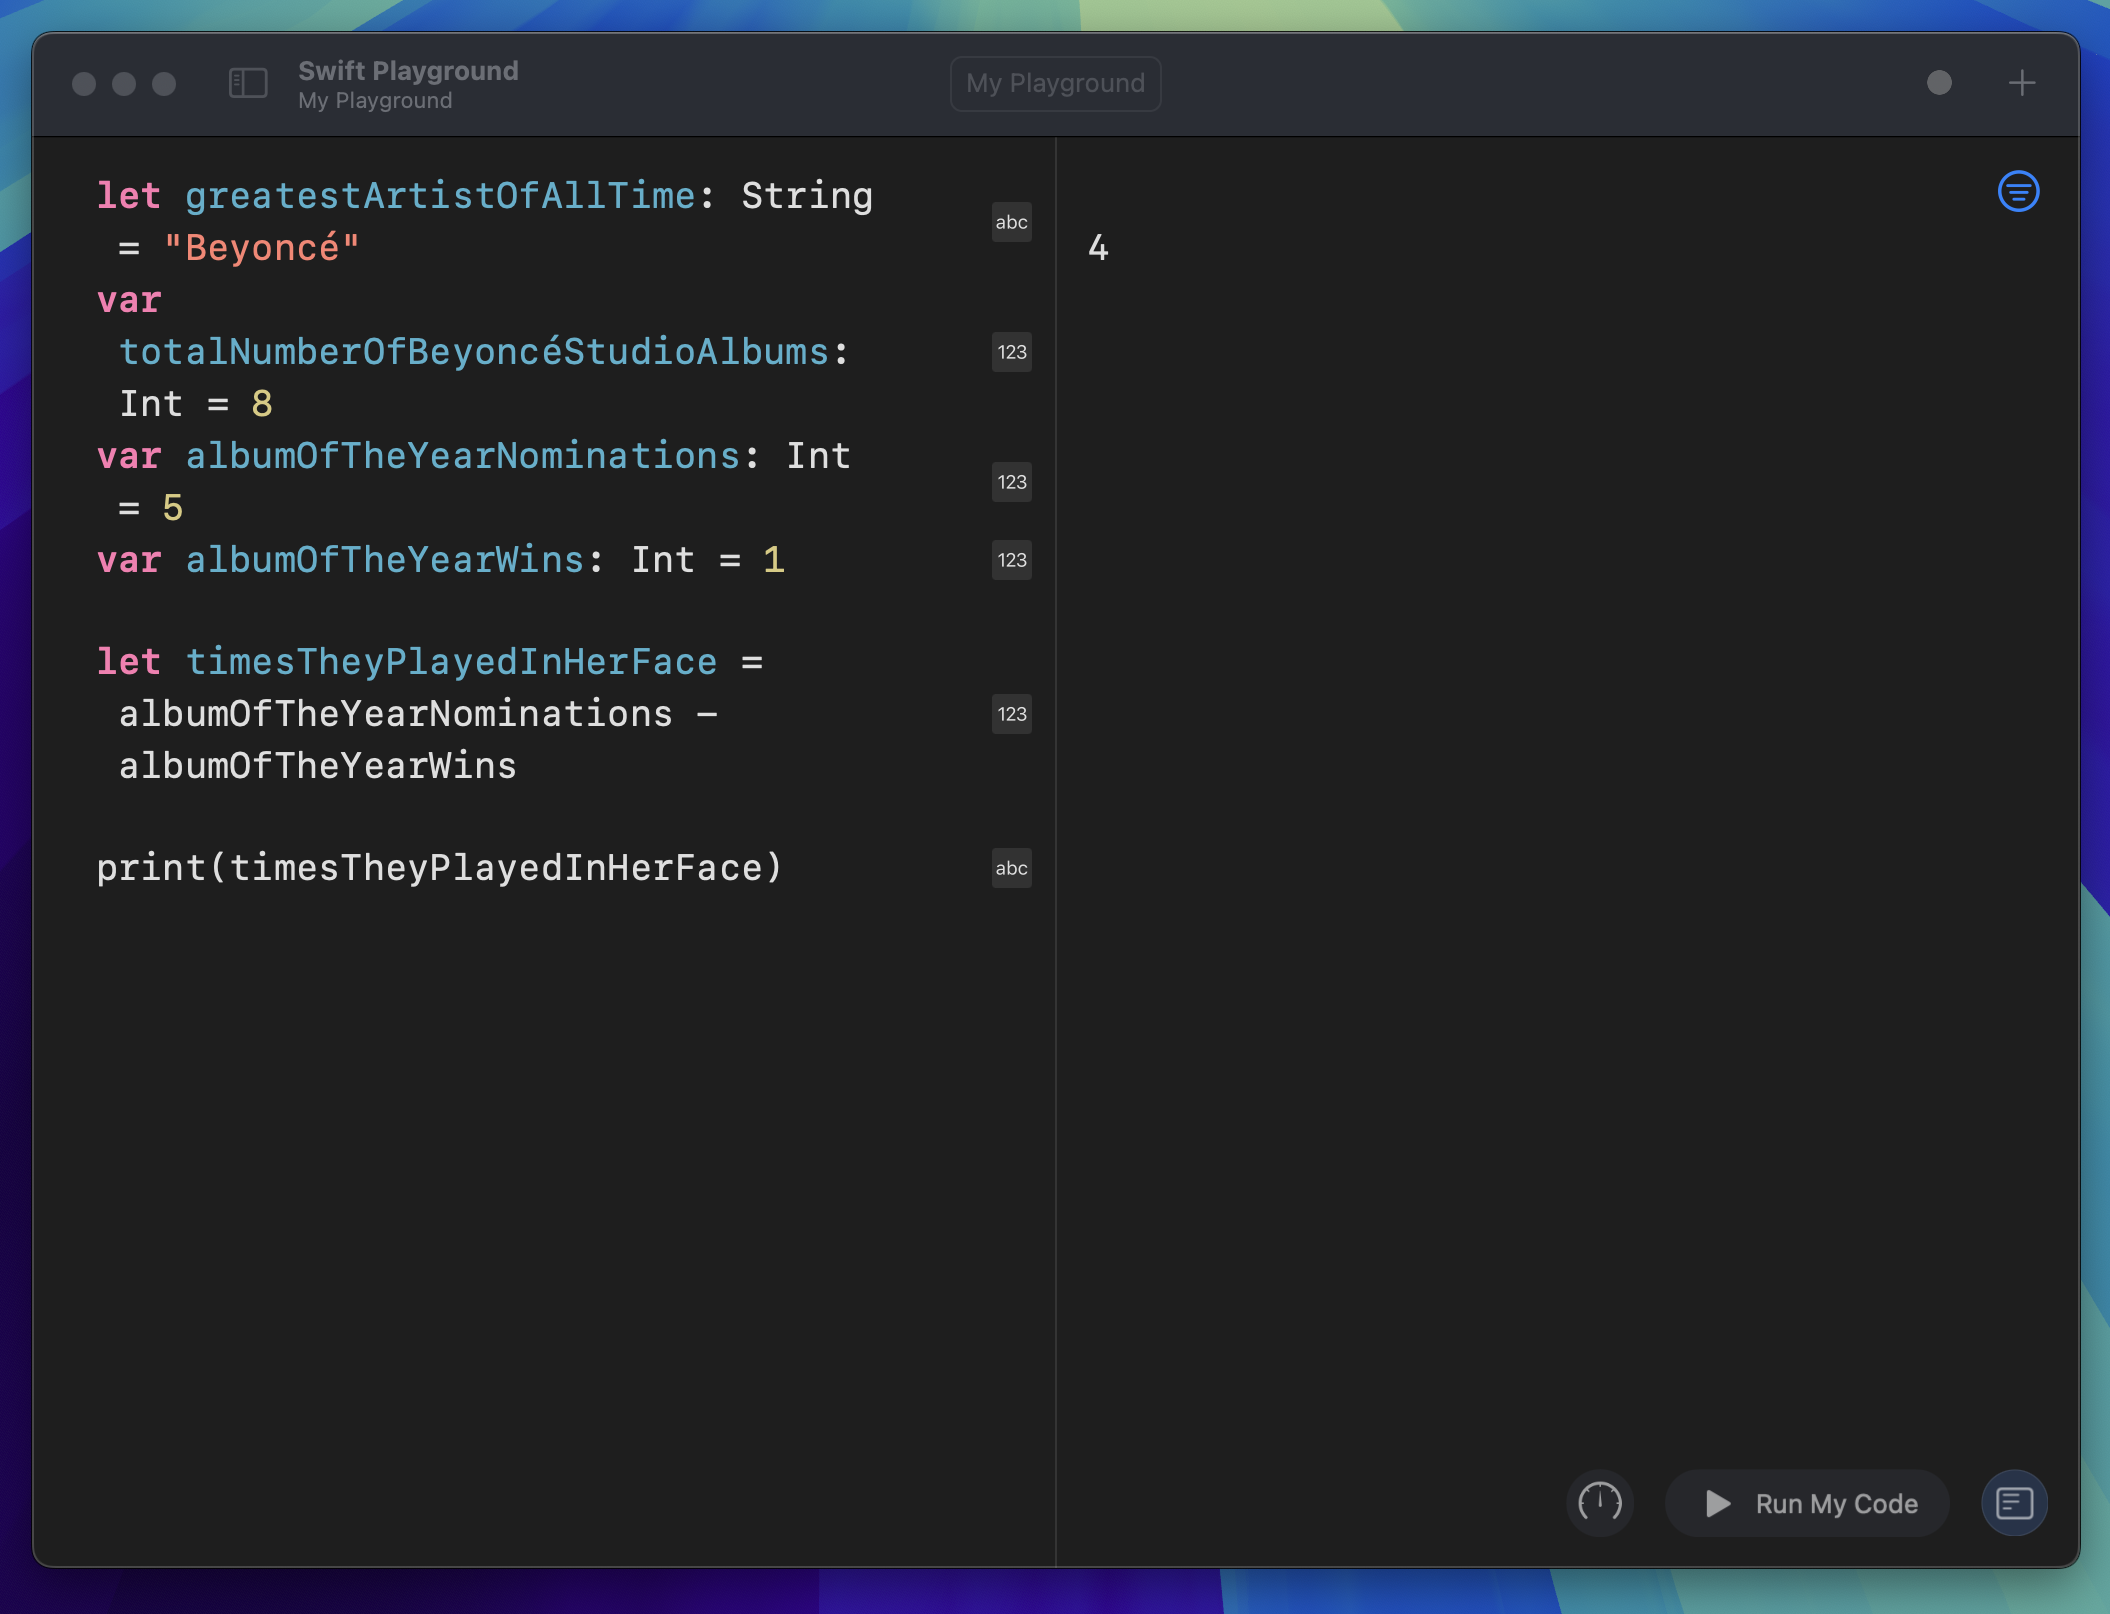
The panel on the right is the console, and we can see the number 4. That number represents the value held by the variable timesTheyPlayedInHerFace which we asked to be printed. To make this more detailed, we can use all of the variables we created to print a better message by replacing the original print() statement with the code below. Feel free to copy/paste this since it's long:
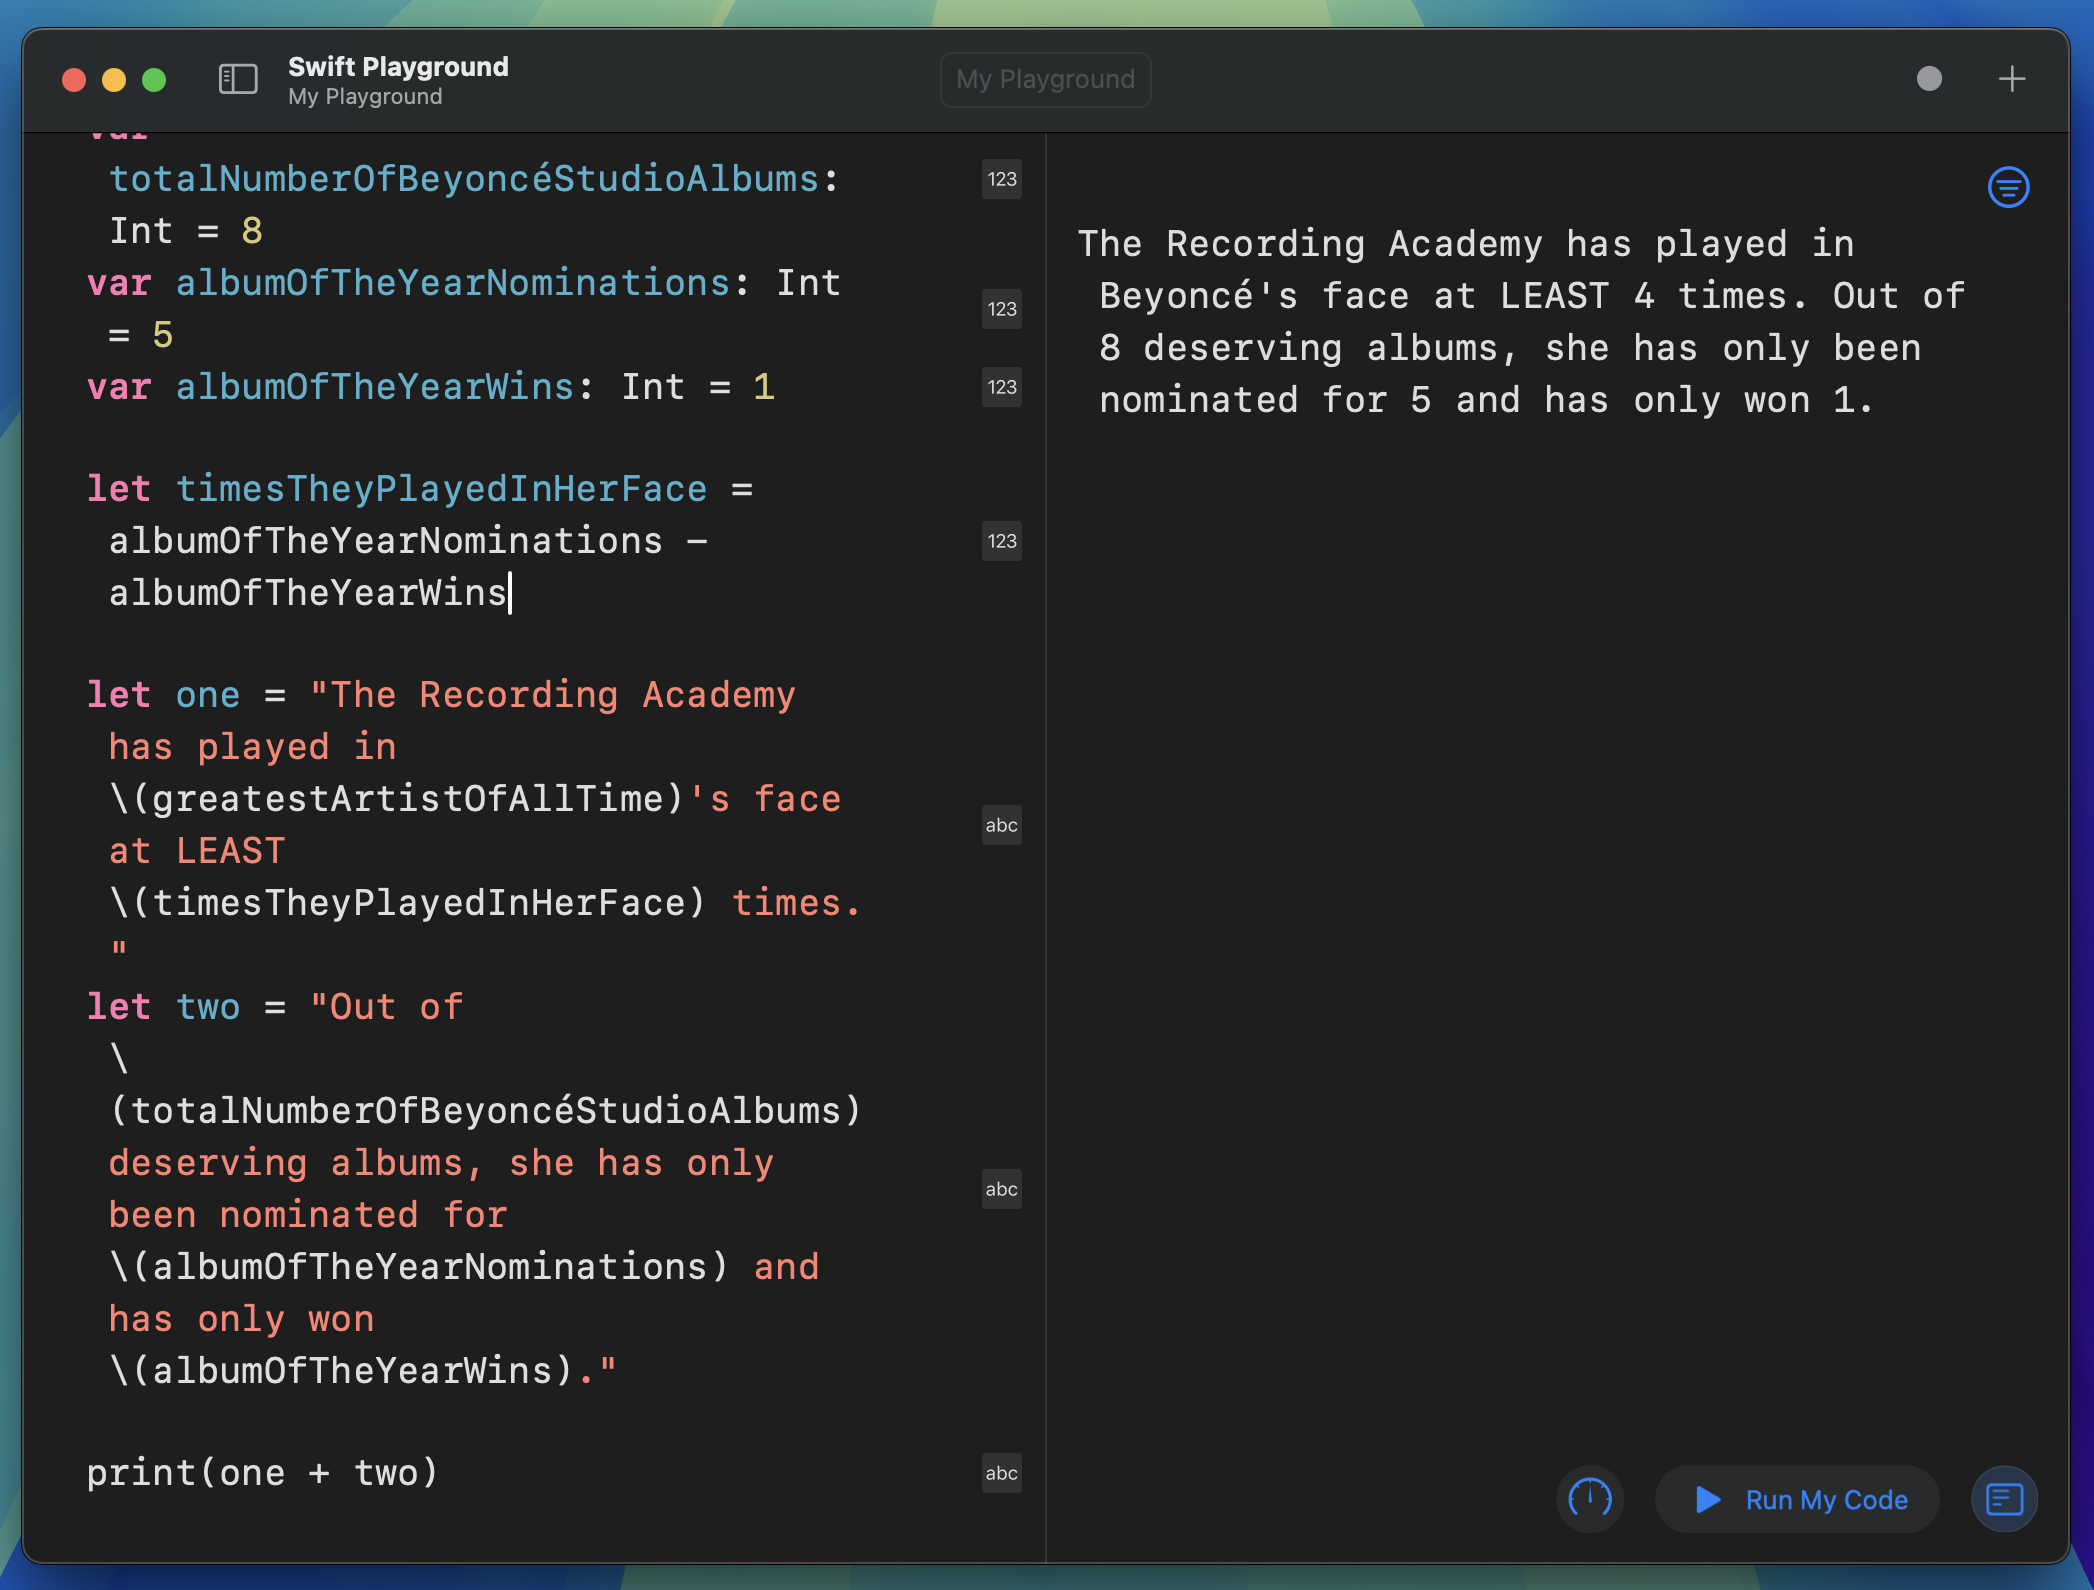
let one = "The Recording Academy has played in \(greatestArtistOfAllTime)'s face at LEAST \(timesTheyPlayedInHerFace) times. "
let two = "Out of \(totalNumberOfBeyoncéStudioAlbums) deserving albums, she has only been nominated for \(albumOfTheYearNominations) and has only won \(albumOfTheYearWins)."

print(one + two)
What that does is take two sentences, injecting the value of our variables with the \({variable name}) syntax, and concatenate (chain) them using the + symbol.
Violá! You have created a Swift program! You've set values, used those values for calculations, and displayed results. That was a ton of information all at once, kudos to you if you made it this far without a migraine. I'll leave you with this important message from Adele:
Adele's Album of the Year acceptance speech from the 2017 Grammys.
